Welcome to your Beem 450, and thanks for choosing Portronics! This guide walks you through unboxing, setup, daily use, and maintenance — everything you need in one place.
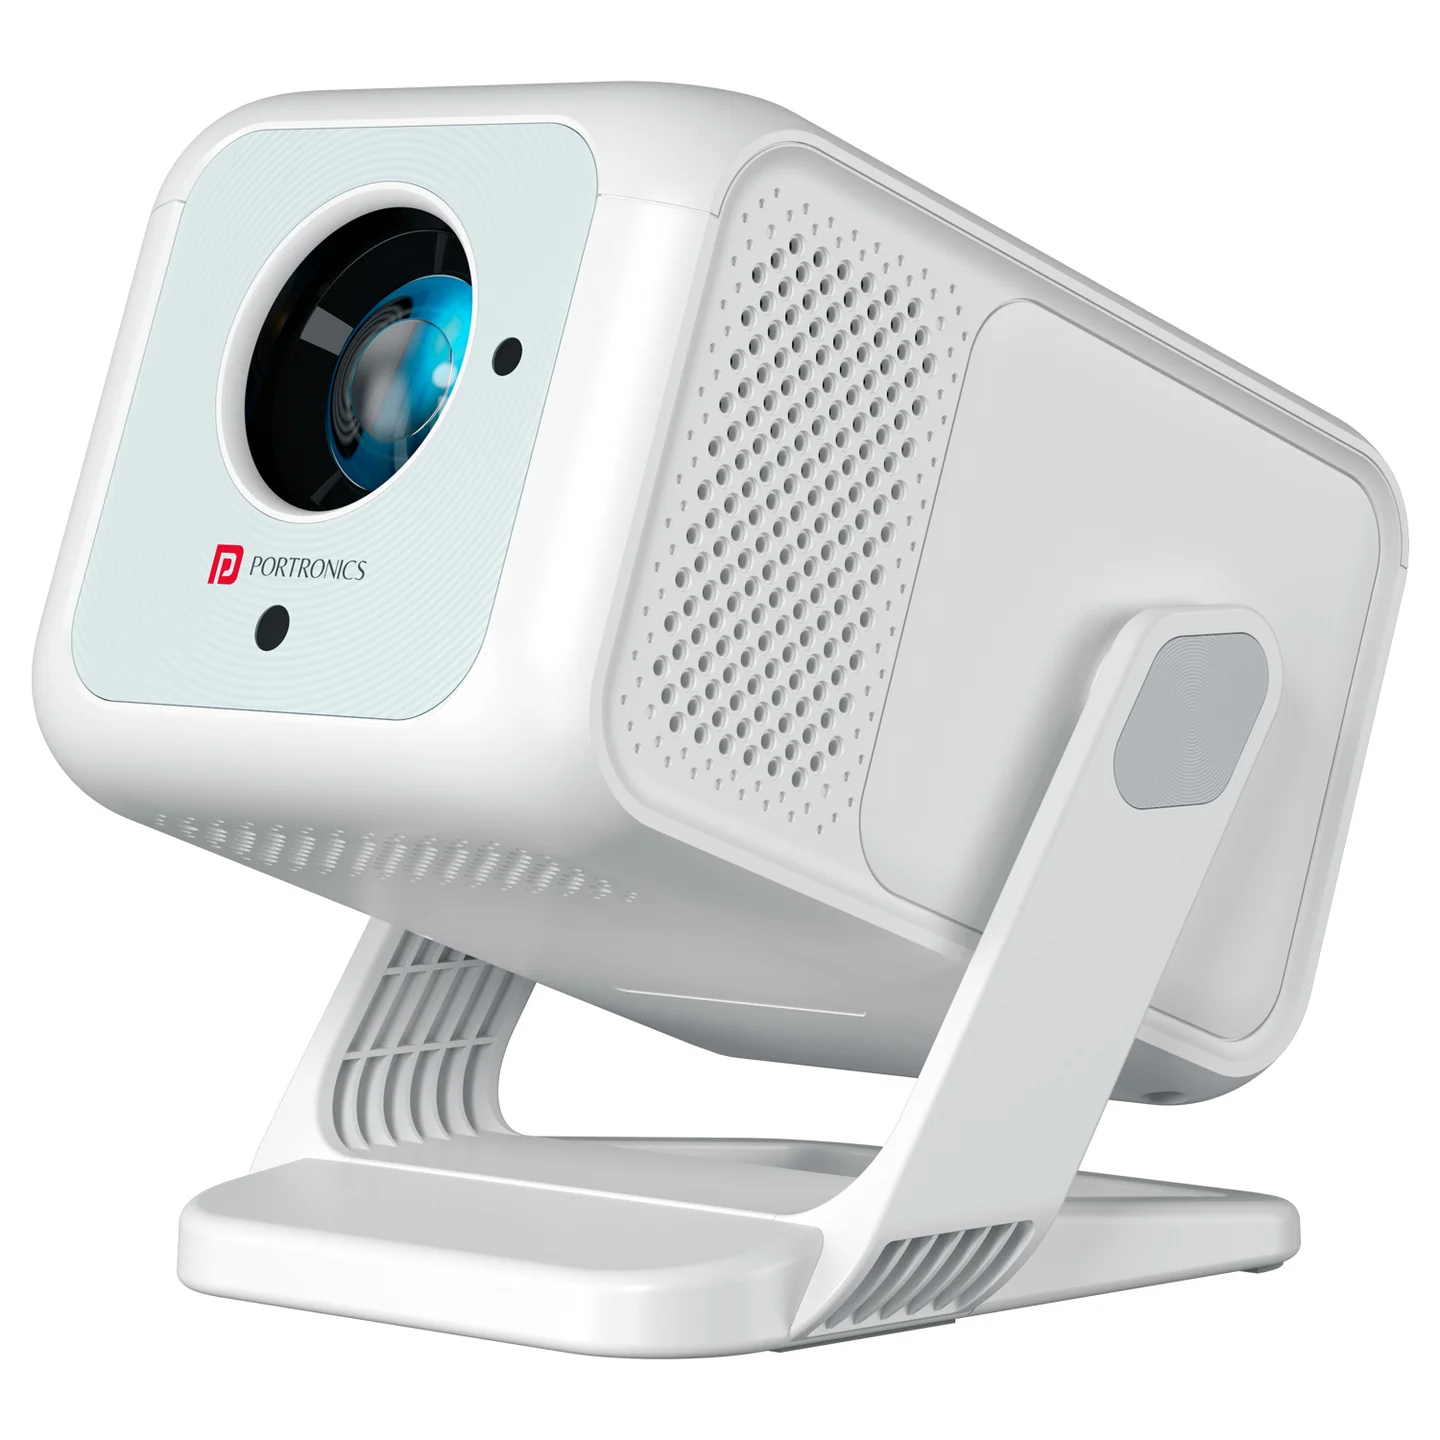
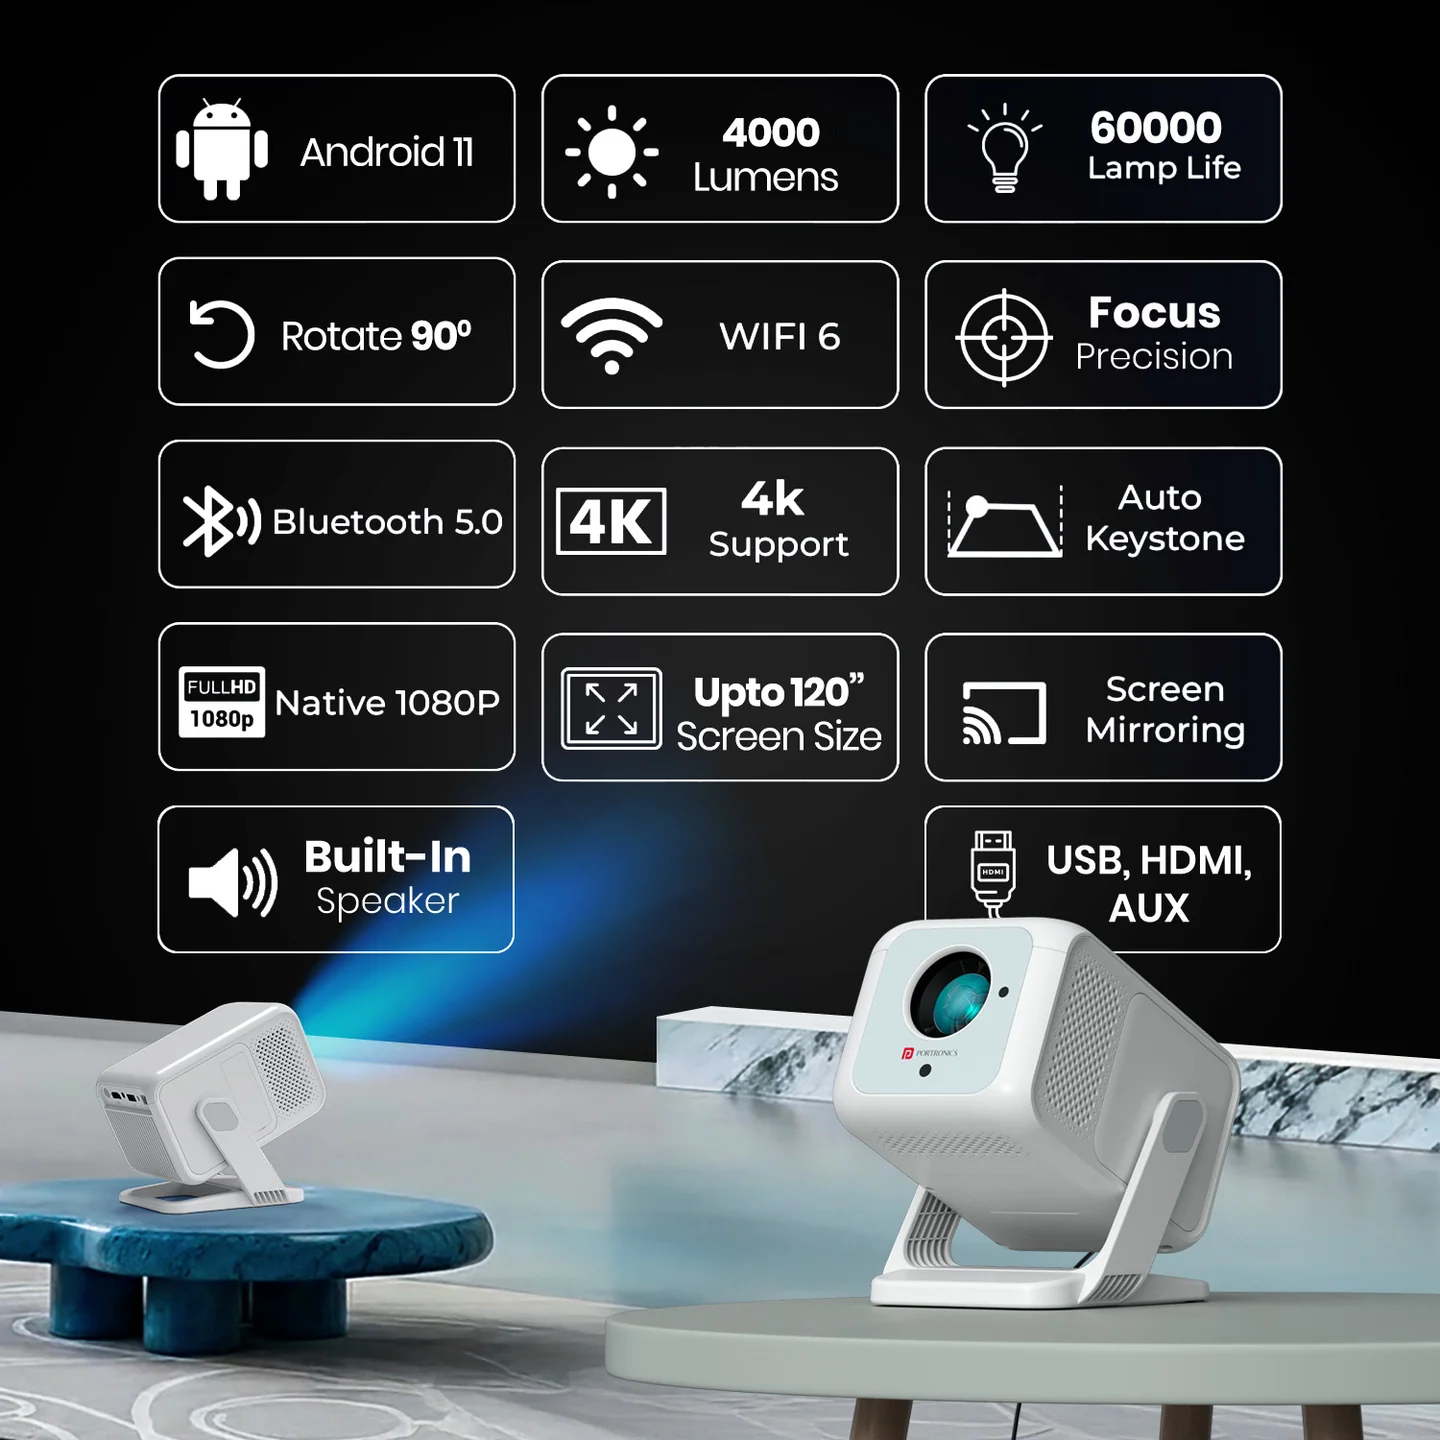
TABLE OF CONTENTS
- Table of Contents
- 1. What's in the Box
- 2. Key Specifications
- 3. Safety Guidelines
- 4. Placement & Installation
- 5. Getting to Know the Remote
- 6. Adjusting Focus
- 7. Keystone Correction
- 8. Software Settings (Wi-Fi, Bluetooth, Language & More)
- 9. Media Player & Screen Sharing
- 10. Homepage Status Bar Icons
- 11. Cleaning & Maintenance
- 12. Warranty & Support
1. What's in the Box
- 1 × Projector
- 1 × Remote Control (batteries not included)
- 1 × Adapter
- 1 × HDMI Cable
- 1 × Clean Tool
- 1 × User Manual
2. Key Specifications
| Spec | Detail |
|---|---|
| Model | Beem 450 |
| Product type | Smart LED Projector |
| Operating system | Android 11 |
| Resolution | 1080p Full HD (1920×1080) |
| Brightness | 4000 Lumens |
| Screen size | 40" to 150" |
| Projection distance | 1.2m to 4m |
| Aspect ratio | 16:9 |
| Built-in speaker | 5 Watt |
| Connectivity | Dual-band Wi-Fi, Bluetooth, Ethernet |
| Ports | 2 × USB, 1 × HDMI, AV port, 3.5mm stereo jack |
| Pre-installed apps | Netflix, YouTube, Prime Video, Disney+ Hotstar, and more |
| Keystone correction | Auto Four Keystone Correction + Manual Keystone |
| Focus | Manual focus via remote |
| Mounting | Dual-use mounting hole (camera tripod / 1/4" projector tripod compatible) |
| Colour | Grey |
| Warranty | 12 months |
3. Safety Guidelines
Please follow these safety guidelines to prevent damage or injury:
- Do not expose the device to rain, moisture, or liquids (e.g., vases).
- Avoid placing the device on soft surfaces like carpets or tablecloths.
- Keep away from dusty areas or devices with strong magnetic fields.
- Ensure ventilation holes are not blocked.
- Use the device in an open space — avoid confined or enclosed areas.
- Keep away from direct sunlight, heat sources, and moisture.
- If the device becomes hot, turn it off and let it cool down before use.
- Handle with care; avoid touching the lens or allowing children to use unsupervised.
- Only use manufacturer-approved accessories and attachments.
- Do not expose the device to vibrations, as this may compromise internal components (e.g., mobiles on vibration mode).
Remote Control Safety
- Do not submerge the remote control in water or expose it to moisture.
- Keep the remote away from fire, heat, and wet environments.
- Do not mix old and new batteries in the remote control.
- If the remote will not be used for an extended period, remove the batteries to prevent leakage.
- Always aim the remote directly at the IR receiver for best performance.
- Use the remote within a 6-meter range and a 30° angle from the receiver for optimal responsiveness.
4. Placement & Installation
- The Beem 450 supports a projection distance of 1.2m to 4m, producing a screen size between 40" and 150" depending on distance.
- Use an open, well-ventilated space — avoid confined or enclosed areas, and keep the vents unobstructed.
- The projector features a single dual-use mounting hole, compatible with:
- Standard camera tripods
- 1/4 inch screw projector tripod stands
- Keep the device away from soft surfaces (carpets, tablecloths) that could block airflow, and away from direct sunlight or heat sources.
5. Getting to Know the Remote
| Button | Function |
|---|---|
| Power | Turn the projector ON/OFF |
| Mute | Mute or unmute the speaker |
| Focus | Adjust lens focus for a sharper image |
| Direction keys (Up/Down/Left/Right) | Navigate on-screen menus |
| OK | Confirm/select action |
| Return | Go back to the previous menu or close the current app |
| Home | Go to the homepage |
| Volume +/- | Increase or decrease speaker volume |
6. Adjusting Focus
If the projected image appears blurry:
- Go to Settings > Projection Settings > Auto Four Keystone Correction and enable it.
- Alternatively, use Manual Keystone to fine-tune the image.
- Press the Focus button on the remote control to sharpen the picture until it looks clear.
7. Keystone Correction
If your projected image looks skewed or trapezoidal rather than a clean rectangle:
- Auto Keystone Correction: Go to Settings > Projection Settings > Auto Four Keystone Correction and enable it — the projector automatically adjusts screen alignment.
- Manual Keystone Correction: Fine-tune the alignment manually through the same Projection Settings menu for better projection angles.
8. Software Settings (Wi-Fi, Bluetooth, Language & More)
Wi-Fi Setup
- Go to Settings
- Select Network Settings and turn on the Wi-Fi Switch
- Choose your preferred network from the list and enter the password to connect
Bluetooth Setup
- Go to Settings > Bluetooth > Bluetooth Settings
- Turn on the Bluetooth Switch
- Click Search for Bluetooth devices and pair with the device you want to connect
Language Setting
Go to Settings > Language and Keyboard to change the display language and input keyboard.
Date & Time Setting
Go to Settings > Date and Time Settings to set the date, time, time zone, and hour format.
Projection Settings
Go to Settings > Projection Settings to configure:
- Display settings
- Installation mode
- Device mode
- Digital zoom
- Screen zoom
- Auto focus
- Auto four-corner correction
- Screen recognition
- Intelligent obstacle avoidance
- Manual keystone correction
- Keystone reset
Other Settings
Go to Settings > Other Settings to configure:
- External input at boot
- Button sound
- Screen saver
- Scheduled power off
- Restore factory settings
- Account settings
Application Settings
Go to Settings > Application Settings to check app information and clear app data.
Note: With system version updates, on-screen menus may look slightly different from the images in this guide. Please refer to your projector's actual displayed interface as the final version.
9. Media Player & Screen Sharing
Playing Media from a USB Drive
- Insert a USB flash drive (U disk) into the projector.
- Tap the File Manager icon on the homepage.
- Browse and open videos, audio files, images, documents, and more.
Screen Sharing from Your Phone
Android Wireless Mirroring
- Open the Transcreen app on your mobile device.
- Ensure both the phone and projector are connected to the same Wi-Fi network.
- Search for the projector's device name on your phone, tap it, and select Connect to start screen sharing.
Miracast Mirroring
- Tap START on the projector screen to enter the Miracast interface.
- Ensure both your phone and projector are on the same Wi-Fi network.
- Follow the on-screen instructions and use your phone's screen mirroring function to search for and connect to the projector.
Android Wired Mirroring
- Connect your Android phone to the projector's USB port using a USB cable.
- On first connection, your phone will prompt you to download the required mirroring app.
- Once installed, allow screen mirroring when prompted — sharing will begin automatically.
AirPlay Mirroring (iOS via Wi-Fi)
- Make sure the mobile phone and projector are connected to the same network.
- Click "Screen Mirroring" on your phone.
- Find the projector device name and share your screen.
AirPlay Mirroring (iOS via USB)
- Connect the iOS mobile phone to the projector's USB port using a USB cable.
- After connecting, input the password, then share your screen.
10. Homepage Status Bar Icons
- Clear Memory Shortcut — When the system is stuck or too many apps are open, tap this icon to clear the background.
- Wallpaper Shortcut — Change the background picture.
- Bluetooth Shortcut — Jump to Bluetooth settings.
- Network Shortcut — Jump to network settings.
11. Cleaning & Maintenance
Always power off and unplug the projector before cleaning or relocating it.
Cleaning the Projector
- Get a screwdriver ready and unscrew the bottom screws.
- Clean the projector lip using a cotton swab (use the included Clean Tool).
- Reinstall the bottom cover after cleaning.
- Video link-Click here
General Maintenance Tips
- Keep the lens and vents free of dust — use a soft brush or compressed air on the ventilation openings.
- Wipe the exterior with a soft, dry cloth; avoid abrasive cleaners or solvents.
- Store the projector in a cool, dry place when not in use.
- Keep cables organized to avoid damage.
12. Warranty & Support
Warranty: 12 months, covering defects in materials and workmanship. Damage due to physical impact, liquid exposure, or misuse is not covered.
Need Help?
- Visit: support.portronics.com/support/home
- Click here to watch the complete setup video.
Was this article helpful?
That’s Great!
Thank you for your feedback
Sorry! We couldn't be helpful
Thank you for your feedback
Feedback sent
We appreciate your effort and will try to fix the article