Quick Reference
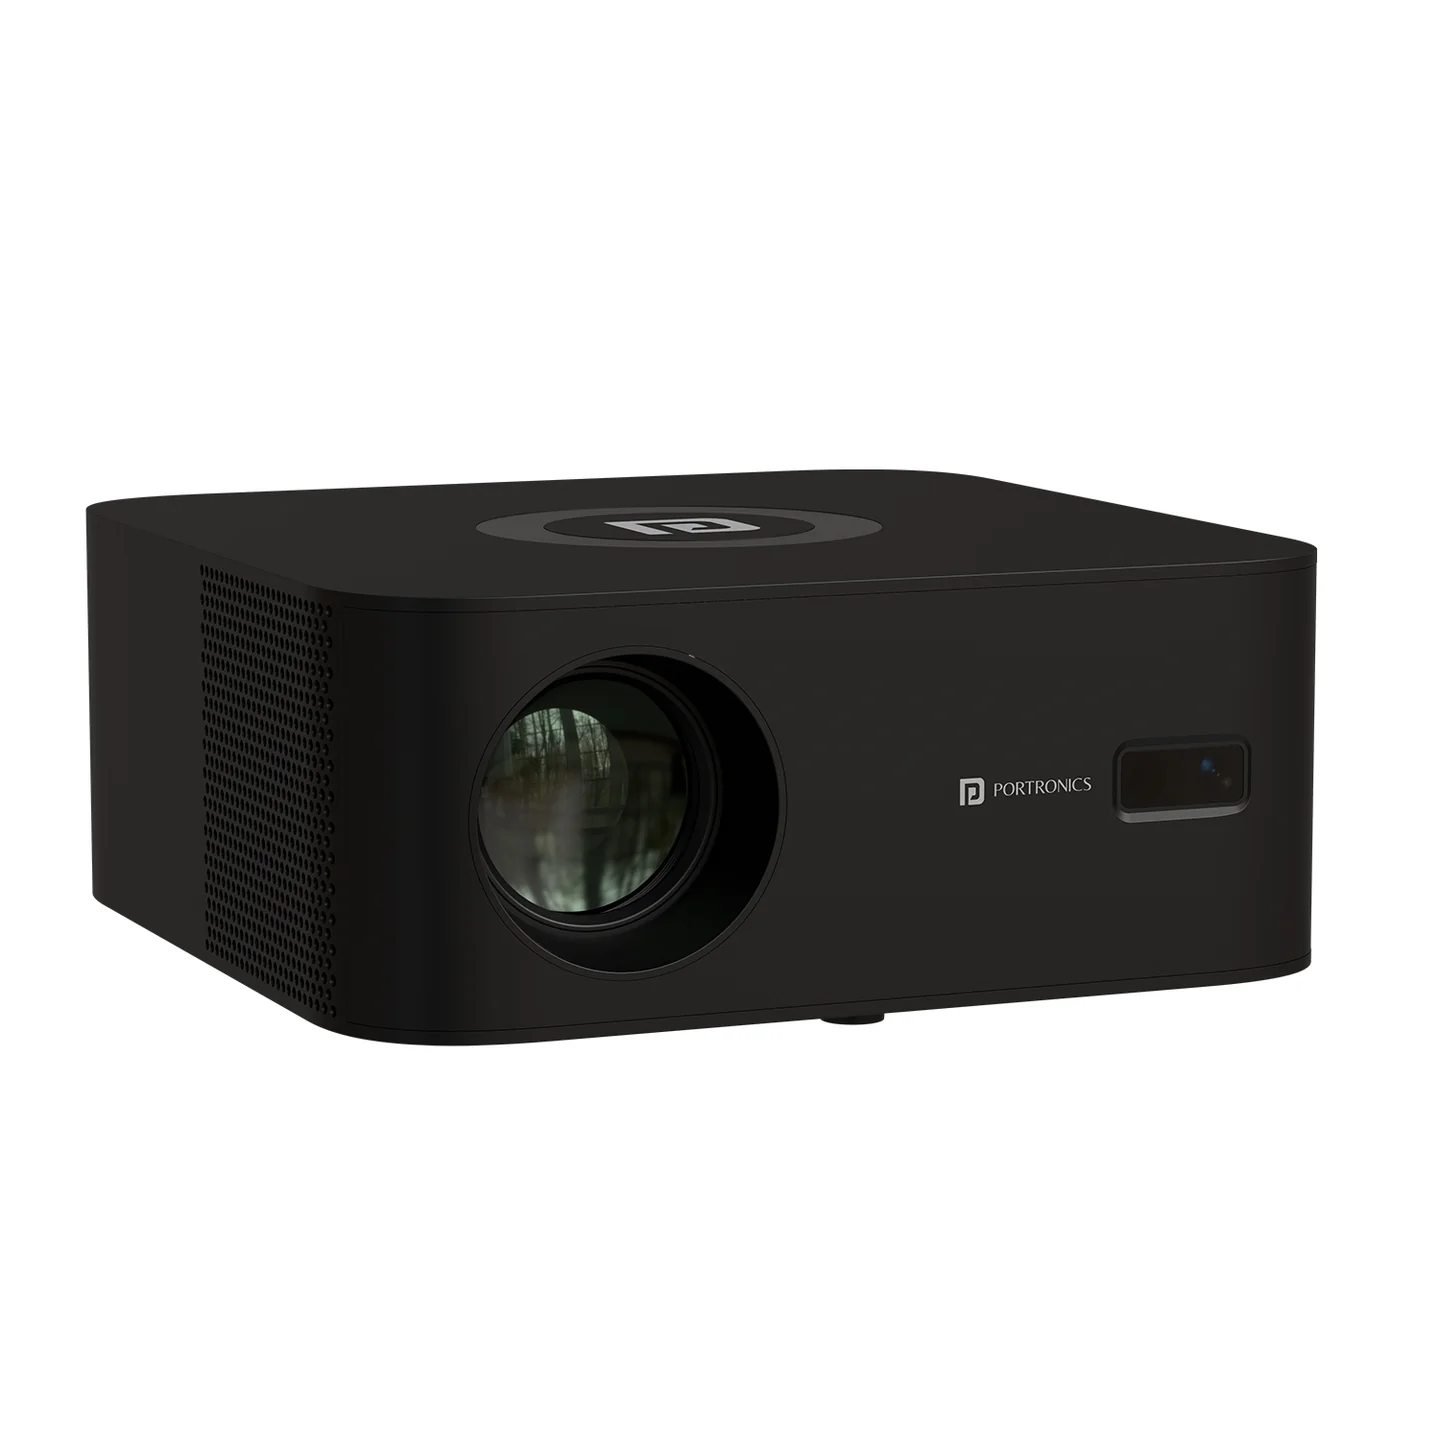
| Feature | Details |
|---|---|
| Product | Beem 510 |
| Product Code | POR 2296 |
| Type | Smart LED Projector |
| Native Resolution | 1080p Full HD |
| Supported Input | Up to 4K UHD |
| Brightness | 5300 Lumens |
| Audio | 5W Dolby Audio speaker |
| Wireless | Wi-Fi + Bluetooth |
| Focus | Auto Focus |
| Keystone | Auto Keystone |
| Remote | Mic-enabled / voice remote |
| Power | Power cord |
| Warranty | 12 months |
Main Connections
| Port / Feature | Use |
|---|---|
| HDMI | Connect a compatible video source |
| USB ×2 | USB media / supported USB devices |
| AUX | External audio |
| Ethernet | Wired network connection |
| Wi-Fi | Internet and smart features |
| Bluetooth | Audio/device connectivity |
First Setup
Place the projector on a stable surface with clear ventilation.
Connect the power cord.
Turn the projector ON using the projector or remote.
Complete the initial on-screen setup.
Connect to Wi-Fi for online apps and streaming.
Allow Auto Focus and Auto Keystone to adjust the image.
Select the required input when using HDMI or USB.
Remote
The Beem 510 uses a mic-enabled/voice remote with shortcut controls .
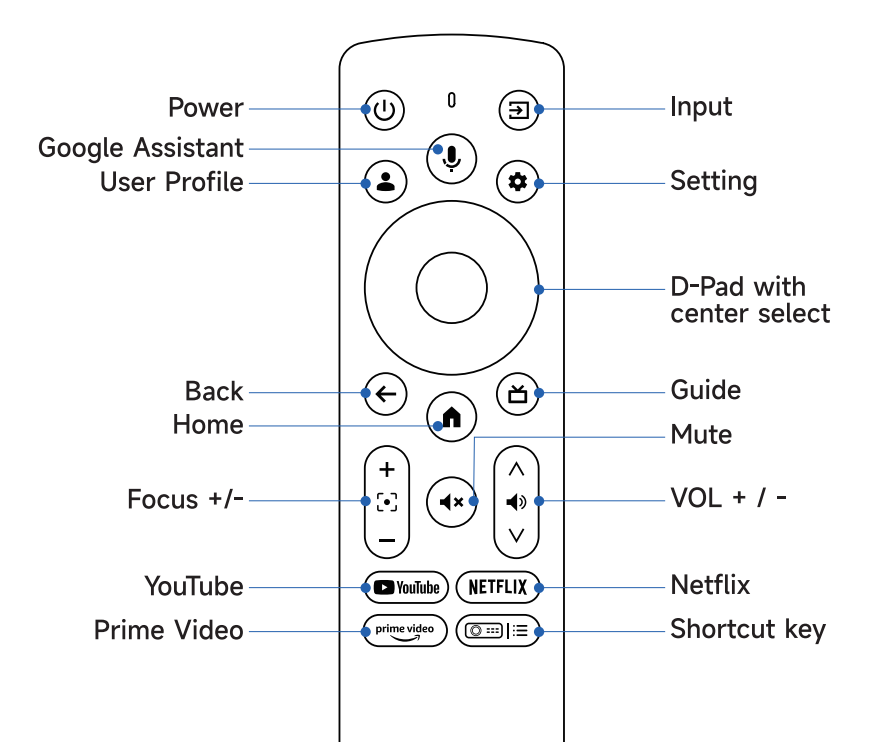
Use the remote for:
Power
Navigation
Volume
Source selection
Focus / picture controls where applicable
Voice/Google Assistant functions where supported
Auto Focus & Keystone
| Function | What to Do |
|---|---|
| Auto Focus | Reposition or start projection and allow the projector to refocus |
| Auto Keystone | Allow automatic image correction after repositioning |
For best results, keep the projector as square to the screen as practical.
Smart Features & Streaming
Pre-installed streaming apps and Wi-Fi connectivity, allowing compatible OTT content to be used without an additional streaming device.
Wi-Fi Setup
Open the projector's Settings.
Select Wi-Fi.
Choose your network.
Enter the password.
Wait for the connected status.
Bluetooth Audio
Open the projector's Bluetooth settings.
Put the Bluetooth speaker/headphone into pairing mode.
Select the device from the available list.
Complete pairing and start playback.
HDMI
Connect the HDMI source.
Turn on the connected device.
Select the HDMI source on the projector.
If there is no picture, reconnect the cable and verify the source output.
USB
Insert the USB device.
Select the USB/File Manager option.
Open the required supported media category/file.
External Audio
Connect compatible audio equipment through the AUX output when you want to use an external sound system.
Picture Problems
| Problem | First Step |
|---|---|
| Image blurry | Allow Auto Focus to run |
| Image tilted | Allow Auto Keystone to run |
| Image too large/small | Reposition the projector |
| Colours/image abnormal | Restart the source/projector and check picture settings |
Care & Safety
Keep ventilation openings clear.
Keep the projector away from water and moisture.
Do not block airflow.
Do not look directly into the projection lens while it is operating.
Use the correct power supply.
Do not open or modify the projector.
Still stuck?
If the issue persists after performing all troubleshooting steps, please raise a support request.
Our support team will assist you further.
Support
Visit: www.portronics.com
Support Portal: support.portronics.com
Was this article helpful?
That’s Great!
Thank you for your feedback
Sorry! We couldn't be helpful
Thank you for your feedback
Feedback sent
We appreciate your effort and will try to fix the article