Welcome to your Beem 480, and thanks for choosing Portronics! This guide walks you through unboxing, setup, daily use, and maintenance — everything you need in one place.
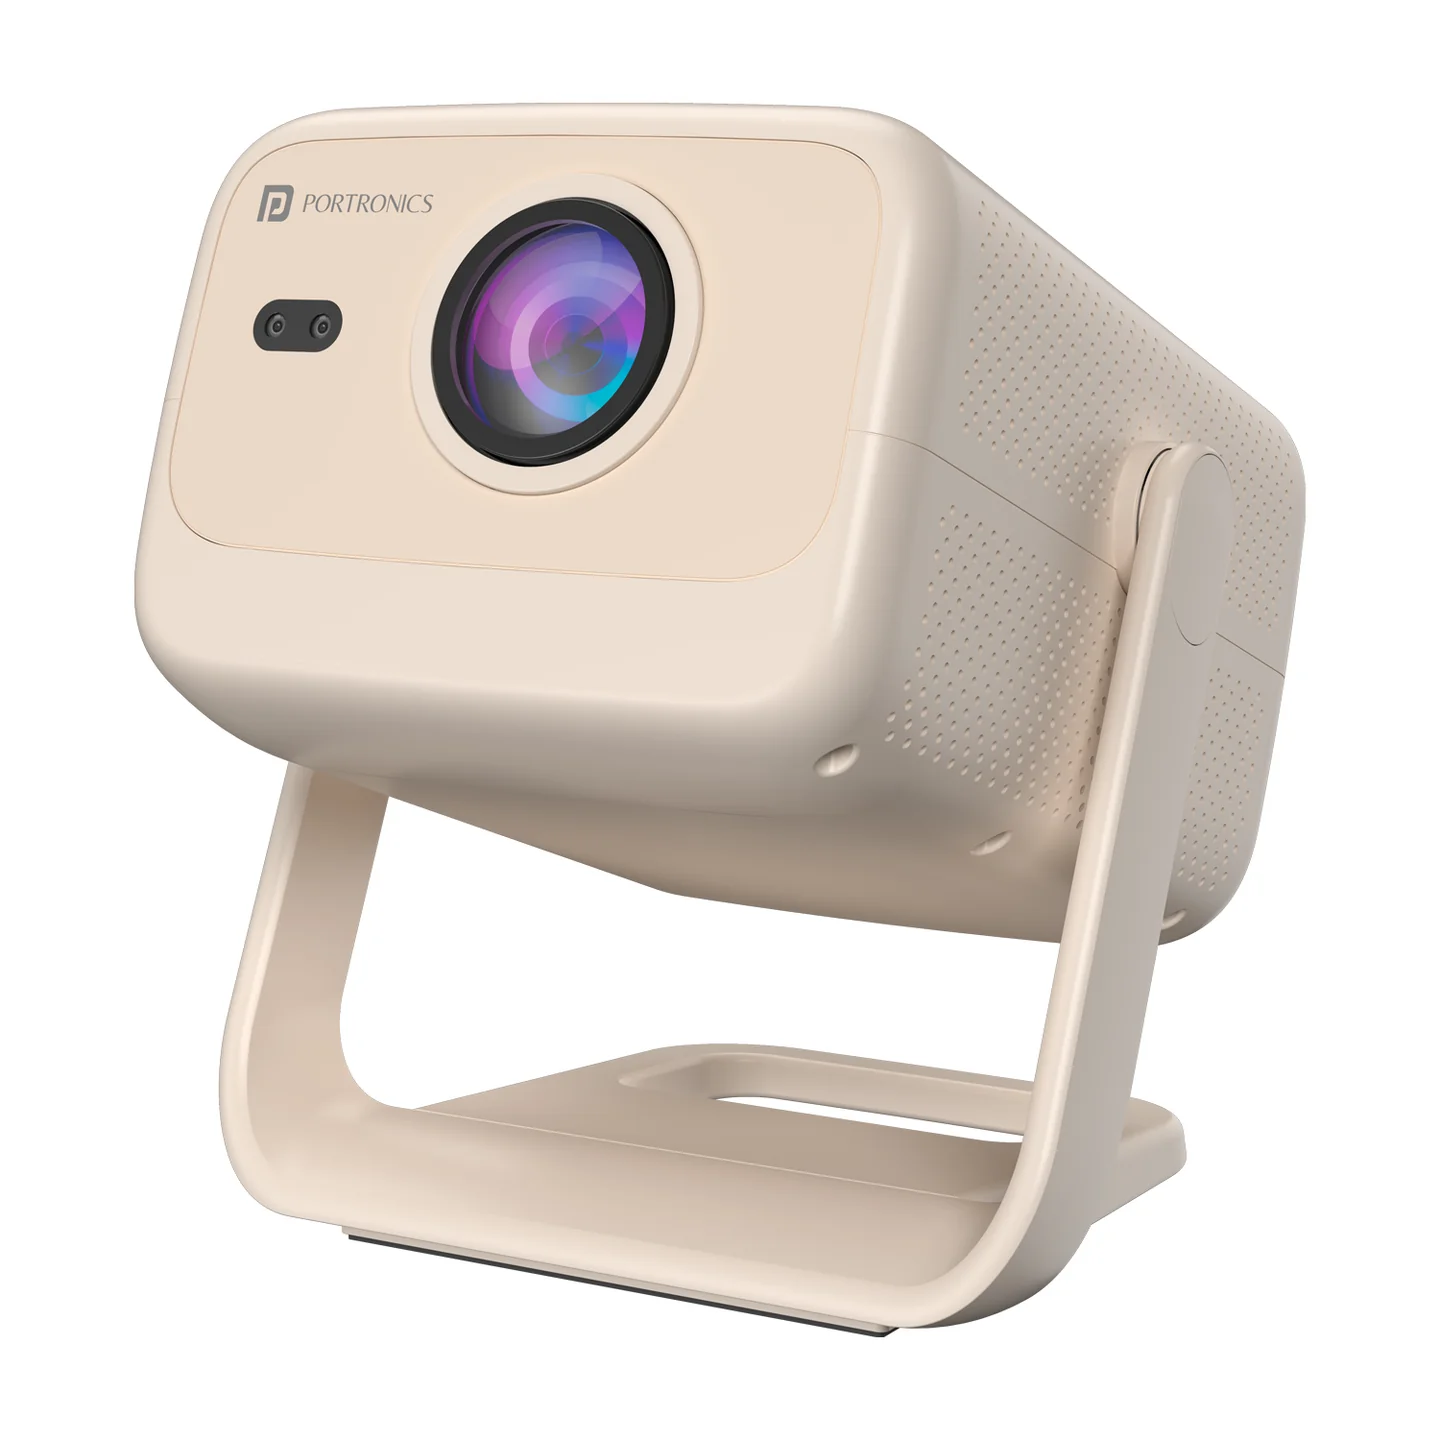
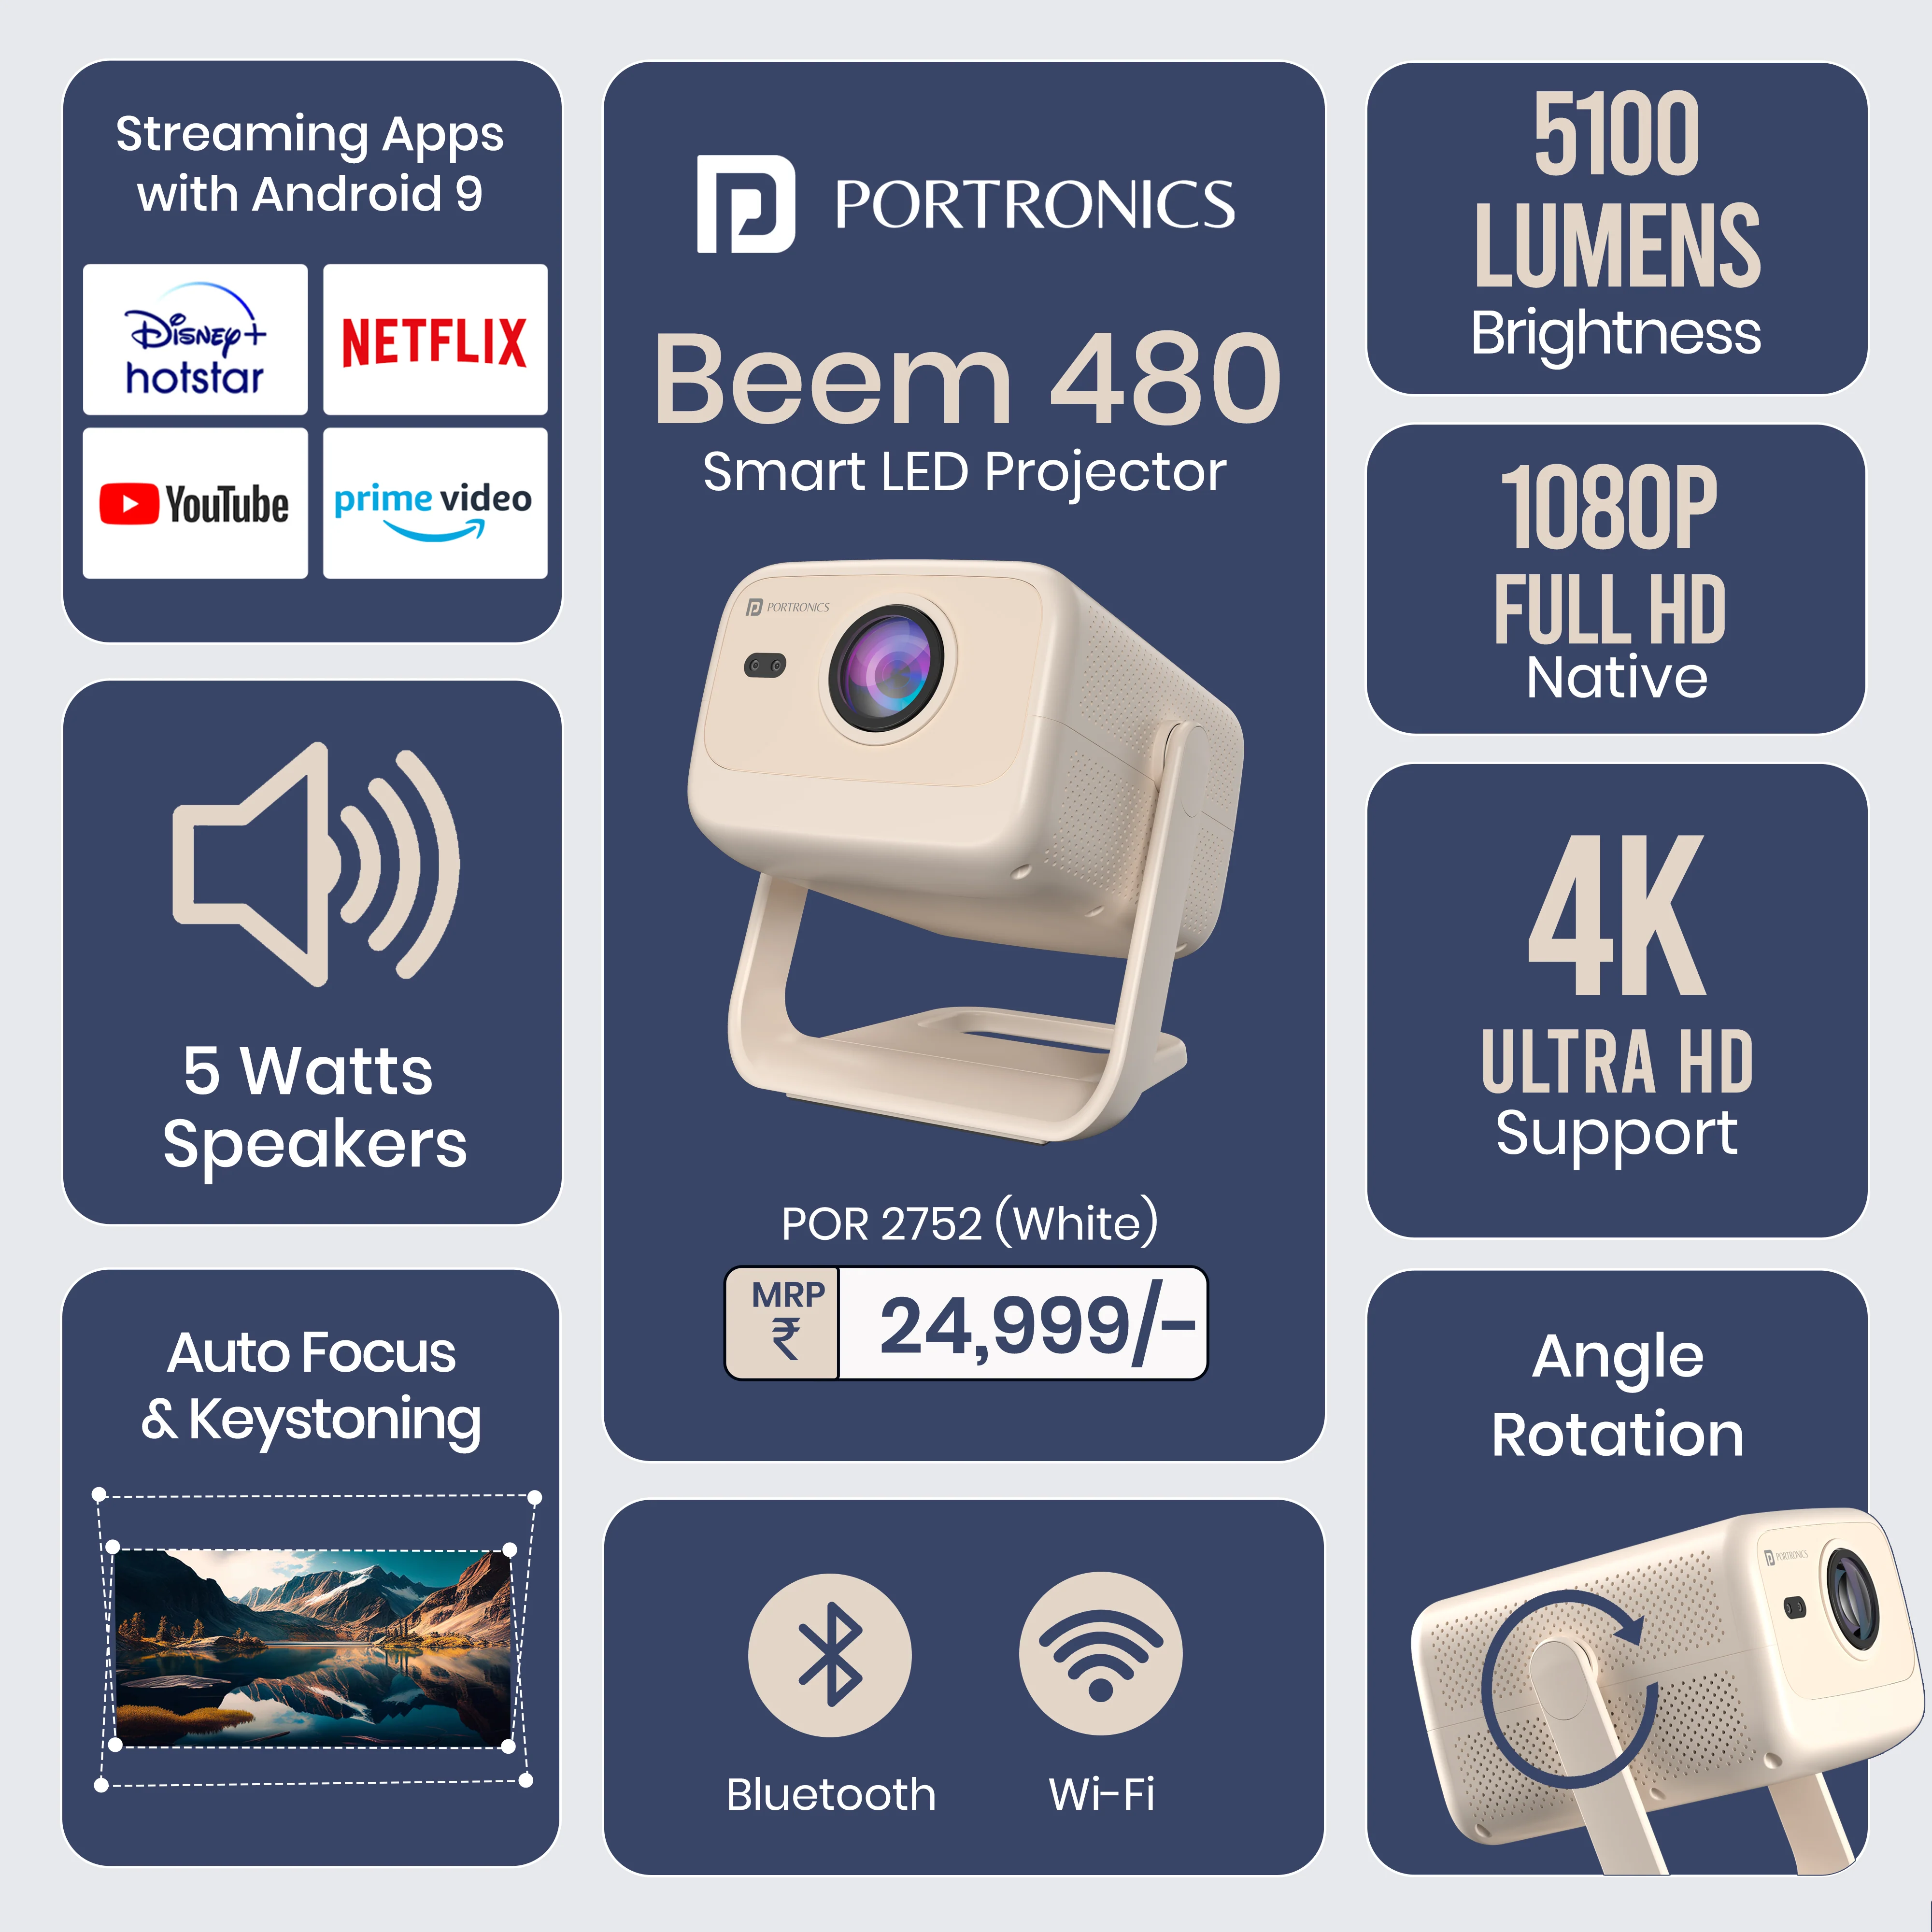
TABLE OF CONTENTS
- Table of Contents
- 1. Key Specifications
- 2. Interface Definition
- 3. Remote Control Overview
- 4. Installation
- 5. Getting Started (Operation)
- 6. Signal Selection
- 7. Connecting HDMI Devices
- 8. Connecting AV Devices
- 9. Homepage & Apps
- 10. eShare & AirPlay Mirroring
- 11. Settings Panel
- 12. Wi-Fi Settings
- 13. Bluetooth Settings
- 14. Projection Settings
- 15. Important Notices & Safety
- 16. Warranty & Support
1. Key Specifications
| Spec | Detail |
|---|---|
| Model | Beem 480 |
| Product type | Smart LED Projector |
| Operating system | Android 9 |
| Resolution | 1080p Full HD |
| Brightness | 5100 Lumens |
| Colour | Beige |
| Built-in speaker | 5 Watt |
| Connectivity | Wi-Fi, Bluetooth |
| Ports | HDMI, USB, Audio (AV) |
| Pre-installed apps | Netflix, YouTube, Prime Video, Disney+ Hotstar, and more |
| Keystone correction | Automatic vertical correction |
| Focus | Auto focus |
| Screen mirroring | eShare, Miracast, AirPlay |
| Warranty | 12 months |
2. Interface Definition
The Beem 480 has the following physical layout:
- Power button — located on the top of the unit
- Rear I/O panel, including:
- Power input
- HDMI port
- USB port
- Audio (AV) port
3. Remote Control Overview
| Button | Function |
|---|---|
| Power | Turn the projector ON/OFF |
| Signal | Switch between input/signal sources |
| Up / Down / Left / Right | Navigate on-screen menus |
| OK | Confirm/select action |
| Back | Return to the previous menu |
| Mouse | Toggle mouse-pointer navigation mode |
| Volume + / – | Increase or decrease speaker volume |
| Mute | Mute or unmute the speaker |
| Menu | Open the settings/apps menu |
| Home | Go to the homepage |
| Focus – / + | Adjust lens focus manually |
4. Installation
Before choosing an installation location for your projector, take the following into consideration:
- Size and position of your screen
- Electrical outlet location
Front-Desktop Position (most common setup)
- Place the projector at a height of 5 feet (recommended) in front of the screen for quick setup and portability.
- For optimal viewing performance, position the projector at a height of 5 feet from the ground and at least 5 feet away from the wall/screen in front of it.
- Use a good-quality power cable to avoid possible hazards such as electric shock and fire.
5. Getting Started (Operation)
Starting Up the Projector
- Plug the power cable into the projector and into a power outlet. Turn on the power outlet switch where it's plugged. The power indicator light on the projector will turn on once power has been applied.
- Press the power button on the projector or on the remote control to start the projector.
Demo Video- Click Here.
6. Signal Selection
If you're connecting the projector to an external video source such as a laptop or set-top box, you'll need to select the correct signal input source from the drop-down selection menu shown on screen.
7. Connecting HDMI Devices
- The HDMI port supports uncompressed video data transmission between compatible devices like laptops and displays over an HDMI cable (not included).
- To make a connection, check that both devices are set to the same aspect ratio (e.g., ABCD showing correctly rather than distorted) before connecting via HDMI.
8. Homepage & Apps
YouTube, Netflix, Prime Video, Plex, Kids apps, Settings, and more are all accessible directly from the homepage.
9. eShare & AirPlay Mirroring
These features let you connect Android or iOS devices wirelessly to the projector and share your device screen as a projection, using the built-in Miracast wireless display technology.
Demo Video-Click here.
10. Settings Panel
You can access the settings panel to configure the following:
- Network settings
- Bluetooth settings
- Projection settings
- Language settings
- Date/time settings
- System updates
- Application settings
- Other settings
11. Wi-Fi Settings
To access the apps on the projector that require the internet, you first need to connect the projector to Wi-Fi:
- Go to Settings > Wi-Fi Settings
- Turn on the Wi-Fi switch
- Select your network from the list and enter the password to connect
12. Bluetooth Settings
Go to Settings > Bluetooth Settings to connect external Bluetooth speakers or headphones to the projector.
13. Projection Settings
You can adjust the installation mode and four-point corner correction under Settings > Projection Settings. The automatic keystone correction can be turned ON or OFF from here as well.
14. Important Notices & Safety
Please read this manual carefully before use and keep it for future reference.
- Avoid exposure of the projector to dust, water/moisture, or extreme temperatures.
- This device is not dustproof or waterproof—regularly clean the projector vents to avoid cooling malfunction.
- Please use a high-quality power cord and under the specified rated power supply.
- When the projector is working, please do not look directly into the lens, as the strong light will flash your eyes and cause slight pain. Children should use the projector only under adult supervision.
- Do not cover the vents of the projector, and ensure it is in a well-ventilated area when in use, positioned at least 5 feet away from a wall behind it.
- Please cut off the power if the projector will be out of use for a long time.
- For optimal viewing performance, the projector should be positioned at a height of 5 feet from the ground and at least 5 feet away from the wall or screen in front.
- Use the remote control from behind the projector for convenient operation.
Note: Any damage caused by physical impact, water/liquid, fire, etc. caused by the customer or by nature is not covered under warranty. Only product design, feature, and functionality-related faults are considered. As per the brand's discretion, the product is eligible for repair only — not replacement — during the warranty period.
15. Warranty & Support
Warranty: 12 months, covering product design, feature, and functionality-related faults only. Damage due to physical impact, liquid exposure, fire, or misuse is not covered.
Need Help?
- Visit: www.portronics.com
- Demo video- Click Here
- Support Portal: support.portronics.com
Was this article helpful?
That’s Great!
Thank you for your feedback
Sorry! We couldn't be helpful
Thank you for your feedback
Feedback sent
We appreciate your effort and will try to fix the article