1. Product Overview
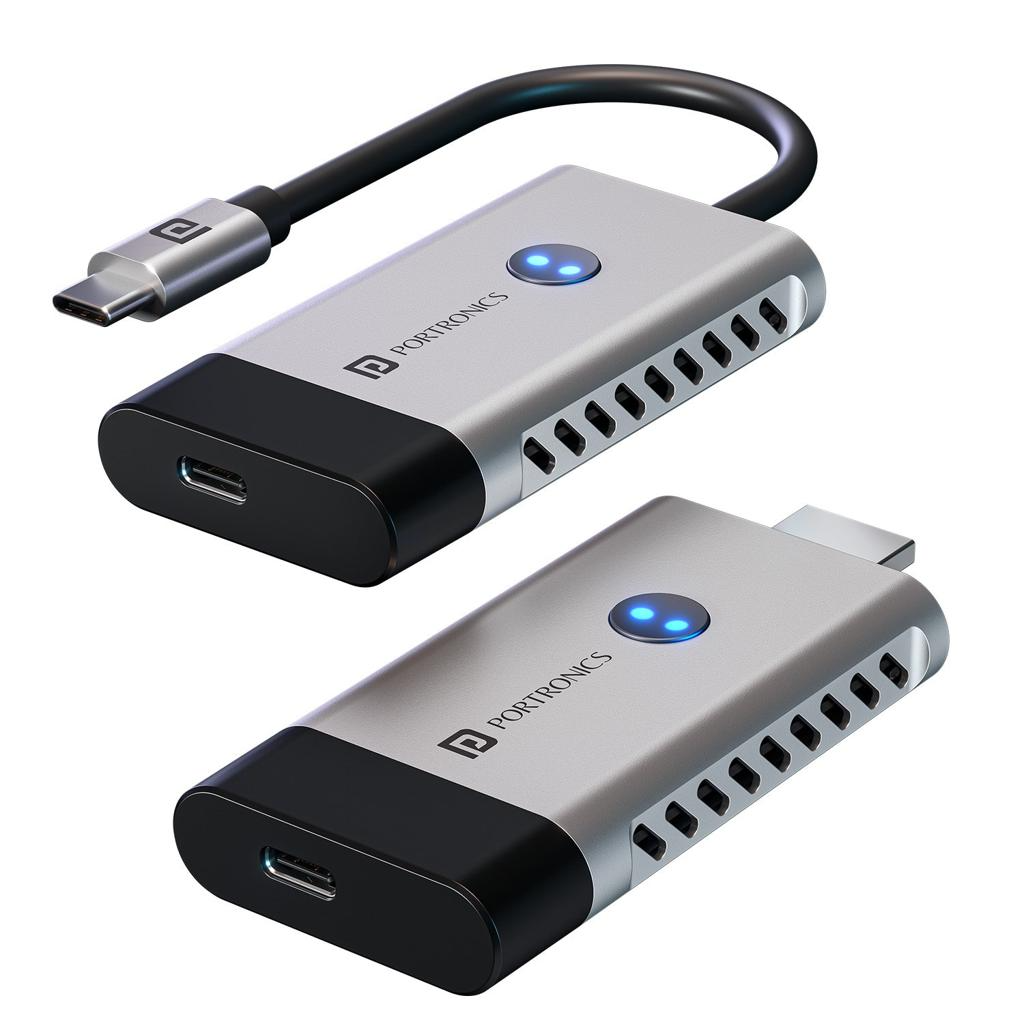
SkyCast is a wireless HDMI casting solution that lets customers mirror or extend their screen from a laptop, phone, or tablet to a TV, monitor, or projector — with no app, no Wi-Fi, and no software installation required.
The system has two parts:
- USB-C Transmitter — plugs into the source device (laptop/phone/tablet)
- HDMI Receiver — plugs into the display (TV/monitor/projector)
Once both units are powered, they pair automatically and the source screen appears on the display within a few seconds.
The single most important compatibility rule to understand before troubleshooting anything:
The source device's USB-C port must support video output — specifically DisplayPort Alternate Mode (DP Alt Mode) or Thunderbolt. A USB-C port that only does charging or data transfer will never work with SkyCast, no matter what troubleshooting is attempted.
2. Key Specifications
Spec Detail Video resolution Up to 4K @ 50Hz Wireless transmission range 30–50 meters, line of sight Charging USB-C PD pass-through, up to 100W Supported OS Windows 10/11, macOS 11.0 or later Connection type Direct wireless (no Wi-Fi network required) Video output requirement Source device must support DP Alt Mode or Thunderbolt over USB-C 3. What's in the Box
- 1 × USB Type-C Transmitter
- 1 × HDMI Receiver
- 1 × USB Power Cable
- 1 × User Manual
4. Device Compatibility
Transmitter side (source devices)
Works with any device that has a USB-C port supporting DisplayPort Alternate Mode, including:
- Windows laptops
- MacBooks
- iPads (USB-C models)
- Compatible Android phones
- Other USB-C devices with video-output support
Not all USB-C devices qualify. Many phones and some laptops have USB-C ports that are charge/data-only. Please check your device's spec sheet for "DisplayPort Alt Mode" or "USB-C video output" support before assuming a fault with SkyCast.
iPhones: Only USB-C iPhones with DP Alt Mode support work. Lightning-port iPhones are not compatible under any circumstances — there is no workaround or adapter fix to offer.
Receiver side (displays)
Works with any TV, monitor, or projector that has an HDMI input.
5. Installation Guide
Step 1 — Connect the Transmitter
- Insert the USB-C transmitter into the laptop or phone.
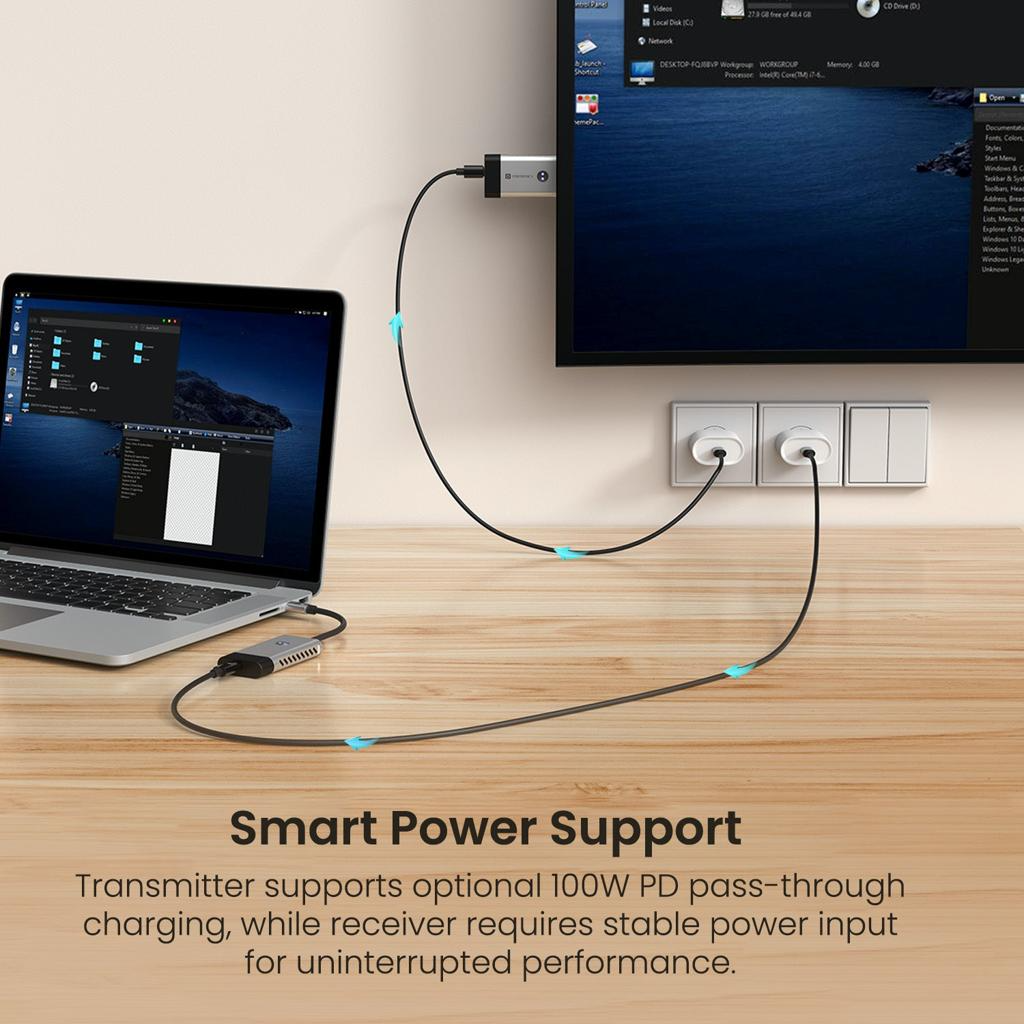
- If you want to charge while casting, connect a USB-C charger to the PD pass-through port on the transmitter.
Step 2 — Connect the Receiver
- Plug the HDMI receiver into the TV, monitor, or projector's HDMI port.
- Connect the receiver's USB power cable to one of:
- TV's USB port
- Monitor's USB port
- A 5V USB power adapter
- If HDMI ports are limited on the display, an HDMI extender can be used.
Step 3 — Automatic Pairing
- Once both the transmitter and receiver are powered, they pair automatically.
- This takes a few seconds — no manual pairing steps are needed.
- The source screen should appear on the display once pairing completes.
6. How to Use (by Scenario)
Laptop → TV
- Connect the transmitter to the laptop.
- Connect the receiver to the TV.
- Select the correct HDMI input on the TV.
- Wait for pairing.
- Display appears automatically.
Phone → TV
- Confirm the phone supports USB-C DisplayPort Alt Mode.
- Connect the transmitter to the phone.
- Connect the receiver to the TV.
- Select the correct HDMI input.
MacBook → Projector
- Connect the transmitter to the MacBook.
- Connect the receiver to the projector.
- Select the correct HDMI source on the projector.
- In macOS System Settings → Displays, choose Extend or Mirror as needed.
Was this article helpful?
That’s Great!
Thank you for your feedback
Sorry! We couldn't be helpful
Thank you for your feedback
Feedback sent
We appreciate your effort and will try to fix the article