Welcome to your Beem 520! This guide covers everything from unboxing to setup, daily use, maintenance,—everything you need in one place.
TABLE OF CONTENTS
- 1. What's in the Box
- 2. Key Specifications
- 3. Safety First — Please Read
- 4. Setting Up Your Projector
- 5. Getting to Know the Remote
- 6. Focusing the Image
- 7. Connecting to Wi-Fi & Bluetooth
- 8. Playing Media from a USB Drive
- 9. Screen Sharing from Your Phone
- 10. Cleaning & Maintenance
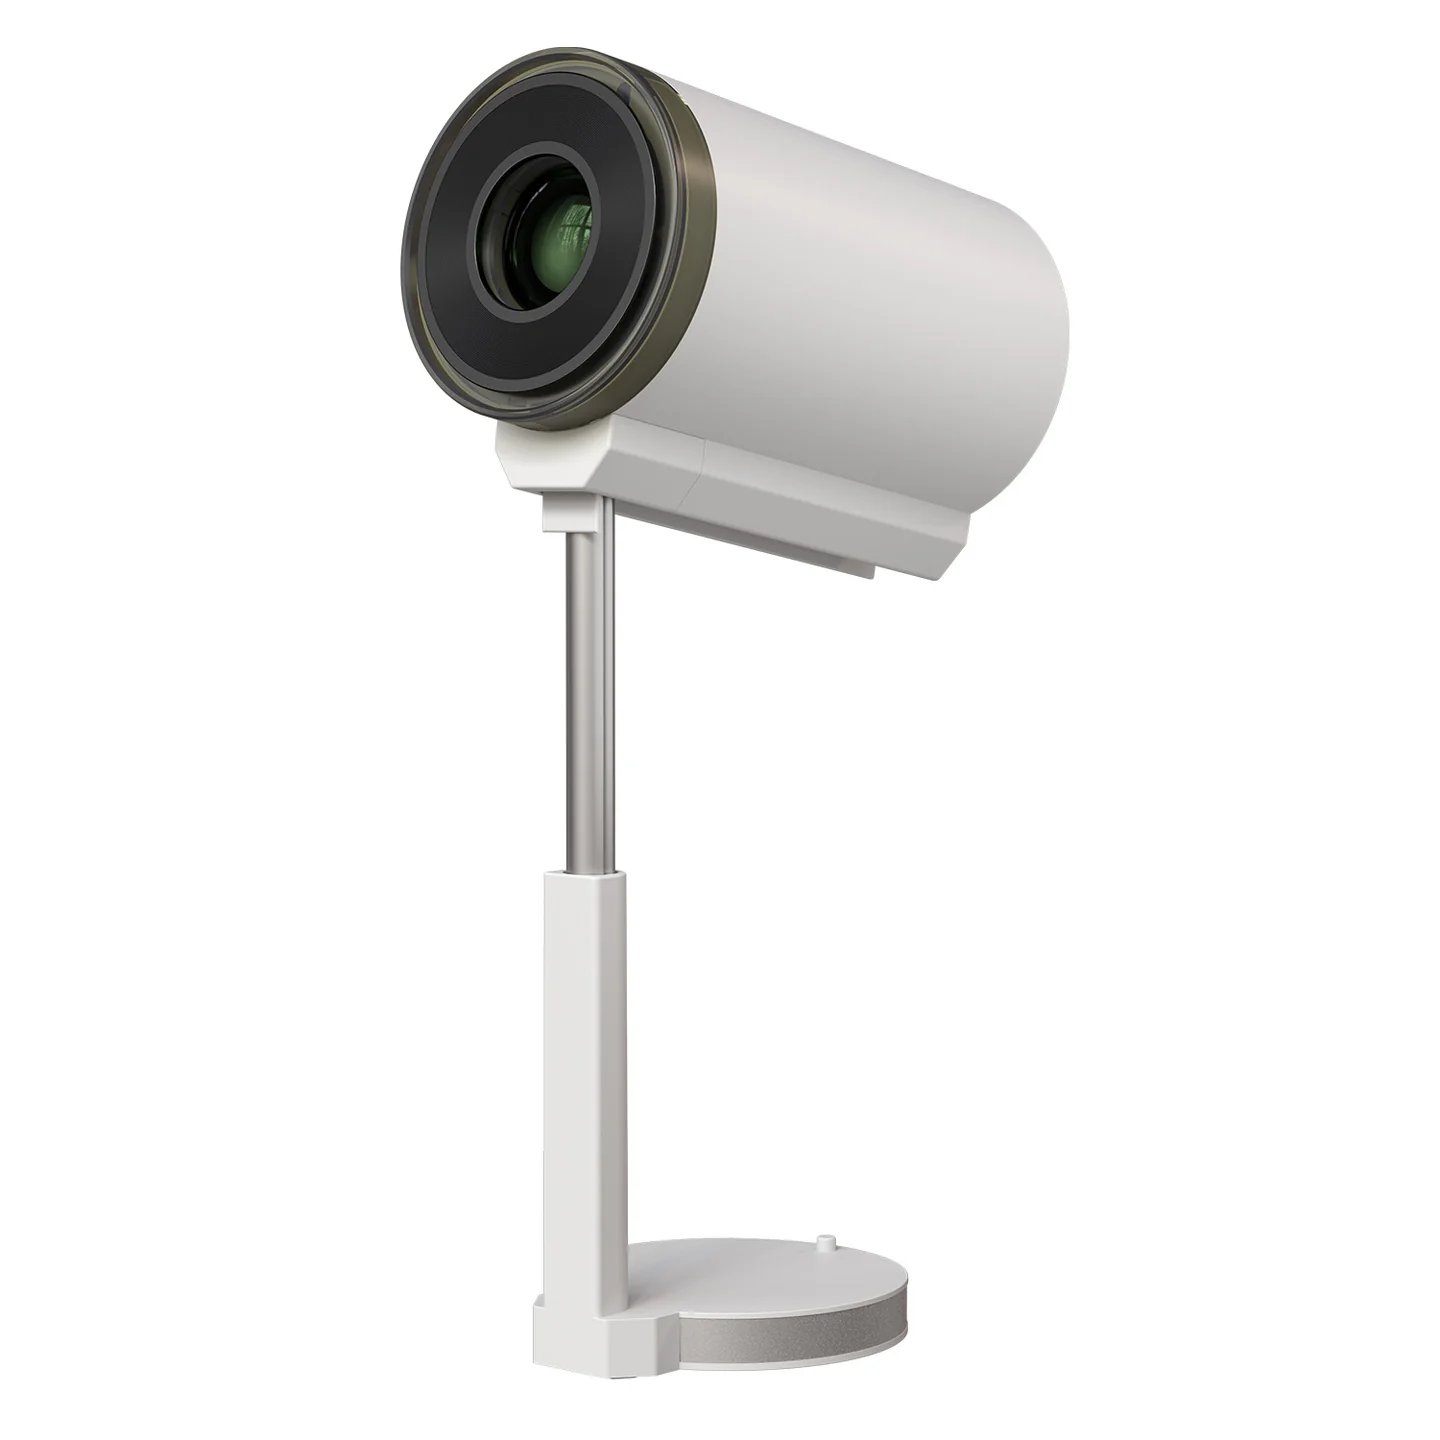
1. What's in the Box
- 1 × Projector
- 1 × Remote Control
- 1 × User Manual
- 1 x Power Cable
2. Key Specifications
| Spec | Detail |
|---|---|
| Model | Beem 520 (Model Code: POR 2311) |
| Product type | Smart LED Projector |
| Colour | White |
| Brightness | 2200 Lumens |
| Resolution | 720p Native HD |
| Lamp type | LED |
| Built-in speakers | 3 Watts |
| Connectivity | Wi-Fi, Bluetooth, USB, HDMI, 3.5mm Audio Out |
| Special features | Adjustable design, built-in streaming apps, auto vertical keystone correction, ceiling mountable |
| Warranty | 12 months |
3. Safety First — Please Read
- Keep the projector away from dust, water/moisture, and extreme temperatures. It is not dustproof or waterproof.
- Clean the projector's vents regularly to prevent overheating.
- Never look directly into the lens while the projector is on — the light is strong enough to cause temporary discomfort. Keep children supervised around the projector.
- Don't cover the vents. Keep the projector in a well-ventilated space, positioned at least 2 feet away from any wall behind it.
- Unplug the projector if it won't be used for an extended period.
- Don't attempt to open or repair the projector yourself — this voids the warranty. Contact us instead.
- For the best picture, position the projector 5 feet above the ground and at least 5 feet from the wall/screen in front of it.
- Operate the remote from behind the projector for the most reliable signal.
- To avoid fire or electric shock, never expose the projector to rain or moisture.
4. Setting Up Your Projector
The Beem 520 can be used in a few different placements depending on your space:
- Horizontal placement — on a flat surface, facing the screen
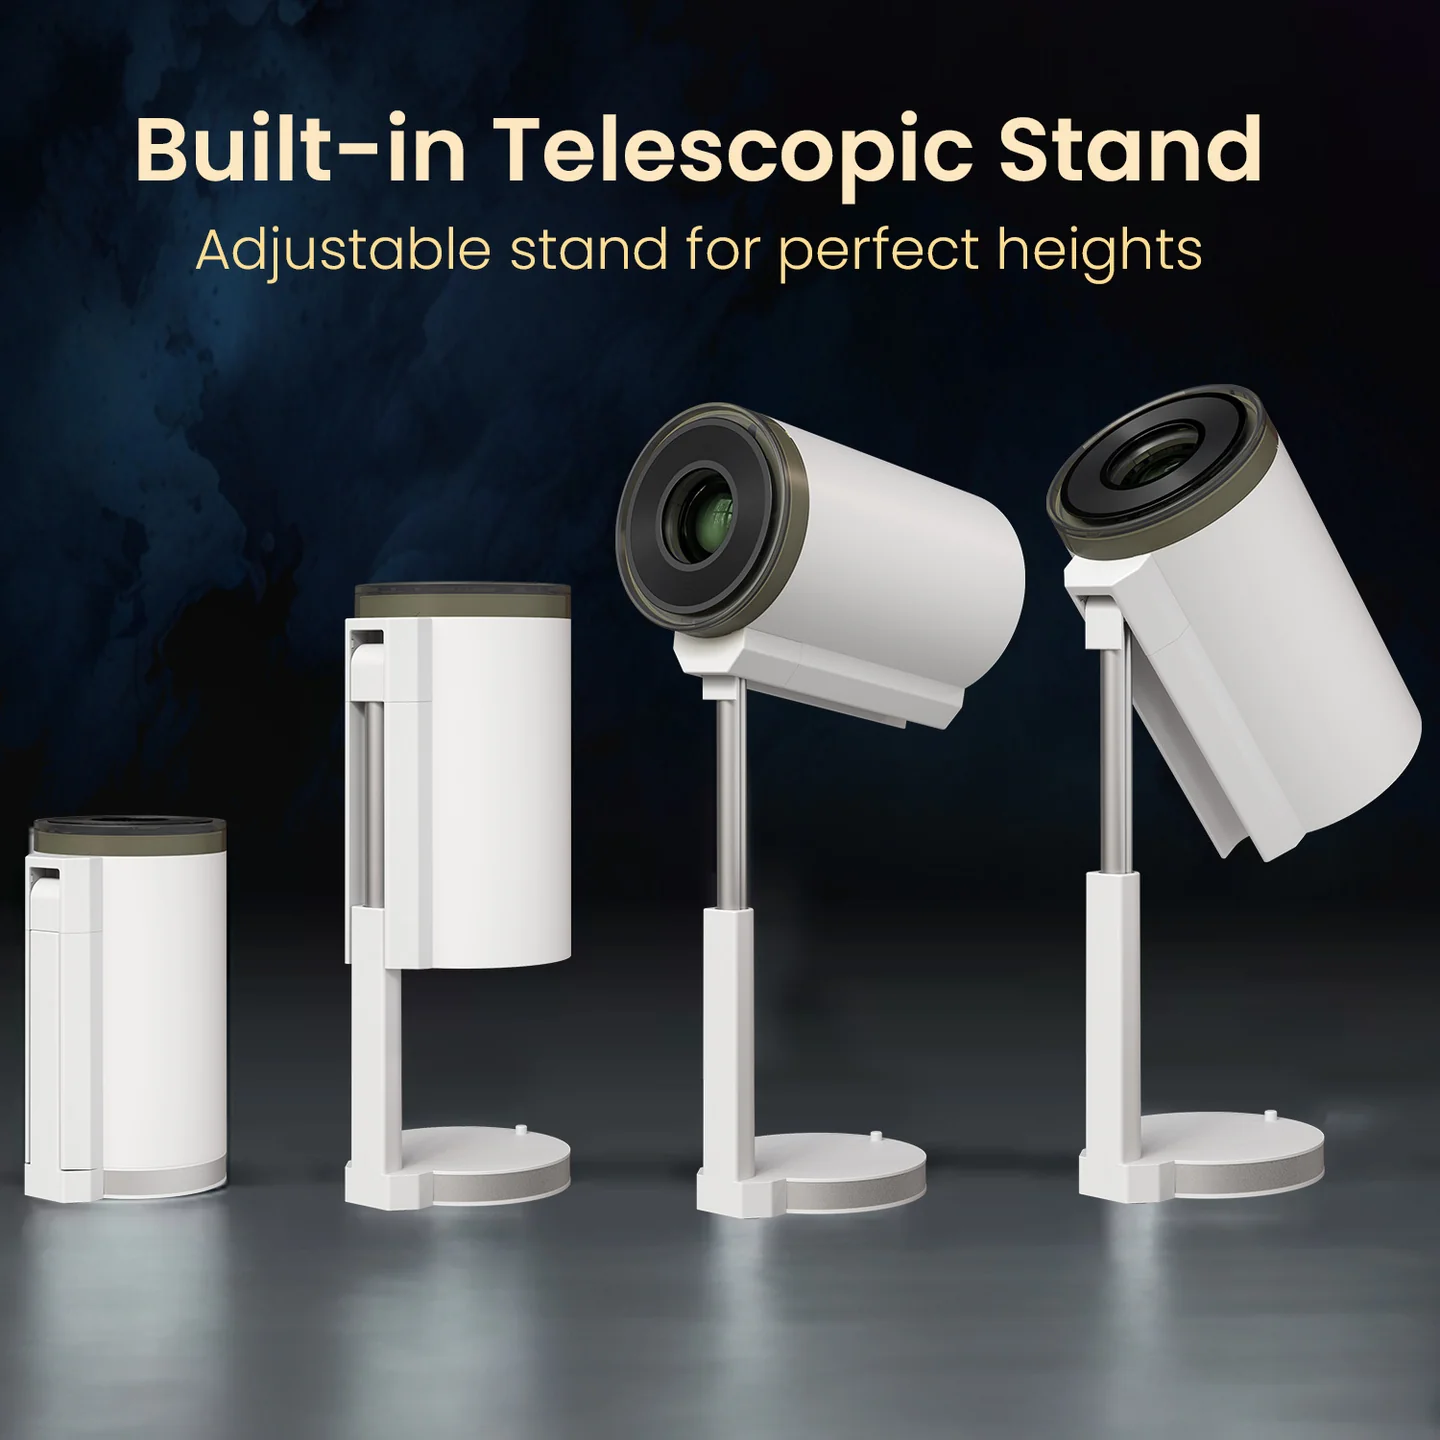
- Placed on the ground — using the adjustable telescopic stand for height
- Wall hanging — using the wall-hanging hole on the base
- Throw to the ceiling — for ceiling-mounted setups
Adjustable height and angle: The built-in telescopic stand lets you raise or lower the projector, and the base allows you to tilt the angle up or down until the image lines up with your screen.
Powering On/Off
- Press the ON/OFF button on the remote control to power on.
- When not in use, put the dust cap on and store the unit in a dry, clean place.
Demo Video-Click Here.
5. Getting to Know the Remote
| Button | Function |
|---|---|
| Power | Turn the projector ON or OFF |
| Mute | Mute/unmute the built-in speaker |
| Projection Adjust | Mirror and/or flip the projected image |
| Settings | Open projector settings |
| Direction keys | Navigate up, down, left, right |
| Enter | Open or accept a selection |
| Volume +/- | Increase or decrease speaker volume |
| Menu | Open the apps/files menu |
| Home | Return to the home screen |
| Return | Go back to the previous menu or close the current app |
| Signal Source | Switch between input sources (e.g., HDMI, USB) |
Note: Button layout may vary slightly by unit/version — refer to the icons on your physical remote as the final reference.
6. Focusing the Image
If your image looks blurry:
- Rotate the focusing ring on the projector body until the image sharpens.
- If you still can't get a clear picture, try moving the projector slightly — distance and angle both affect focus.
7. Connecting to Wi-Fi & Bluetooth
Wi-Fi Setup
- Go to Settings on the home screen.
- Select your Wi-Fi network from the list.
- Enter your password to connect.
Bluetooth Setup
- Go to Settings → Bluetooth.
- Turn Bluetooth on and select your device to pair.
Important Note:
- Some Bluetooth devices may not connect due to compatibility limitations between devices
- Certain devices may not work together even though they function properly with other devices
Demo Video-Click Here.
Other Useful Settings
- Time setting: Settings → set date/time for your region.
- Projection mode: Settings → choose the projection method that suits your setup (e.g., front, rear, ceiling).
- Picture correction: Settings → Manual keystone correction if your image looks skewed or trapezoidal.
Note: Menu screens may look slightly different depending on your software version — the steps above are the general path to follow.
8. Playing Media from a USB Drive
- Press the Signal Source button on the remote and select USB.
- Insert your USB flash drive into the projector.
- The projector will automatically detect the drive and show a pop-up.
- Select the type of file you want to play (video, music, or photos).
- Press OK on the remote to open it.
9. Screen Sharing from Your Phone
You can mirror your phone's screen directly to the projector:
- iPhone: Use AirPlay/Screen Mirroring.
- Android: Use Airscreen (or your phone's built-in screen mirroring/Miracast feature).
On the projector's home screen, use the direction keys to select the Screen Sharing app, then follow the on-screen prompts to connect your phone.
Demo Video-Click Here.
10. Cleaning & Maintenance
Before cleaning, always unplug the projector and let it cool down.
Cleaning the Projector
- Wipe with a soft, dry, lint-free cloth. Avoid excessive rubbing, which can damage the coating.
Cleaning the Lens
- Use a professional lens cleaning cloth or air blower designed for optical lenses.
- Avoid touching the lens directly with your fingers.
Cleaning the Air Inlet/Outlet
- Clean the vents in the direction they're arranged (don't scrub across them), following the natural airflow pattern.
- Regular vent cleaning prevents overheating and extends the projector's lifespan.
Was this article helpful?
That’s Great!
Thank you for your feedback
Sorry! We couldn't be helpful
Thank you for your feedback
Feedback sent
We appreciate your effort and will try to fix the article