Welcome to your Beem 560, and thanks for choosing Portronics! This guide walks you through unboxing, setup, daily use, and maintenance — everything you need in one place.
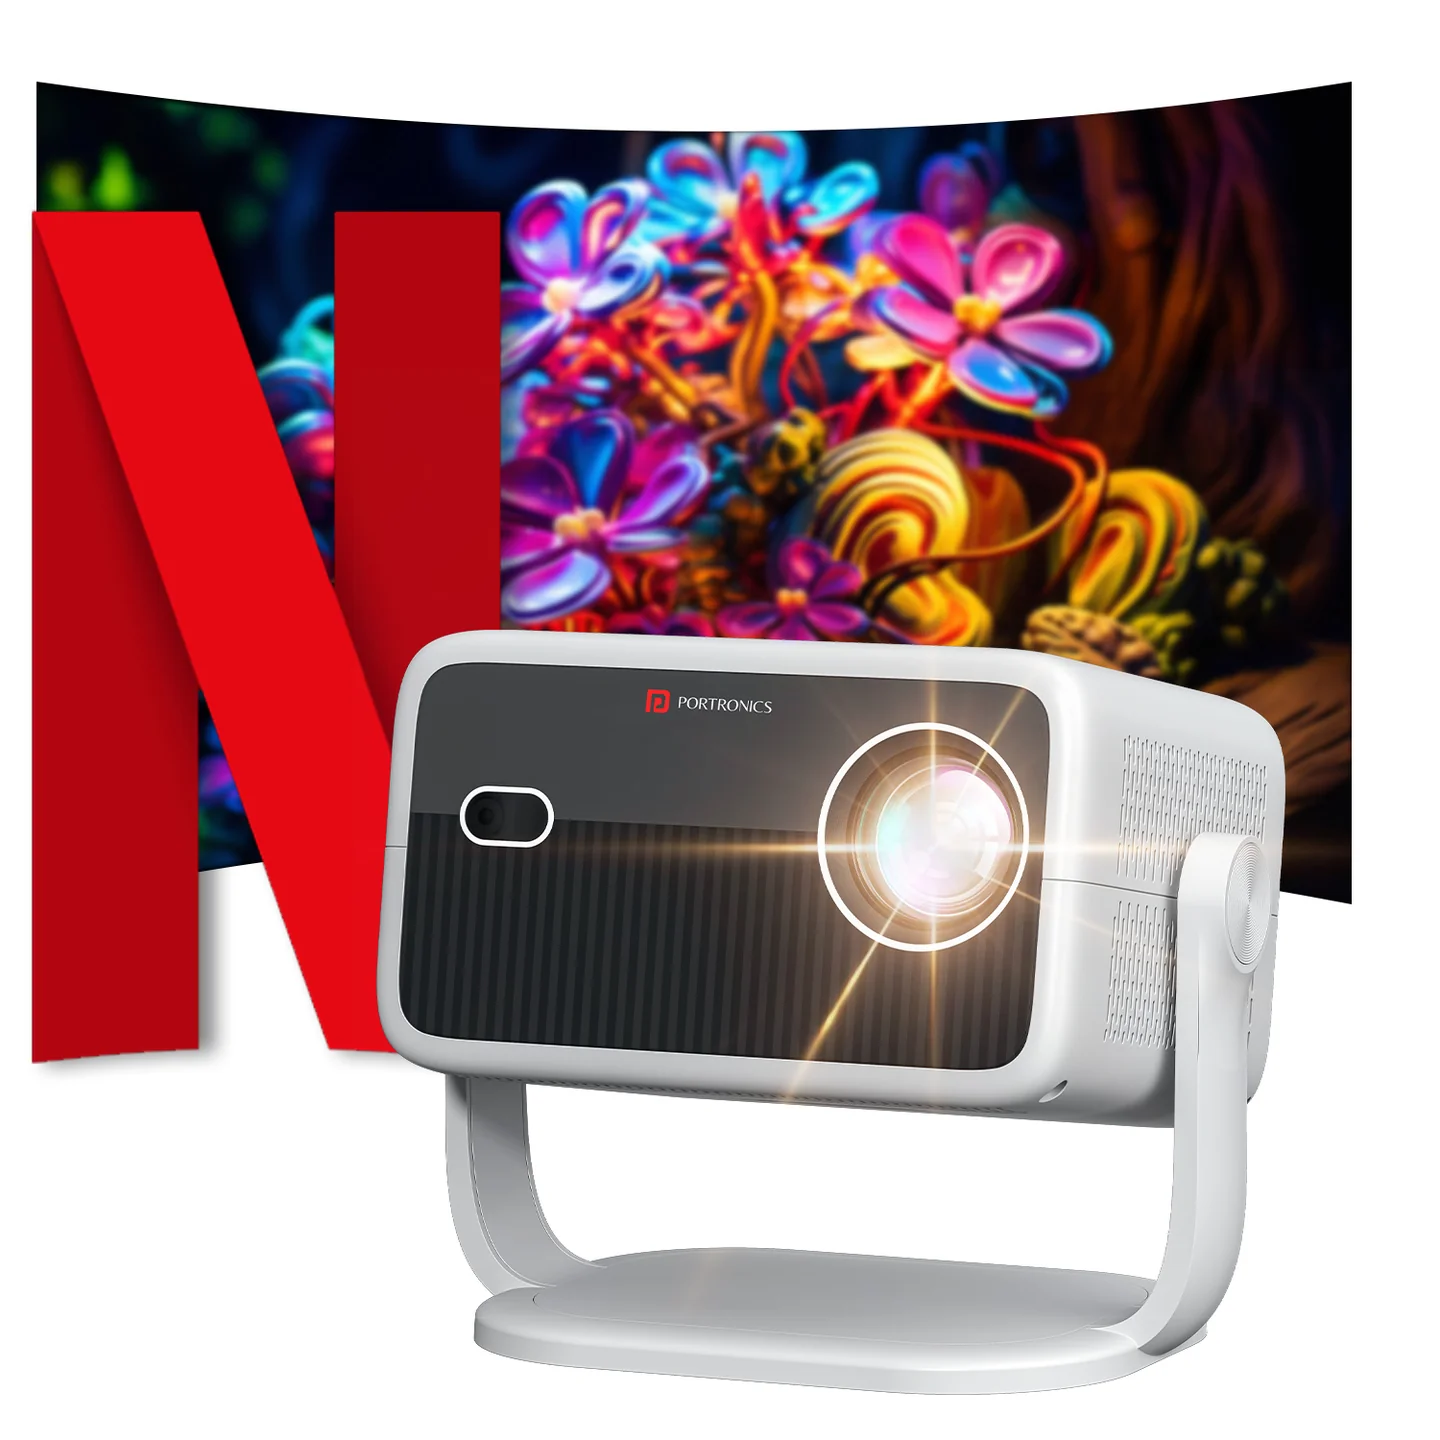
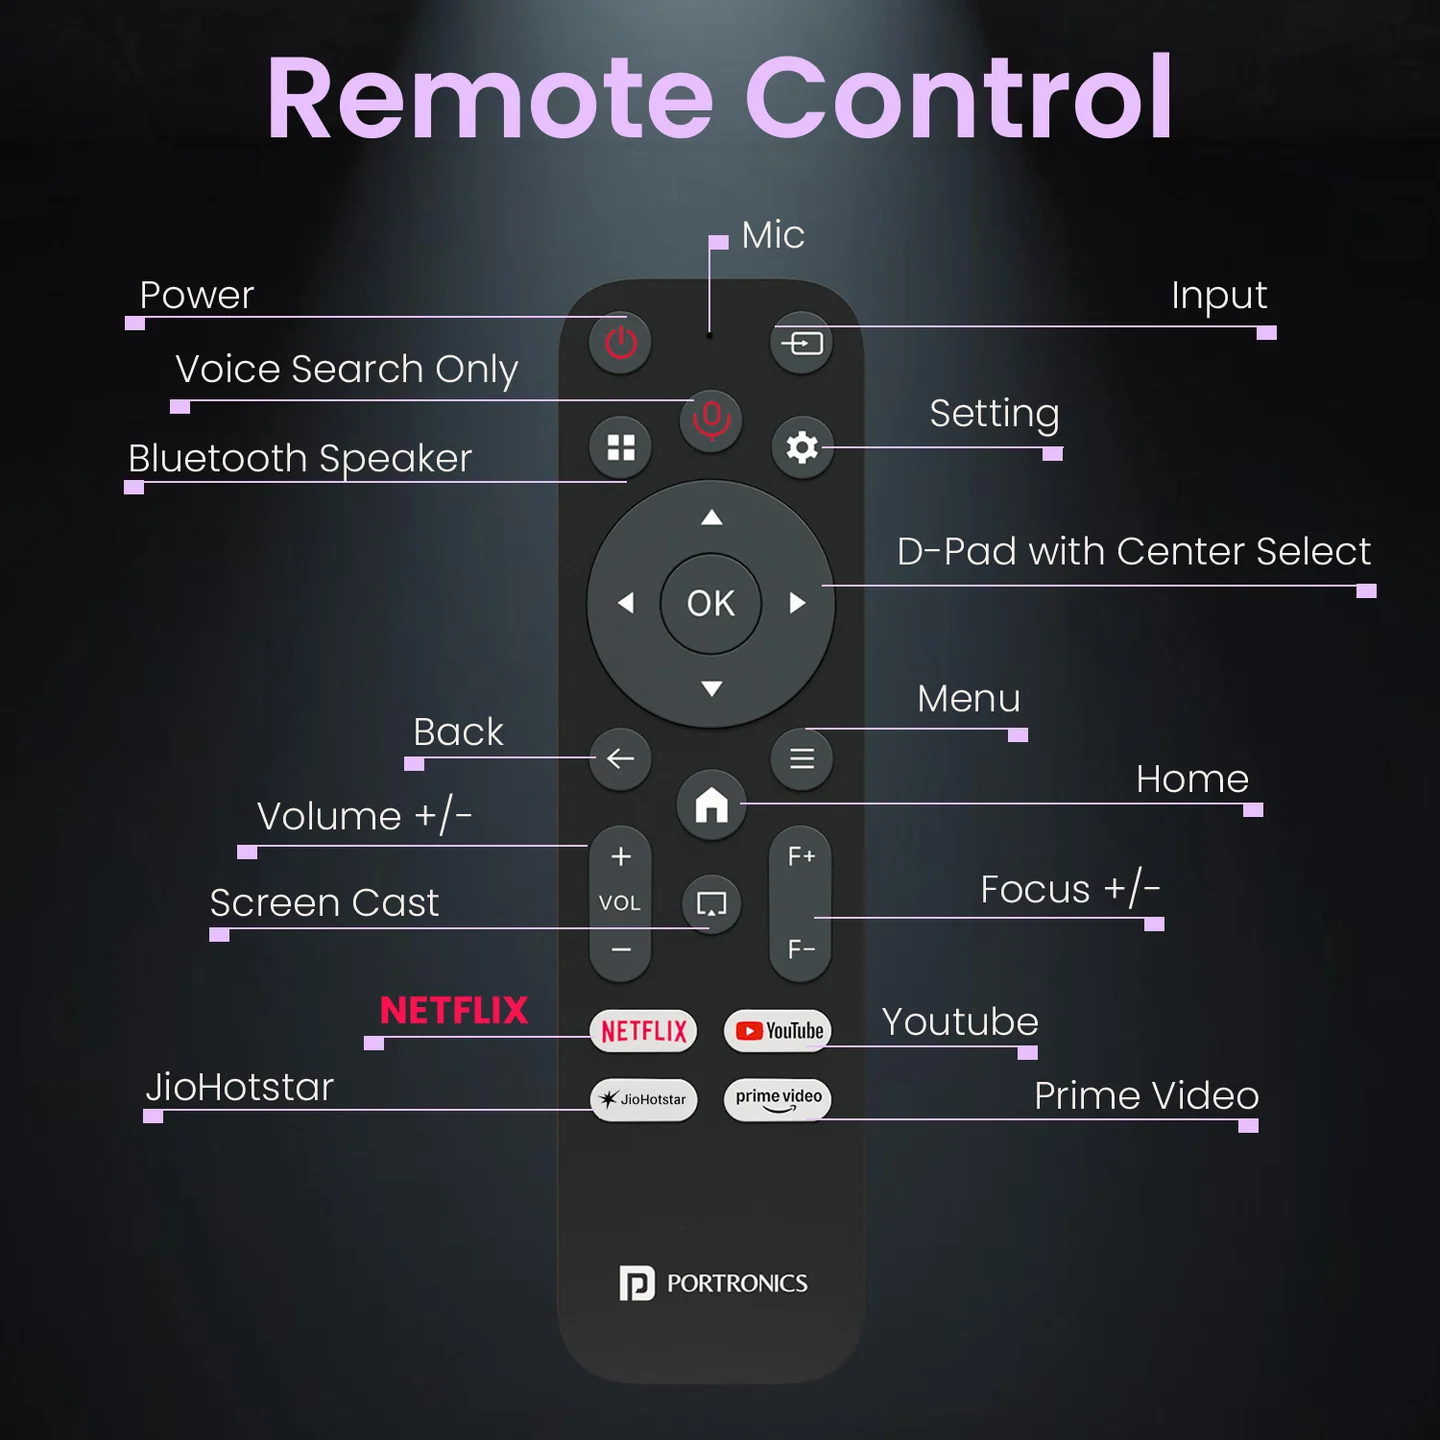
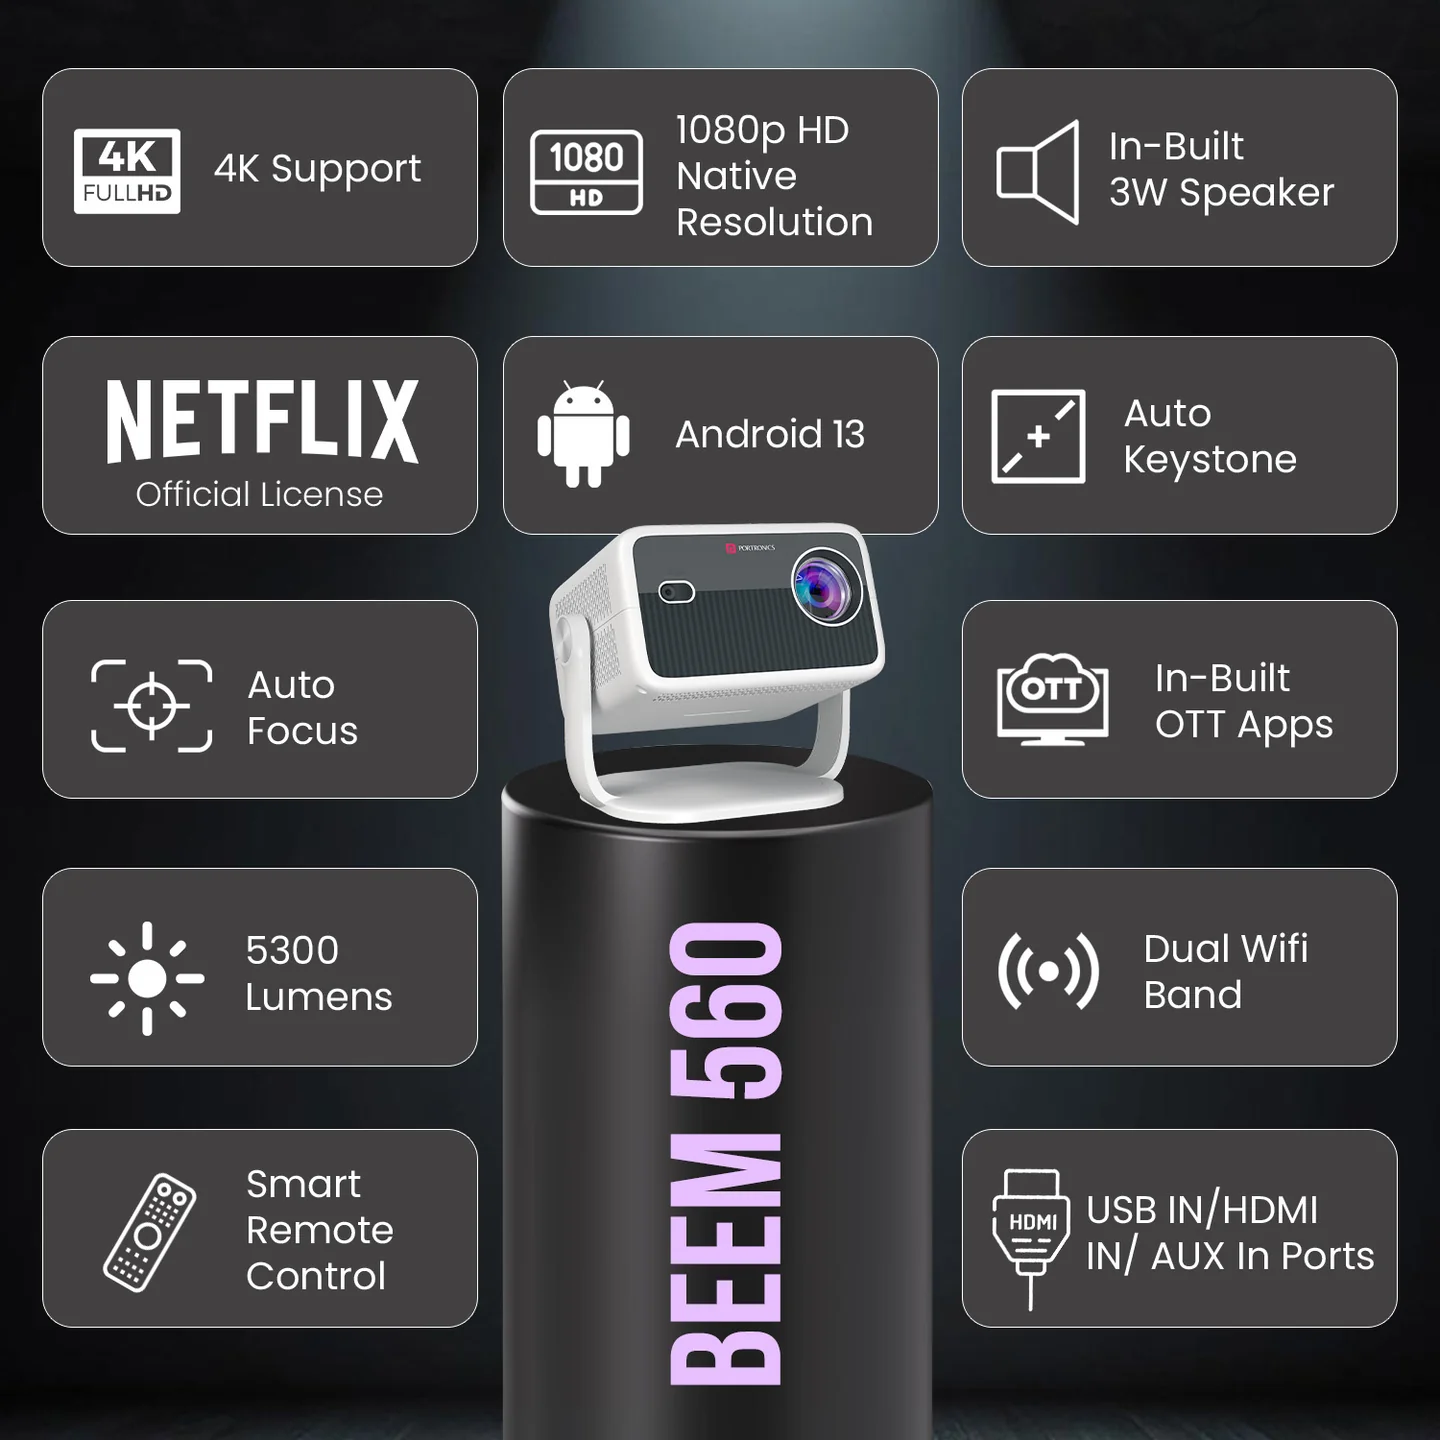
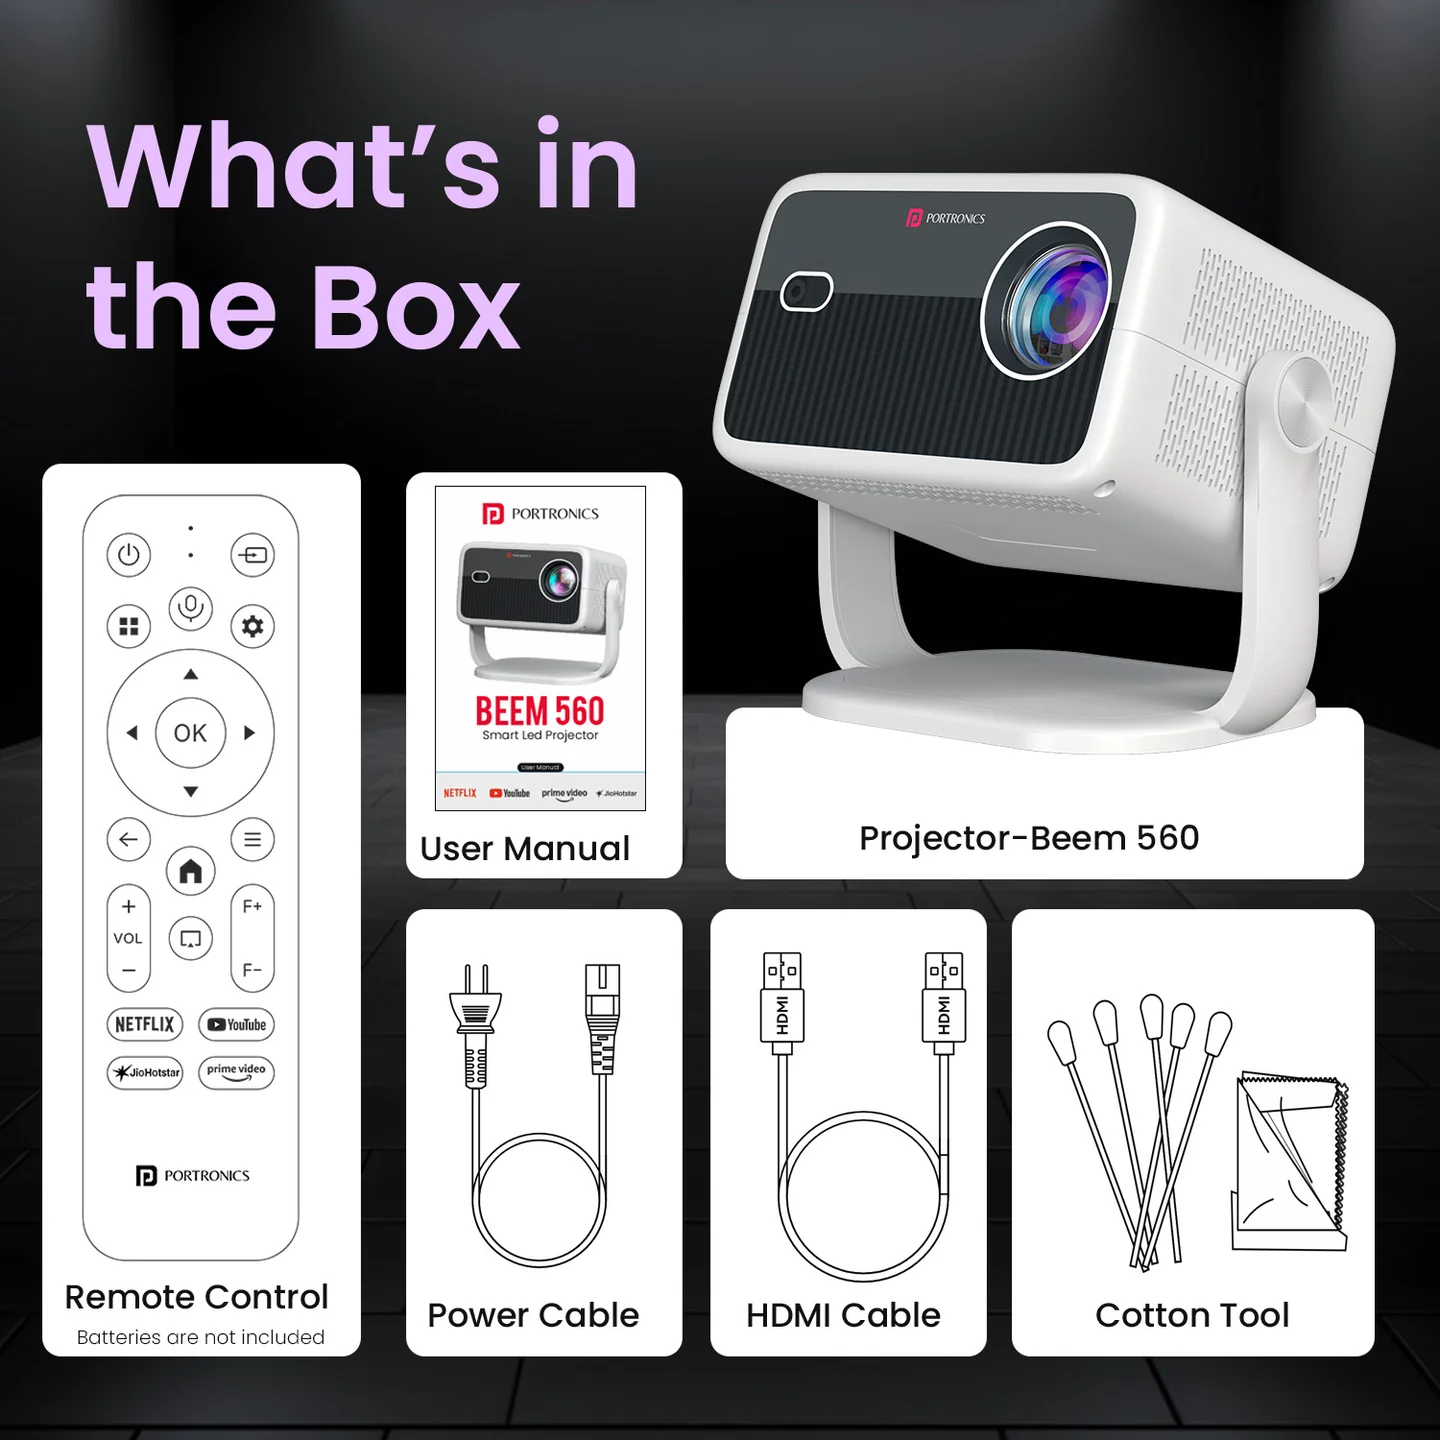
TABLE OF CONTENTS
- Table of Contents
- 1. Key Specifications
- 2. List of Items
- 3. Overview
- 4. Safety Precautions
- 5. Cautions, Warnings & Dust Maintenance
- 6. Important Notices
- 7. Getting Started
- 8. Remote Control & Bluetooth Pairing
- 9. Helpful Tips
- 10. Network Settings (Wi-Fi & Bluetooth)
- 11. Picture Settings
- 12. Sound Settings
- 13. Lens Settings
- 14. Device Preferences
- 15. Whale OS Cast (Screen Casting)
- 16. App Setting
- 17. Voice Service
- 18. Software Update
- 19. File Management
- 20. Bluetooth Speaker Mode
- 21. Cleaning Method
- 22. Warranty & Support
1. Key Specifications
| Spec | Detail |
|---|---|
| Model | Beem 560 |
| Product type | Smart LED Projector |
| Operating system | Android (Whale OS) |
| Resolution | 1080p Full HD Native (1920×1080) |
| Brightness | 5300 Lumens |
| Screen size | Up to 100" |
| Certification | Netflix Certified |
| Built-in speaker | 3 Watt |
| Connectivity | Dual-band Wi-Fi, Bluetooth |
| Ports | HDMI in, USB in, AUX |
| Pre-installed apps | Netflix, YouTube, Prime Video, JioHotstar, and more |
| Focus & keystone | Auto Focus + Auto Keystone Correction |
| Design | Adjustable tilt-angle design |
| Mounting | Dual-use mounting hole (camera tripod / 1/4" projector tripod) |
| Colour | White |
| Warranty | 12 months |
2. List of Items
- Projector × 1
- Remote Control × 1 (batteries not included)
- Power Cable × 1
- HDMI Cable × 1
- Clean Tool × 1
- Projector User Manual × 1
3. Overview
The Beem 560's rear panel includes the HDMI input, USB port, 3.5mm stereo jack, IR sensor, and power port. The device also has an adjustable tilt-angle stand for flexible placement.
4. Safety Precautions
For the best viewing experience, it is recommended to use this product in a dark room.
- Do not install the projector in areas exposed to direct air conditioning, moisture, or high temperatures, as this may cause malfunction.
- Ensure proper ventilation at all times — blocked airflow can lead to overheating or failure.
- Never insert clips, paper, metal objects, or any foreign items into the projector. If something falls inside accidentally, power off immediately and contact Portronics service personnel.
- To prevent electrical damage, do not place liquids on or near the projector.
- When transporting the projector, use soft protective materials and always cover the lens with the lens cap to avoid scratches or damage.
- After use, the exhaust vent area may be hot — avoid touching it directly with bare hands.
- Never look directly into the projector lens while it is powered on, as this can cause serious eye injury.
5. Cautions, Warnings & Dust Maintenance
Ventilation
- Ensure there are no obstacles within 30 cm of the projector's air inlet and outlet during use.
- Provide adequate ventilation to prevent heat buildup inside the projector.
- Blocked airflow may cause overheating and abnormal functioning.
Dust Maintenance
- After using the dust removal window, always close it properly — leaving it open may cause serious damage to the projector.
- Regularly clean the air inlet dust screen to prevent dust accumulation, which can block airflow and damage the device.
6. Important Notices
Notice 1: Do not attempt to open the projector casing. Internal maintenance should only be carried out by trained professionals.
Notice 2: The internal parts of the projector may contain uninsulated high voltage and surface magnetic fields. Do not touch internal components, as this can result in serious electric shock.
Notice 3: To prevent fire or electric shock, never expose the projector to rain, moisture, or wet conditions under any circumstances.
7. Getting Started
- Plug the power cable into the projector.
- Press the power button to turn on the projector.
- Use the manual focus by pressing the Focus button on the remote control.
Tip: Make sure the projector is horizontal to the projector screen.
8. Remote Control & Bluetooth Pairing
The remote includes: Power, AV/Chn buttons, Bluetooth Speaker shortcut, Input, Setting, D-Pad with center Select, Back, Home, Menu, Screen Cast, Vol +/-, Focus +/-, YouTube, and JioHotstar shortcut keys.
Note: The matching interface of Bluetooth remote control varies — press "Voice Input" button to bring up the matching guide.
Bluetooth Remote Controller Pairing
- Keep the remote controller close to the projector.
- Press and hold both the Left and Right buttons simultaneously for 3 seconds.
- The remote will pair automatically.
Demo Video-Click Here
9. Helpful Tips
1. Blurry Image
- Go to Settings > Lens > Autofocus Settings on the homepage to adjust image clarity.
- You can also press the Focus button on the remote control to achieve the best clarity.
2. Mounting Hole
- The projector features a dual-use single mounting hole design, compatible with standard camera tripods and 1/4-inch screw projector tripod stands.
10. Network Settings (Wi-Fi & Bluetooth)
Wi-Fi Go to Settings > Network > Wi-Fi > Connect to Network on the homepage, select your desired Wi-Fi network, and enter the password to establish the connection.
Bluetooth Go to Settings > Network > Bluetooth on the homepage, select Search for Bluetooth Device, then choose your desired device from the list and click Pair to complete the connection.
Important Note:
- Some Bluetooth devices may not connect due to compatibility limitations between devices
- Certain devices may not work together even though they function properly with other devices
11. Picture Settings
Go to Settings > Picture on the homepage to customize your viewing experience — adjust picture settings, switch between picture modes, and enable eye protection mode.
12. Sound Settings
Go to Settings > Sound on the homepage to customize audio preferences — adjust sound balance, change sound modes, select the output device, and configure the output format for optimal sound quality.
13. Lens Settings
Go to Settings > Lens on the homepage to adjust projection settings — set the projection direction, enable autofocus, use keystone correction, and apply digital zoom for the best viewing experience.
14. Device Preferences
Go to Settings > Device Preferences on the homepage to customize your projector — change the language, set date and time, choose keyboard options, configure screen saver and sleep timer, check device information, reset or restart the projector, enable Whale OS Cast, adjust energy saver settings, and set the menu timer.
15. Whale OS Cast (Screen Casting)
- Connect your phone and the projector to the same Wi-Fi network.
- Go to Settings > Device Preferences > Whale OS Cast > TV Casting and follow the on-screen instructions to download the TV Casting app.
- After installation, search for the projector device on your phone and select it to share your screen.
16. App Setting
Go to Settings > App Setting on the homepage to manage applications — check recently opened apps, view all installed applications, and manage app permissions.
17. Voice Service
Go to Settings > Voice Service on the homepage to adjust voice options — change the language and modify the tone of the intelligent speech feature.
18. Software Update
Go to Settings > Software Update on the homepage to check for the latest updates, install new software, and view the current software version of your projector.
19. File Management
Insert a U disk into the projector, then click the File icon on the homepage to access its contents. Supported files include videos, audio, pictures, and more.
20. Bluetooth Speaker Mode
To use the projector as a Bluetooth speaker:
- Click the Bluetooth Speaker icon on the desktop to enter speaker mode.
- On your mobile phone, search for the projector's name, then pair and connect.
- Select Turn Off Screen to switch off the display while keeping audio active.
- Press the Back button to exit this mode.
15. Warranty & Support
Warranty: 12 months, covering product design, feature, and functionality-related faults. Damage due to physical impact, liquid exposure, fire, or misuse is not covered.
Need Help?
- Visit: support.portronics.com
- Demo Video- Click here
Was this article helpful?
That’s Great!
Thank you for your feedback
Sorry! We couldn't be helpful
Thank you for your feedback
Feedback sent
We appreciate your effort and will try to fix the article