TABLE OF CONTENTS
- 1. Overview
- 2. Full Specifications
- 3. In the Box
- 4. Safety Precautions
- 5. Setup & Installation
- 6. Remote Control & Basic Navigation
- 7. Software & System Settings
- 8. Media Playback (USB)
- 9. Screen Sharing
- 10. Powering Off
- 11. Maintenance
- 12. Troubleshooting Quick Reference
- 15. Warranty & Support
1. Overview
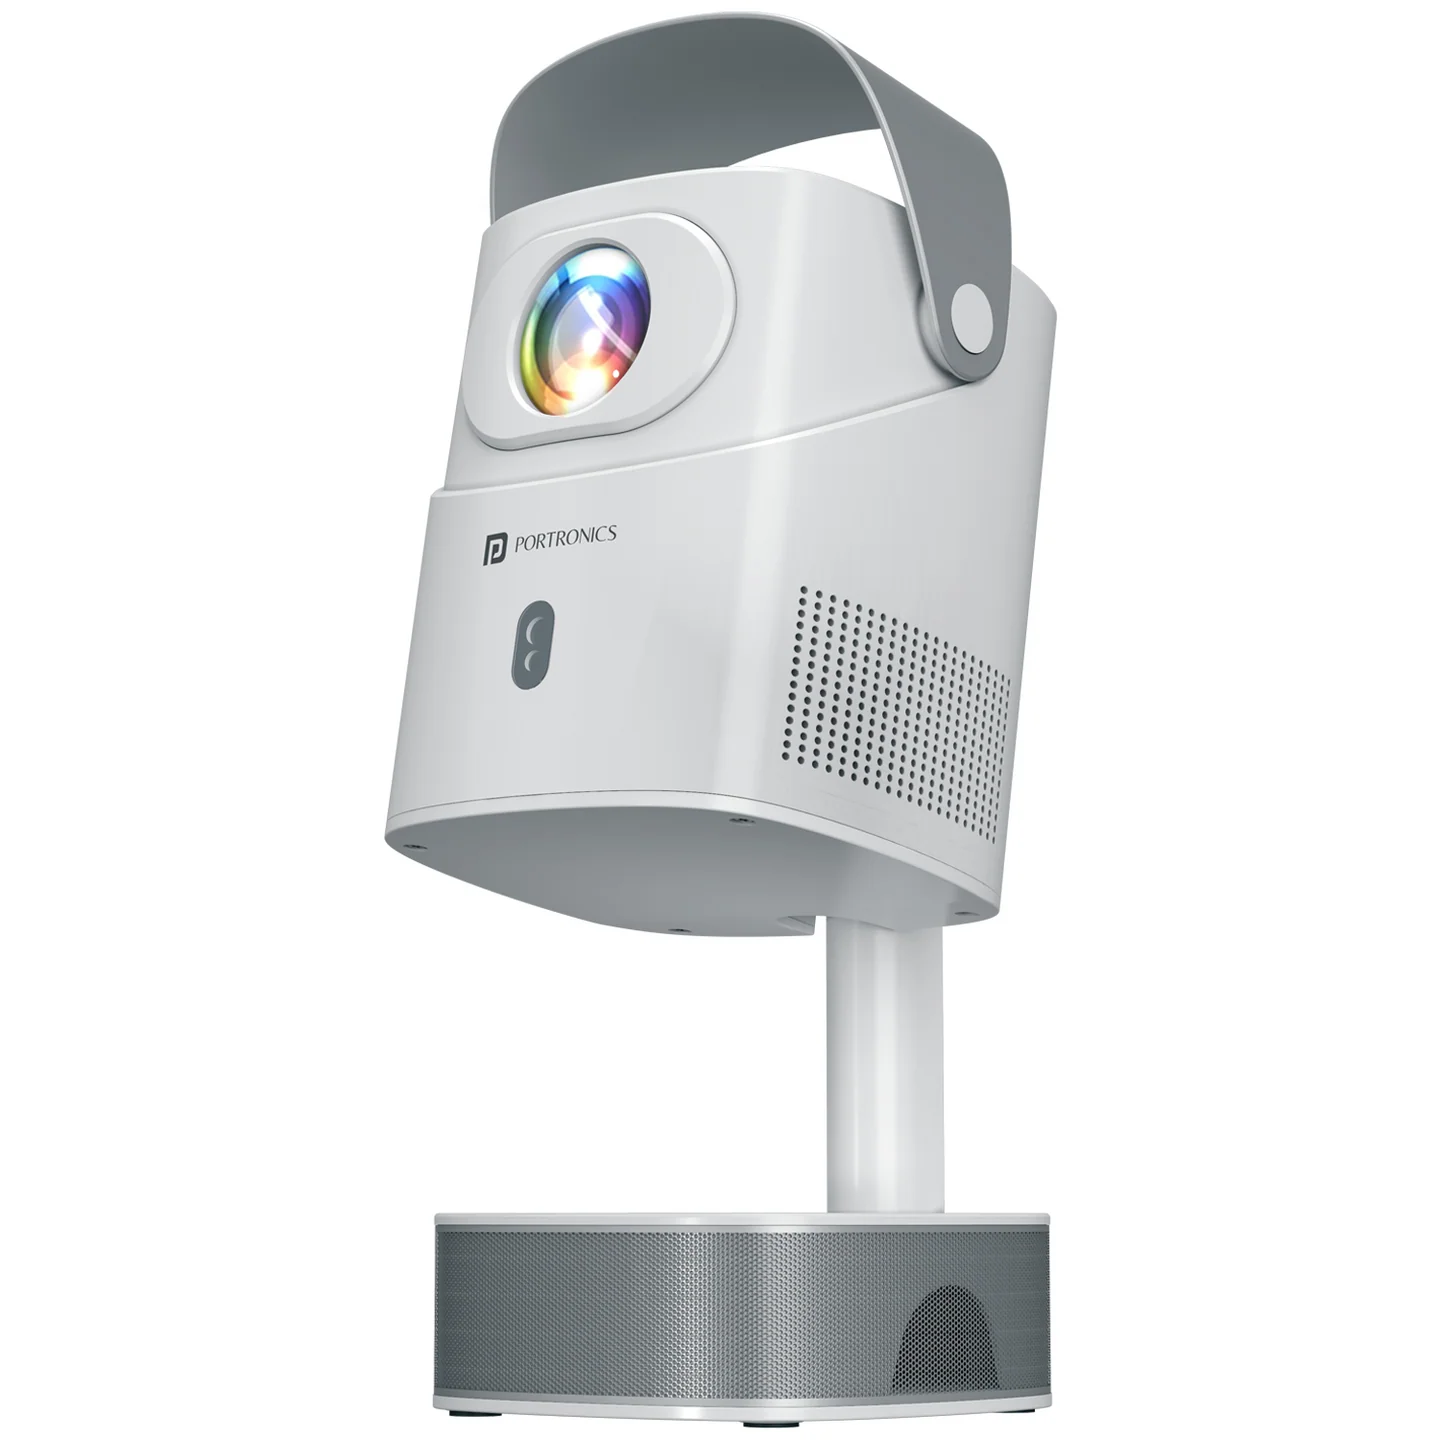
The Beem 550 is a compact, foldable smart LED projector designed for home entertainment. It runs on Android TV, supports wireless screen mirroring, and projects images up to 100" from a distance of 1.2–4 m.
2. Full Specifications
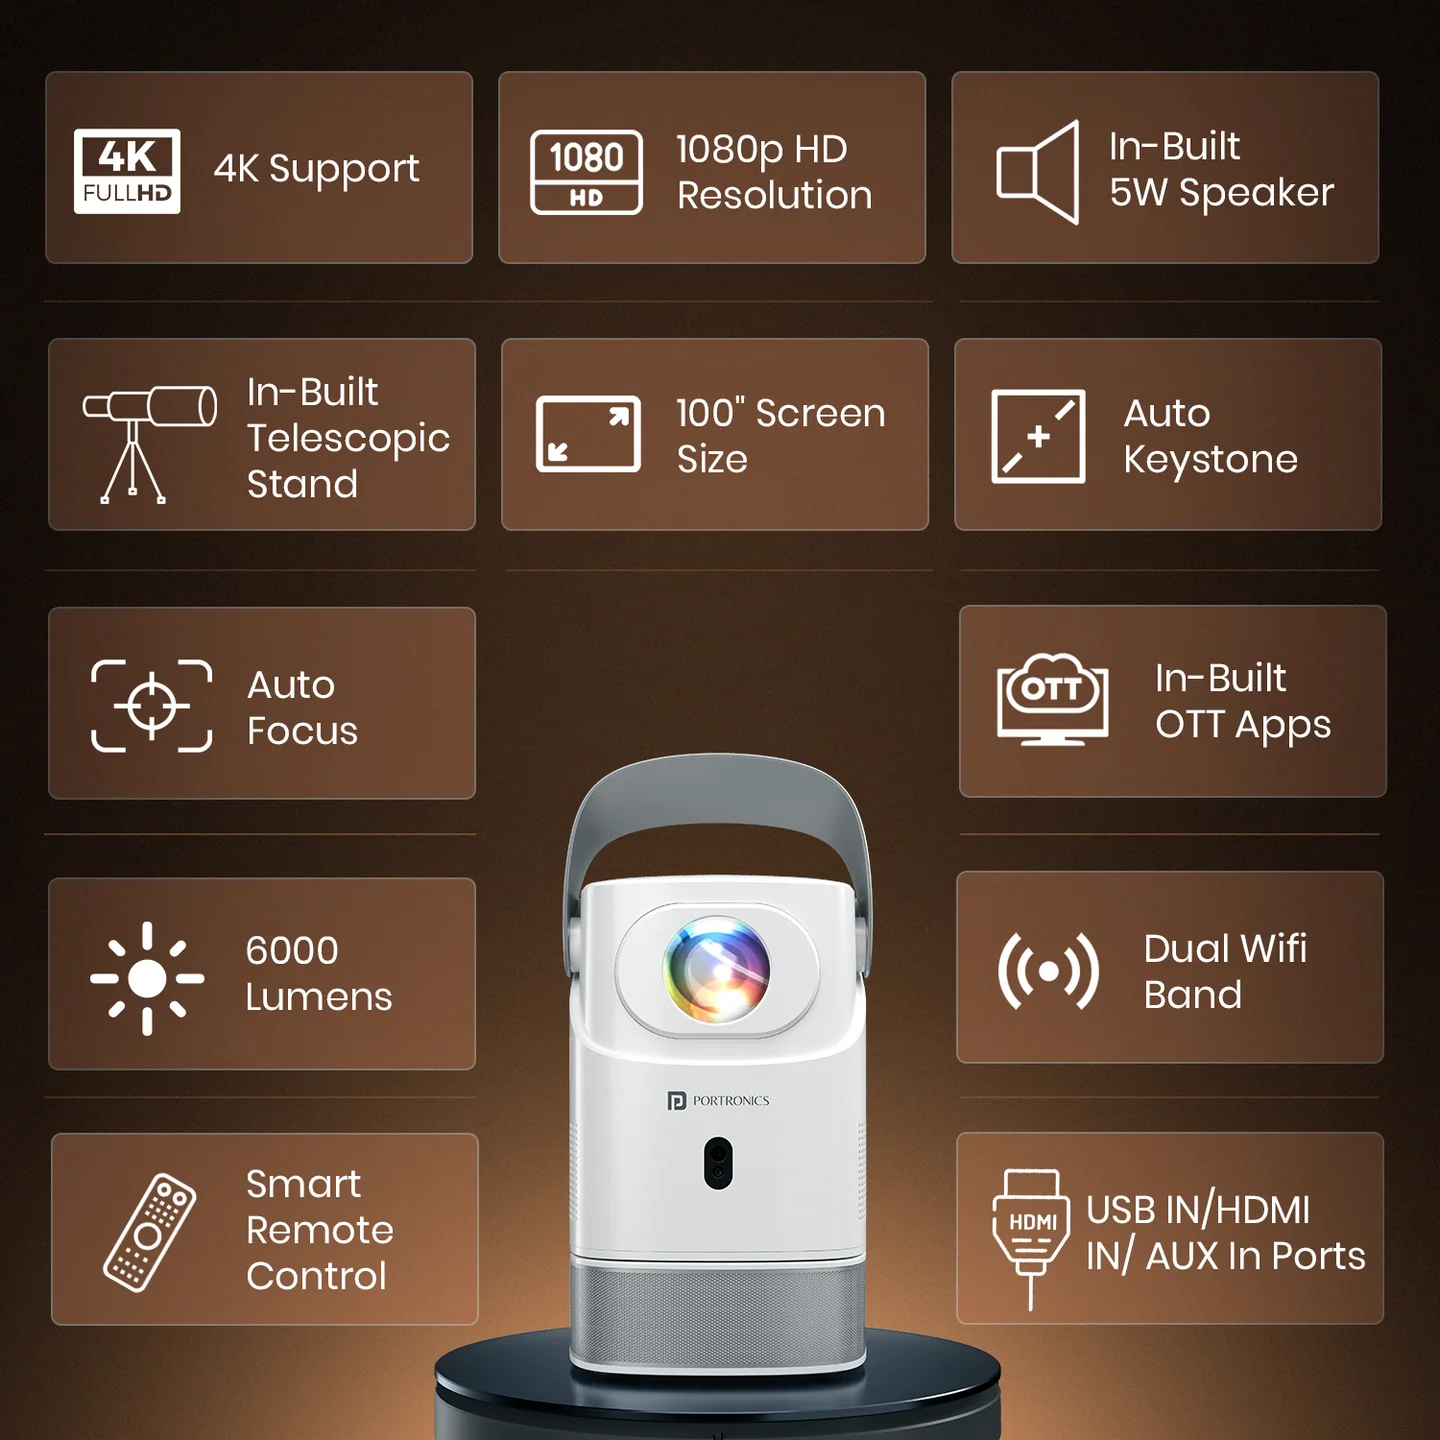
| Native Resolution | 1280×720 (HD) |
| Max Screen Size | Up to 100" |
| Brightness | 6000 Lumens |
| Contrast Ratio | 2000:1 |
| Aspect Ratio | 16:9 |
| Lamp Life | 40,000 hours |
| Light Source | LED |
| Projection Distance | 1.2 – 4 m |
| Projection Ratio | 1.1:2 |
| Focal Length | 70 mm (auto-focus lens) |
| Focusing | Auto Focus + Manual Keystone correction, Auto Trapezoid Correction |
| Connectivity | 1× HDMI IN, 1× USB, 1× Earphone out, AC input (100–220V), Dual-band Wi-Fi, Bluetooth 5.0 |
| OS | Android TV — supports screen mirroring, online apps & streaming platforms |
| Storage / RAM | 8 GB storage + 1 GB RAM |
| Sound | 5W built-in speaker |
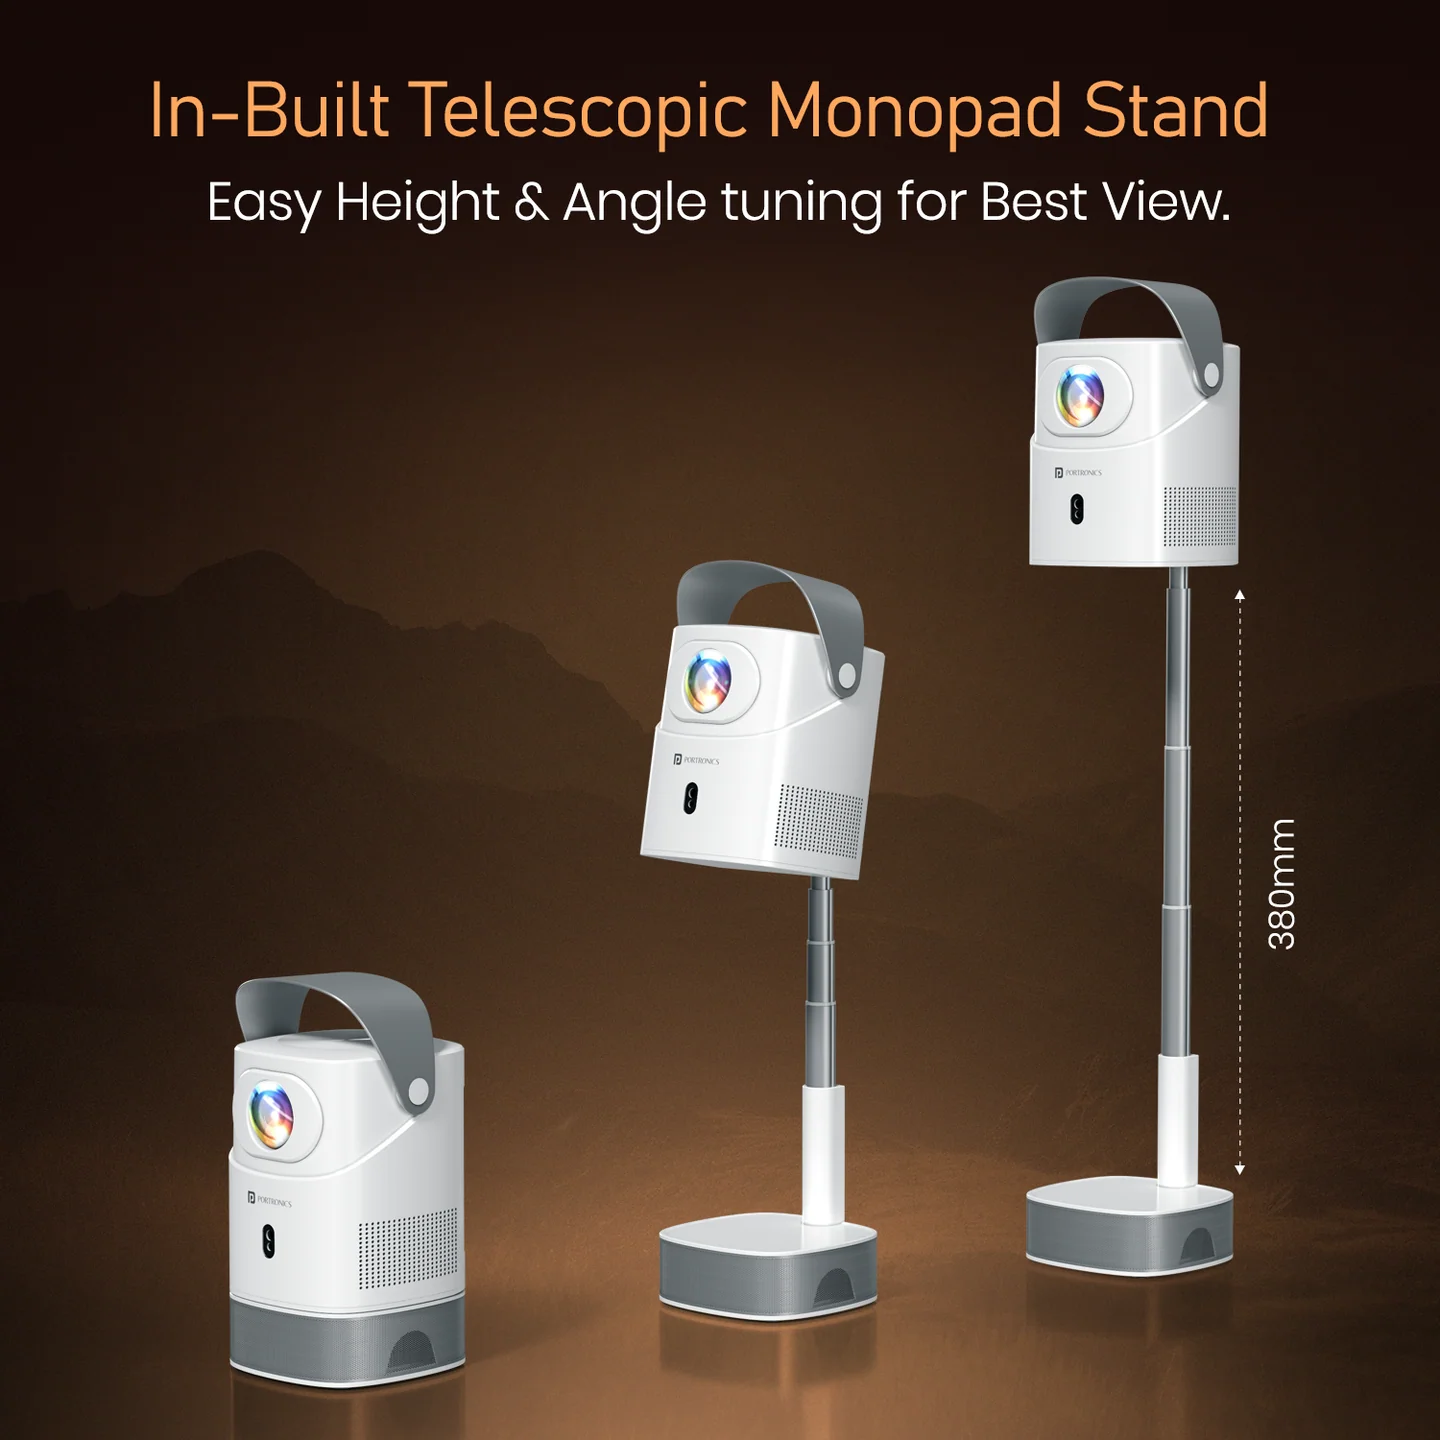
| Design | Compact foldable — 125×125×196 mm folded, opens up to 500 mm |
| Installation | Plug-and-play, no installation required |
| Warranty | 1 year manufacturer warranty from date of purchase |
3. In the Box
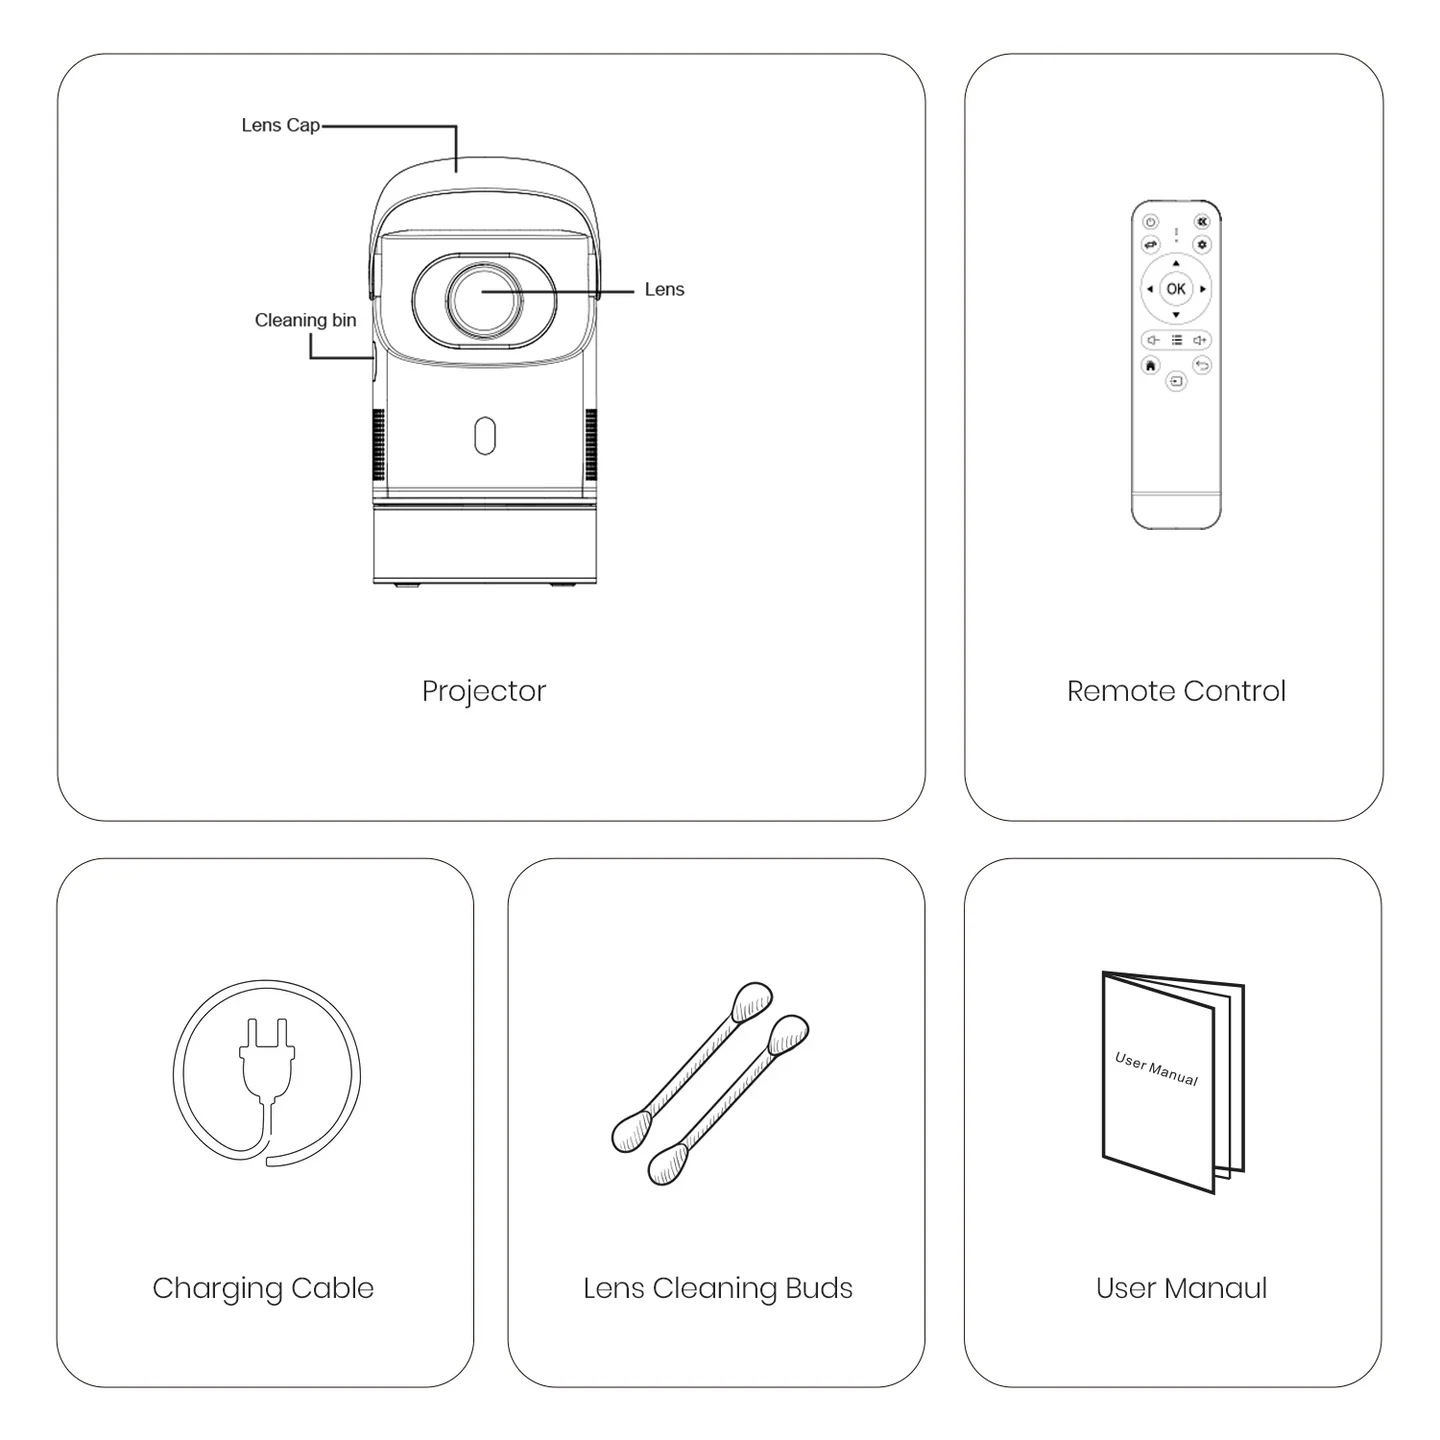
- Projector
- Remote control
- Power adapter
- User manual
Note: Products with different configurations may ship with different remote control layouts. If any item is missing, contact Portronics support before use.
4. Safety Precautions
- Keep at least 30 cm clearance around the air inlet and outlet during use to allow proper ventilation.
- Blocked airflow can cause overheating and malfunction.
- Always close the dust removal window fully after cleaning — leaving it open can damage the projector.
- Do not install near air conditioning vents — moisture and temperature swings can cause faults.
- Never insert clips, paper, or metal objects into the unit. If something falls inside, power off immediately and contact a service professional.
- Keep liquids away from the projector to avoid electrical damage.
- Use soft materials and the lens protection cover when transporting the unit.
- The exhaust vent can get hot after use — avoid touching it right after powering off.
- Never look directly into the lens while it's powered on — this can cause serious eye injury.
- Do not open the casing yourself; internal components carry high voltage and a magnetic field. Repairs should only be done by trained professionals.
- Never expose the projector to rain or moisture.
For best picture quality, use the projector in a darkened room.
5. Setup & Installation
- Unfold and position the projector, keeping the 30 cm clearance rule around the vents in mind.
- If the image still isn't sharp after adjusting, physically reposition the projector body.
- Connect power and press the ON/OFF button on the remote or the unit's power switch to start.
6. Remote Control & Basic Navigation
Common controls include Menu, OK/directional pad (Up/Down/Left/Right), Home, Return, Mute, Volume +/-, and After/Before focal-length adjustment keys (model dependent). Exact button layout varies slightly by unit configuration — refer to the diagram in the printed manual for your specific remote.
7. Software & System Settings
- Language: Settings → select your preferred UI language.
- Date & Time: Settings → choose the correct time zone/region.
- Wi-Fi: Settings → Wi-Fi → select a network and enter the password.
- Bluetooth: Settings → Bluetooth → scan and pair a device.
- Picture correction (keystone): Settings → Picture Correction → use Manual keys to square up a distorted image.
- Projection Mode: Settings → Projection Mode → choose the orientation that matches how the unit is mounted/placed (front, rear, ceiling, etc.).
Note: The interface may change slightly with system updates — treat the on-screen menu as the final reference.
8. Media Playback (USB)
- Power on the projector and insert a USB flash drive.
- The system auto-detects the device and shows a pop-up.
- Select the file type you want (video, music, or photo) and press OK on the remote to open it.
9. Screen Sharing
The projector and your phone can connect over the same Wi-Fi network to mirror your screen. You can either:
- Use the screen-mirroring app built into the projector's system, or
- Download a third-party screen-mirroring app from your phone's app store.
From the home screen you can also switch apps, change the wallpaper/background, and adjust sound effects.
10. Powering Off
- Press the ON/OFF button on the remote or the power switch on the unit.
- Replace the lens cap.
- Store the projector in a dry, cool place.
11. Maintenance
- Regularly clean the air-inlet dust screen to prevent buildup that blocks airflow.
- Use a soft brush, vacuum cleaner, or similar tool — avoid liquids on the unit.
- Always replace the lens cap and dust window covers after cleaning.
12. Troubleshooting Quick Reference
| Symptom | Likely Fix |
|---|---|
| Blurry image | Rotate the manual focus ring, or enable/adjust auto-focus via remote |
| Distorted (trapezoid) image | Use Picture Correction / Auto Trapezoid Correction in settings |
| No Wi-Fi connection | Settings → Wi-Fi → reselect network and re-enter password |
| USB drive not detected | Reinsert the drive; confirm it's formatted in a supported file system and contains supported file types |
| Overheating / auto shutdown | Check for blocked vents; ensure 30 cm clearance on all sides |
15. Warranty & Support
Warranty: 12 months, covering product design, feature, and functionality-related faults. Damage due to physical impact, liquid exposure, fire, or misuse is not covered.
Need Help?
- Visit: support.portronics.com
- Demo Video-Click here
Was this article helpful?
That’s Great!
Thank you for your feedback
Sorry! We couldn't be helpful
Thank you for your feedback
Feedback sent
We appreciate your effort and will try to fix the article