Welcome to your Vlogmate Neo, and thanks for choosing Portronics! This guide covers everything — what's in the box, how to set it up, daily use, and battery care — so you can start recording professional-quality audio right away.
TABLE OF CONTENTS
- 1. Product Overview
- 2. What's in the Box
- 3. Key Specifications
- 4. Battery Backup — What to Expect
- 5. Getting to Know Your Microphone
- 6. Charging Case Functions
- 7. TX Transmitter Features
- 8. RX Receiver Functions
- 9. Usage Steps
- 10. Product Usage Guidelines
- 11. Warranty & Support
1. Product Overview
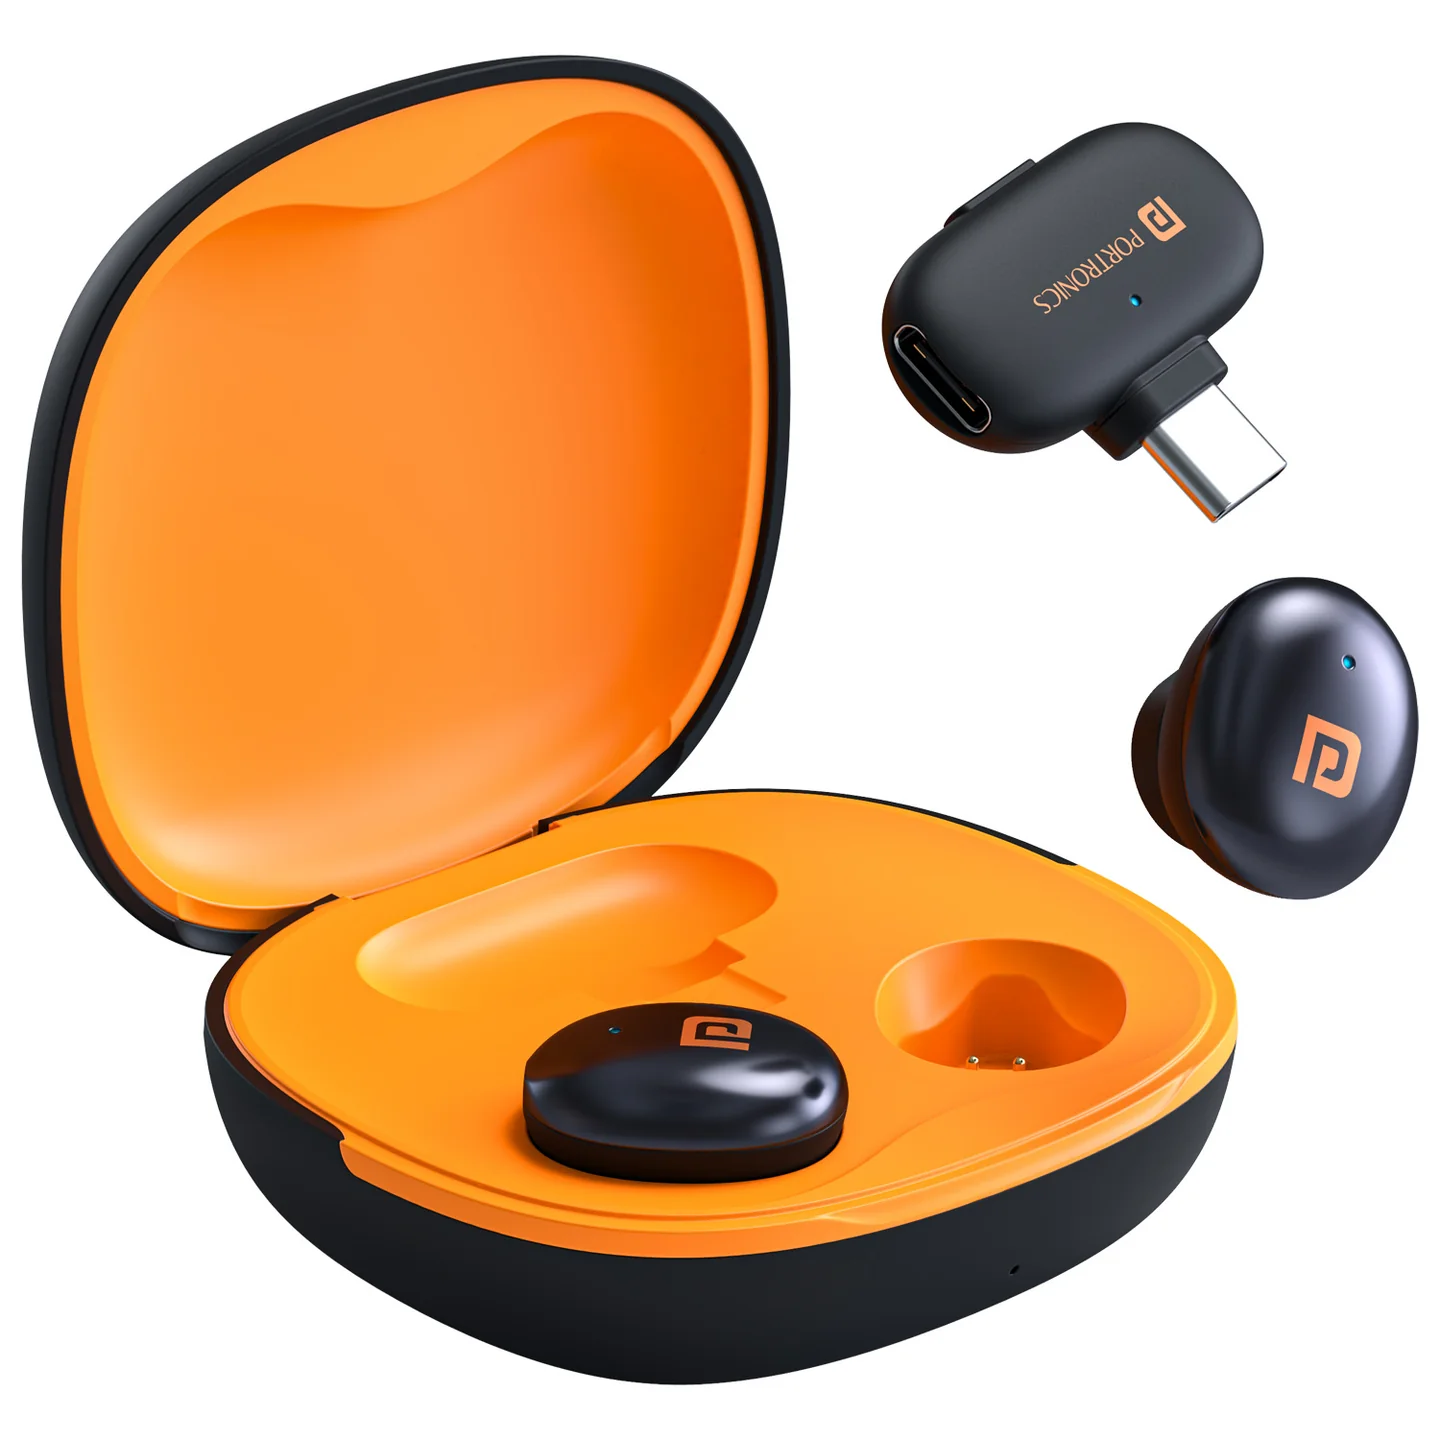
The Vlogmate Neo is an intelligent wireless microphone with AI-powered noise reduction, delivering professional-level recording — plug and play, with no app required. It's built for webcasting, vlogging, interviews, recorded lectures, and more.
The system has two main parts:
- TX (Transmitter) — the microphone itself, which clips onto your clothing
- RX (Receiver) — plugs into your phone's charging port to receive audio from the TX
Both come with a portable charging case that also extends your total recording time on the go.
2. What's in the Box
- 2 × TX Transmitter (microphone)
- 1 × RX Receiver
- 1 × Charging Case
- 1 × User Manual
3. Key Specifications
| Spec | Detail |
|---|---|
| Model | Vlogmate Neo (Product Code: POR 2326) |
| Colour | Black |
| Microphone | Dual, Omnidirectional |
| Input | Type-C |
| Wireless frequency range | 2402–2480 MHz |
| Modulation | GFSK |
| Audio frequency range | 20Hz–20KHz |
| Audio delay | ≤25MS |
| Transmission power | ≤10dBm |
| Signal-to-noise ratio | ≥80dB |
| Transmission distance | 30m (barrier-free) |
| Operating temperature | 0°C to 55°C |
| Storage temperature | -20°C to +55°C |
| Size | L68 × W64 × H26.8mm |
| Total weight | 56g |
| Warranty | 12 months |
4. Battery Backup — What to Expect
Here's a clear breakdown of charging and usage times, straight from the product specs:
| Component | Charging time | Usage time |
|---|---|---|
| TX Transmitter (microphone) | ~1.5 hours to fully charge | ~6 hours of continuous use per charge |
| Charging Case | ~1 hour to fully charge | Provides up to 10 hours of additional charging on the go |
In short: a single full charge of the microphone gives you roughly 6 hours of recording time. The charging case lets you top up the microphone while you're out and about, extending your total usable time to up to 10 hours before the case itself needs a recharge.
Auto power-saving: The TX Transmitter automatically shuts down after being disconnected from a paired device for 5 minutes, helping conserve battery when it's not in use.
5. Getting to Know Your Microphone
RX (Receiver)
- Key
- Indicator
- USB Type-C plug (connects to your phone)
TX (Transmitter)
- Key
- Indicator
- USB Type-C charging port
- Charging pin
- Microphone
- USB Type-C plug
- Touch Area
6. Charging Case Functions
The charging case's LED tells you what's happening at a glance:
- Red light flashing: The case is charging.
- Blue light steady on: The case is fully charged.
- Blue light flashing, then turns off: The case is charging the microphone; the light turns off once the microphone is fully charged.
7. TX Transmitter Features
- Touch Keys: Take the microphone out of the charging case to turn it on automatically, or press and hold the touch area for 3 seconds to power it on manually.
- Low Battery indicator: The red light flashes slowly when the battery is low. Please charge the TX as soon as possible.
- Pairing: During startup, the light alternates between red and blue slowly, indicating it's in pairing mode. Once connected, the green light stays solid.
- Clip: Attach the transmitter to your clothing, within 20cm of the sound source (such as a collar), for best pickup.
- Pairing reset: Long press for 3 seconds — the red and blue lights will flash alternately. (The TX automatically reconnects after startup; no further action is needed.)
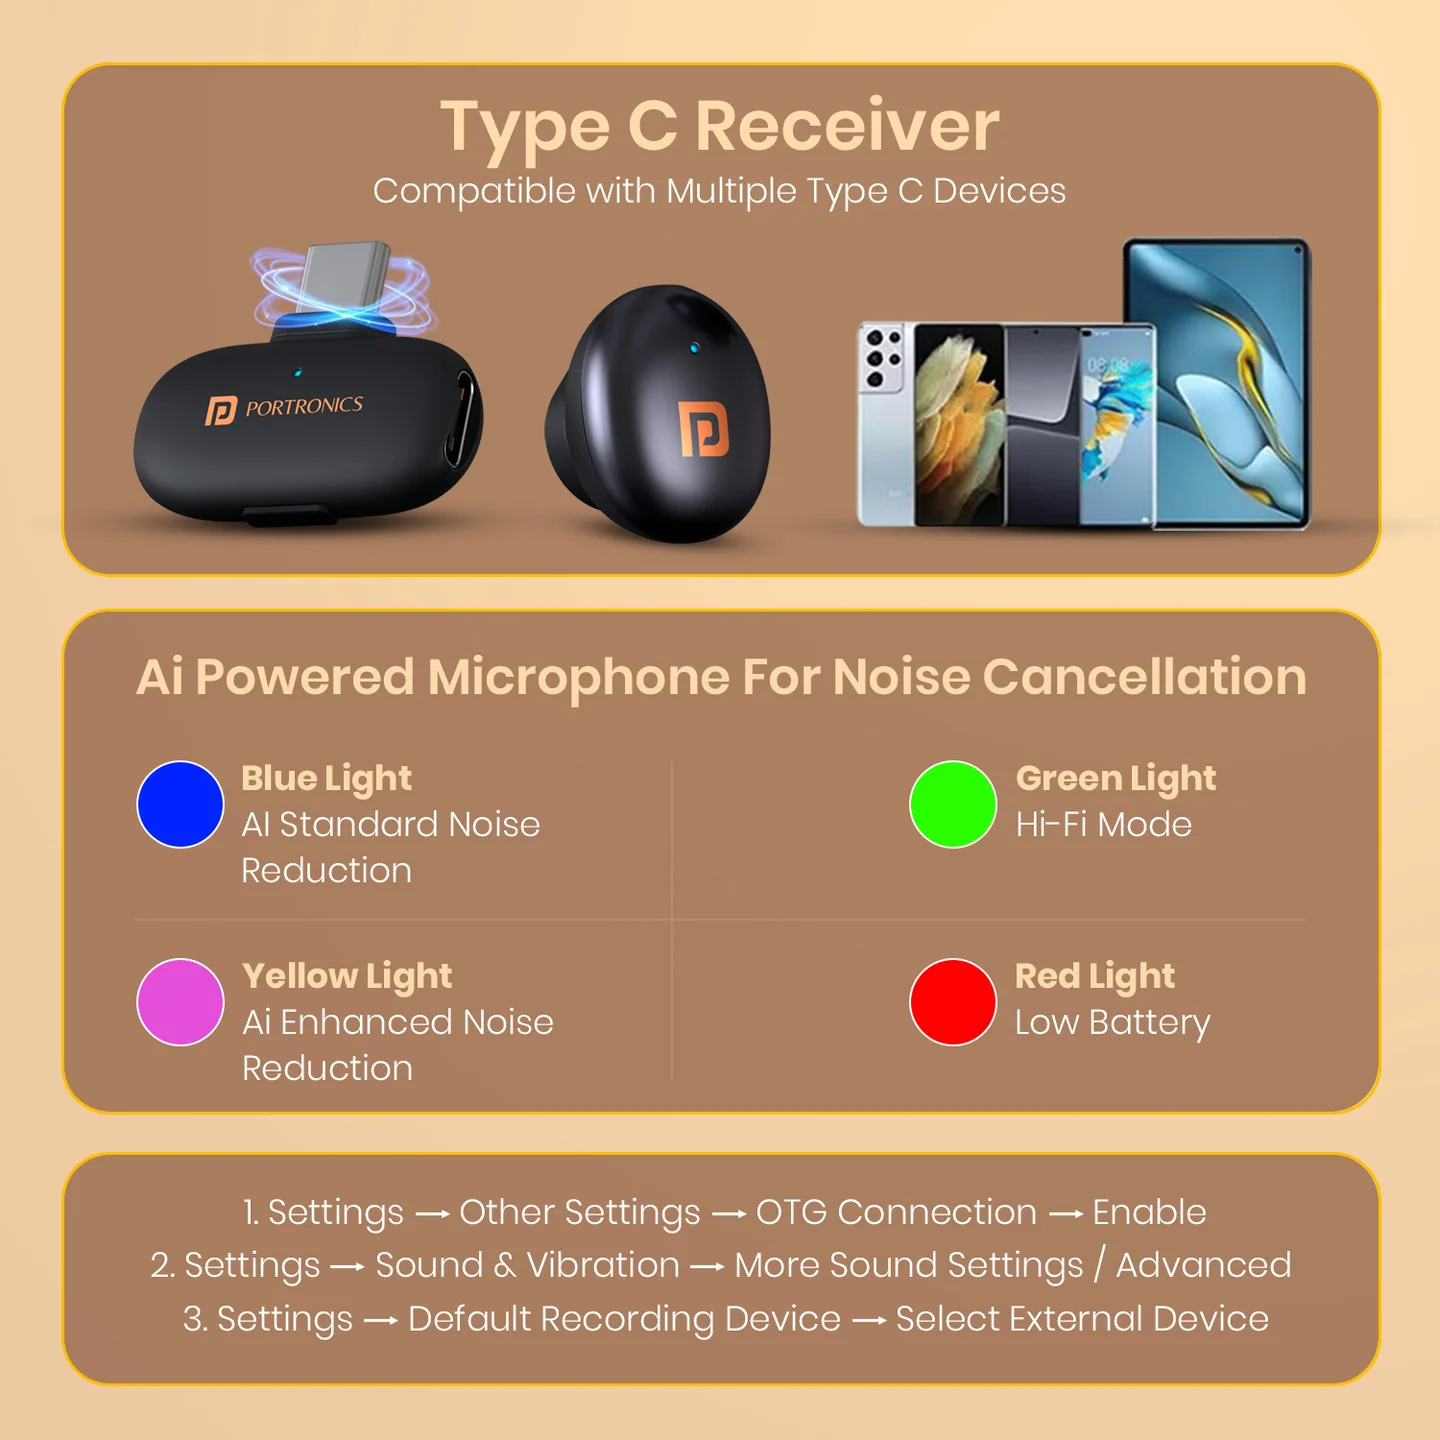
Note: Some Android phones require you to manually turn on the OTG function for external plug-in devices to work.
8. RX Receiver Functions
Use a single click on the RX button to switch noise reduction modes:
- Green light: High-Fidelity Mode (Default)
- Blue light: AI Noise Reduction
- Purple light: Deep AI Noise Reduction
Use a double click to mute/unmute the noise reduction:
- Red light on: Muted
- Red light off: Unmuted
Simply connect the RX to your phone, and it will automatically power on and pair.
9. Usage Steps
- Take the TX and RX out of the charging case. The TX will automatically power on and flash alternately in red and blue.
- Connect the RX to your mobile phone. The TX and RX will automatically pair — the green light will remain constantly on once the TX is turned on. The device will automatically shut down if disconnected for 5 minutes.
- If your phone's battery is low, you can charge it using the Type-C port on the side of the RX.
- Clip the TX onto your clothing for hands-free, natural sound pickup.
Tip: For best results, face the phone directly toward you rather than facing away — this helps maintain stable signal transmission between the TX and RX.
10. Product Usage Guidelines
- As a precision electronic device, avoid water exposure or severe impacts. If liquid ingress occurs, power off immediately, drain any residual moisture, and seek professional assistance.
- For prolonged storage, recharge the battery every two months to maintain optimal performance.
- Use only original cables provided with the product, or those recommended by authorized dealers/manufacturers — third-party cables may compromise functionality due to inconsistent technical standards.
- Maintain face-to-face alignment between the transmitter (TX) and receiver (RX) during operation to ensure stable signal transmission.
11. Warranty & Support
- Warranty period: 12 months from the date of purchase.
- Not covered: Damage due to physical impact, water/liquid exposure, or misuse.
Need Help?
- Visit: www.portronics.com
- Support Portal: support.portronics.com
Was this article helpful?
That’s Great!
Thank you for your feedback
Sorry! We couldn't be helpful
Thank you for your feedback
Feedback sent
We appreciate your effort and will try to fix the article