TABLE OF CONTENTS
- 1. Key Features
- 2. Box Contents
- 3. Specifications
- 4. Connecting via 2.4 GHz USB Receiver
- 5. Connecting via Bluetooth
- 6. Quick Switching Between 2 Devices
- 7. DPI Adjustment
- 8. Backlight Control
- 9. Charging Instructions
- 10. Receiver Pairing & Reset
- 11. Additional Information
- 12. Troubleshooting Guide
- 13. Care & Maintenance
- 14. Important Notes & Warranty
- 15. Support
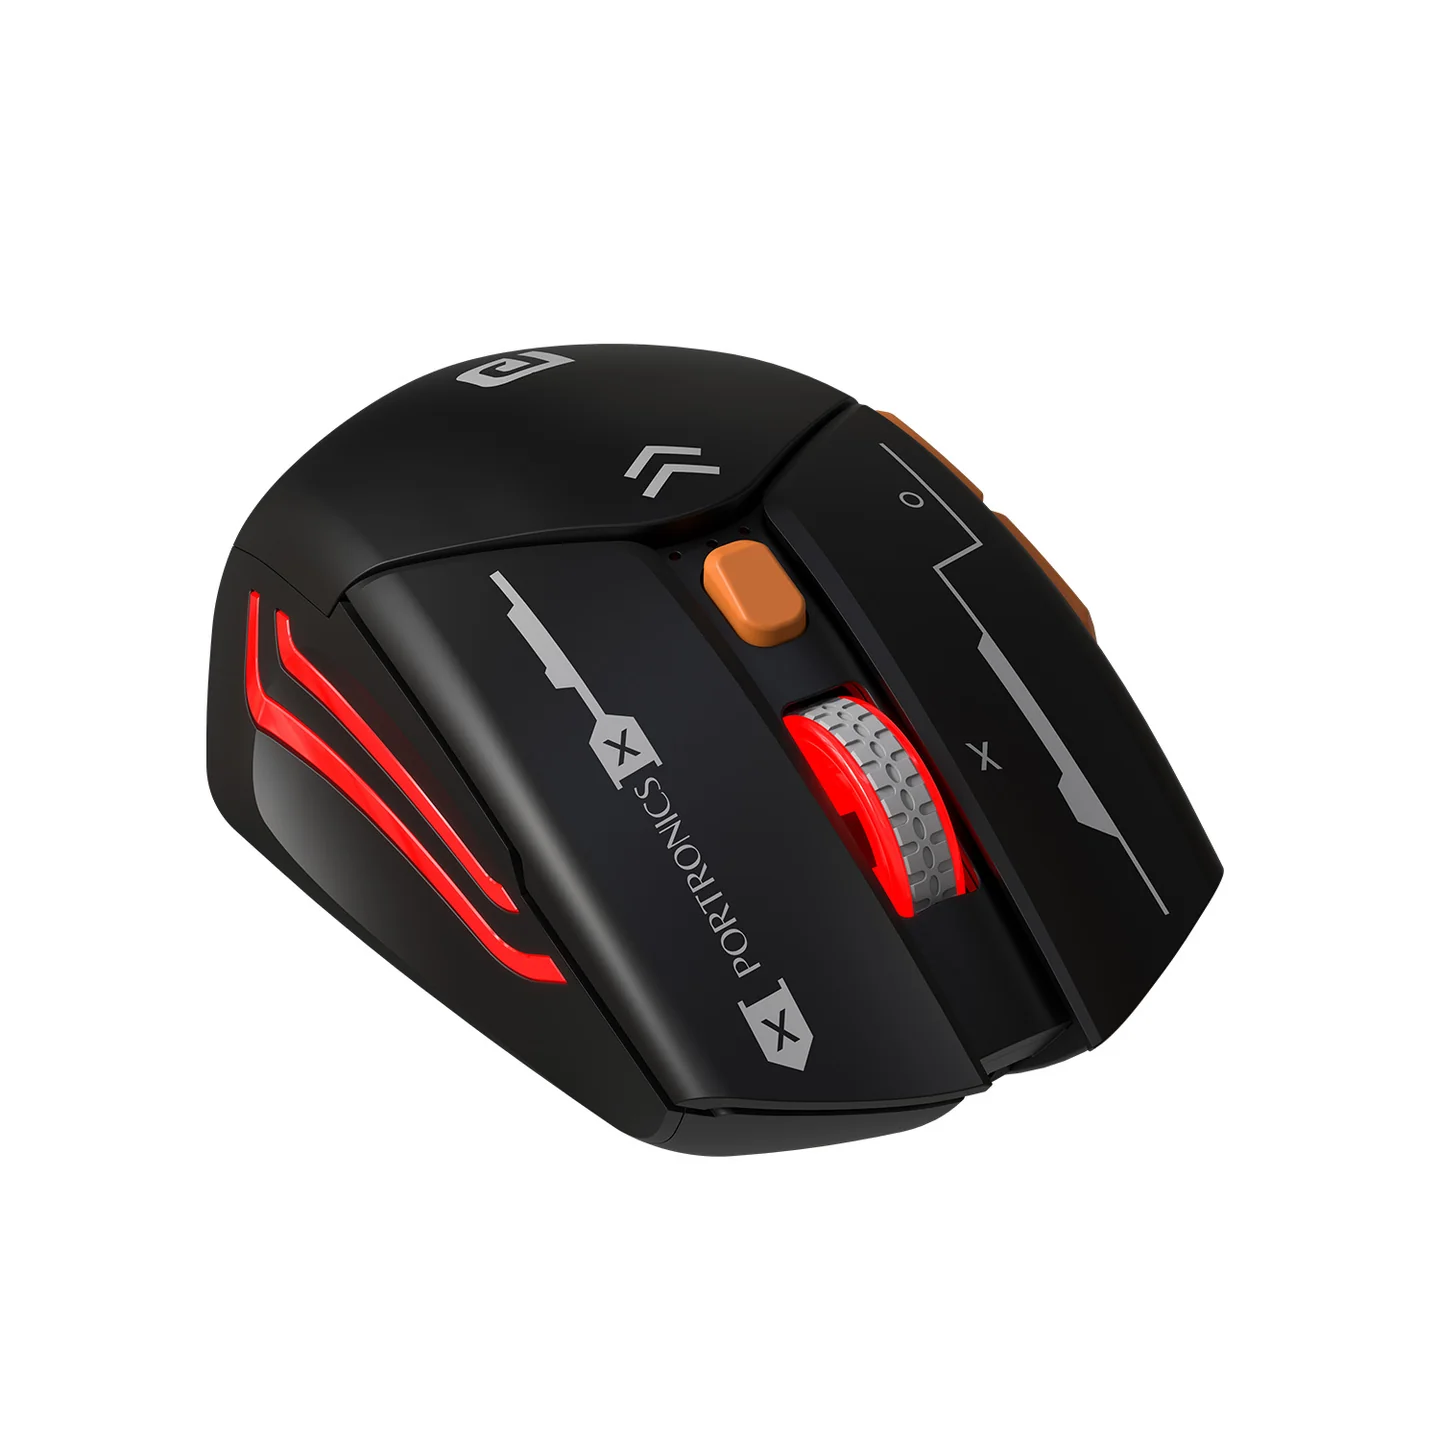
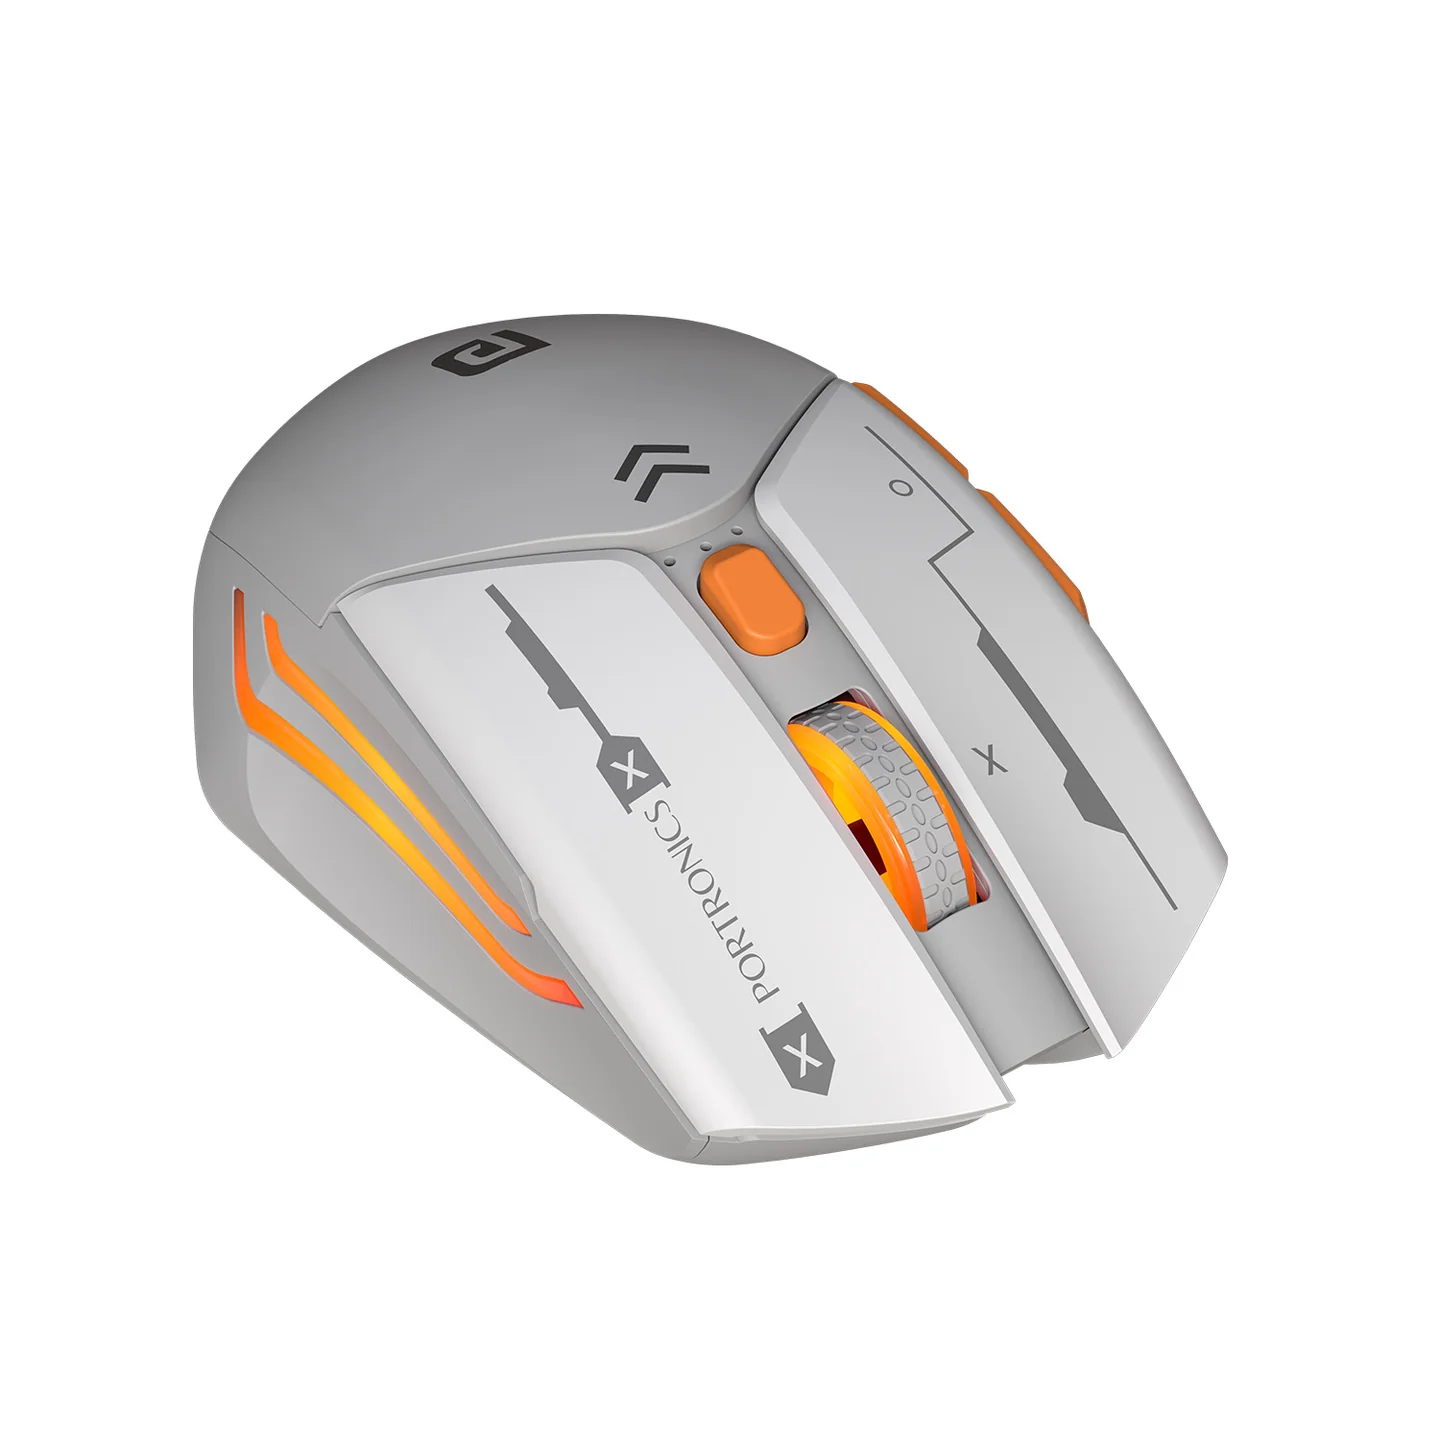
1. Key Features
- Dual-mode connectivity: 2.4GHz wireless + Bluetooth 5.0 — toggle switch to move between modes seamlessly
- Three-speed DPI: 1000 / 1600 / 2400 (2400 default)
- Adjustable RGB backlight with auto-sleep and manual on/off toggle
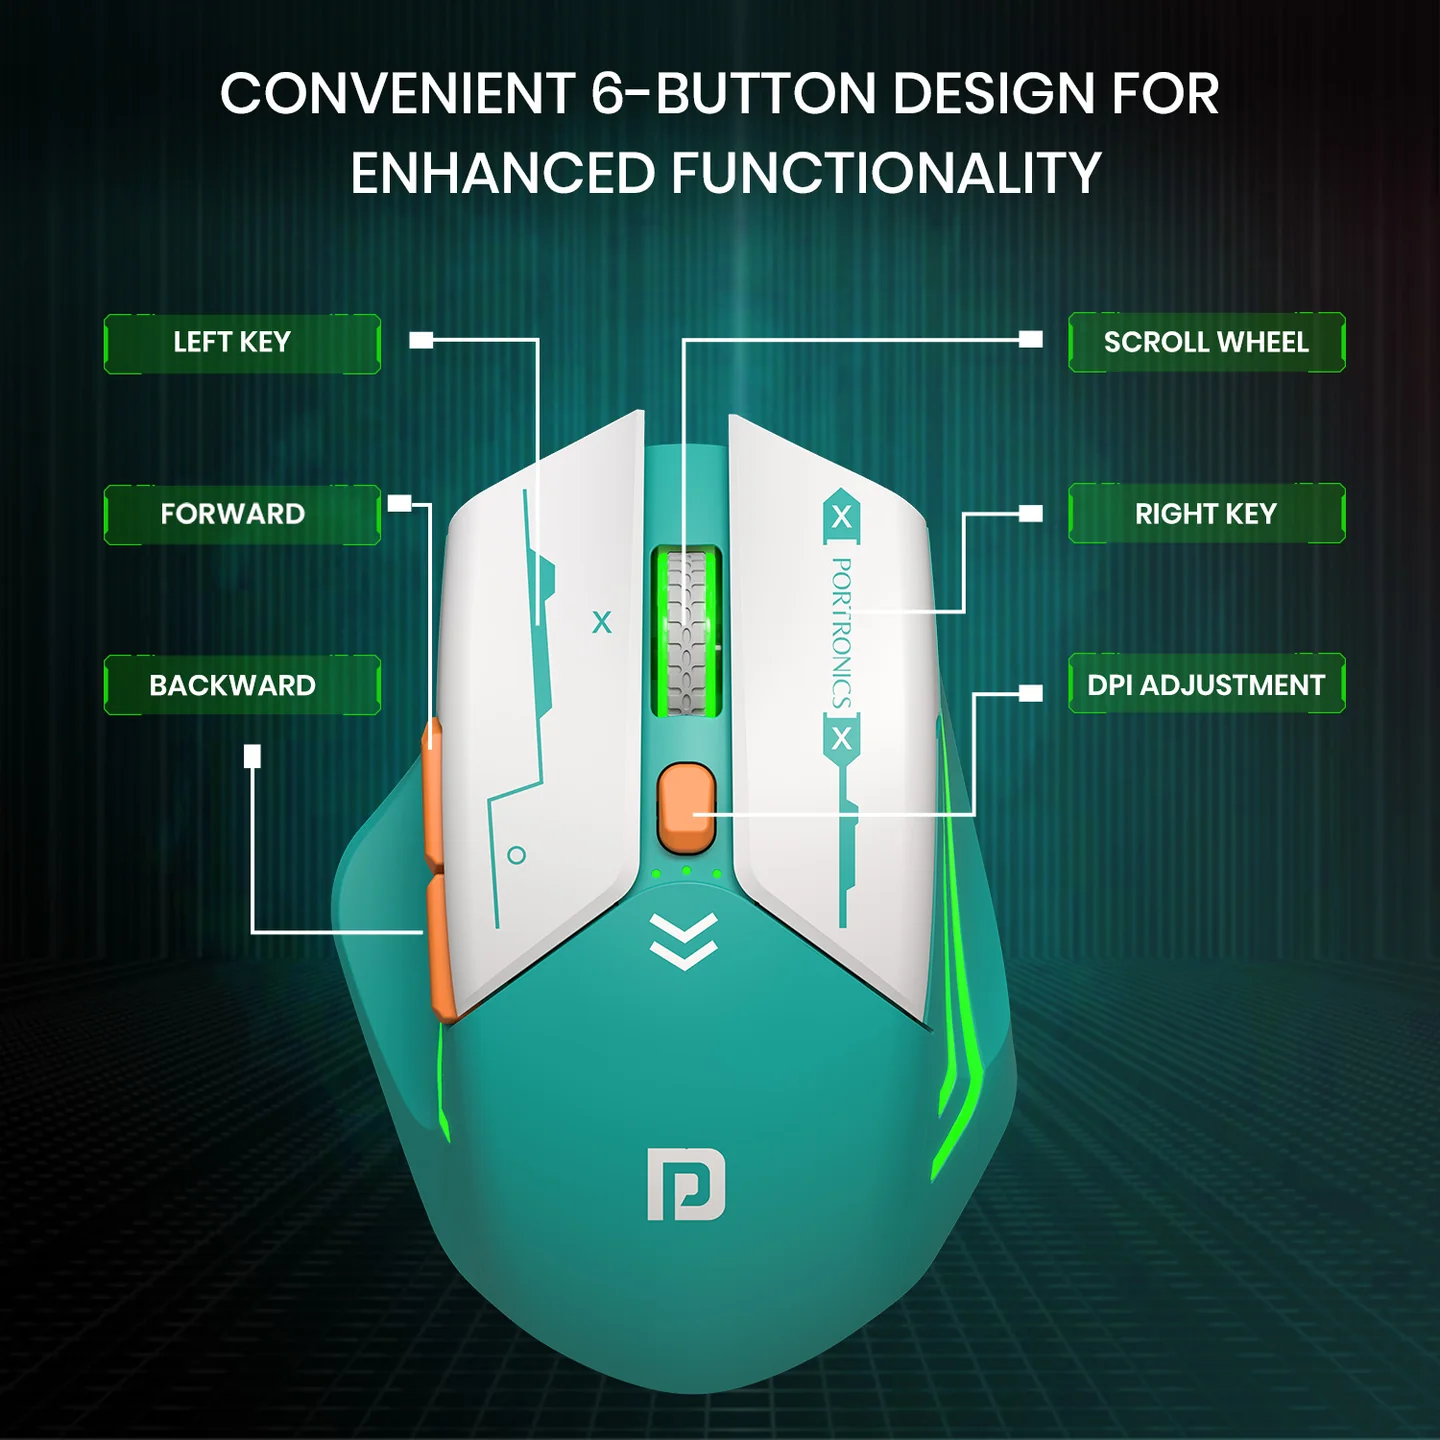
- Scroll wheel, DPI button, Mode/pairing button, and forward/backward buttons on the left side for web browsing
- Rechargeable battery via Type-C port — no external batteries required
- Auto-sleep/power-saving mode during prolonged inactivity
2. Box Contents
- 1 × Vader Max Wireless Mouse
- 1 × USB Receiver
- 1 × Charging Cable
- 1 × User Manual
- 1 × Warranty Card
3. Specifications
| Spec | Detail |
|---|---|
| Bluetooth pairing name | Vader Max Mouse |
| DPI settings | 1000 / 1600 / 2400 (default) |
| Toggle switch positions | 2.4G + backlight → OFF → BT + backlight |
| Backlight control | Auto-sleep after 1 min inactivity; manual toggle via Middle + Back button (hold 3s) |
| Connectivity mode | Dual mode: 2.4GHz wireless + Bluetooth 5.0 |
| Bluetooth compatibility | Windows 10 / Mac OS 12 and above; Bluetooth 5.0+ hardware required |
| 2.4G compatibility | PC/Laptop Windows 10 and above; available USB port required |
| Charging port | Type-C |
4. Connecting via 2.4 GHz USB Receiver
Step 1: Power ON the Mouse
- Toggle the switch to the 2.4G position. The green indicator will blink.
Step 2: Insert USB Receiver
- Plug the USB receiver into your computer.
- If the connection is successful, the red LED at the bottom of the mouse will light up.
- If it does not light up, this means the mouse battery has entered protection mode and shut down automatically. Charge the mouse for about 2–3 hours, then continue with the previous step.
Step 3: Confirmation
- Move the mouse to verify cursor movement.
- If not working, try another USB port.
5. Connecting via Bluetooth
Step 1: Power ON the Mouse
- Toggle the switch to BT (Bluetooth) mode. The Bluetooth indicator light flashes blue.
Step 2: Activate Pairing Mode
- The mouse enters pairing state automatically. On your device, search for VADER MAX and click to connect.
- Note: The first time you switch to Bluetooth mode, it broadcasts automatically. For any subsequent (second, third, etc.) connection, you need to long-press the Bluetooth pairing button until the blue light flashes quickly to force pairing again.
Step 3: Enable Bluetooth on Your Device
For Windows:
- Go to Settings → Bluetooth & Devices
- Turn Bluetooth ON
- Click Add Device → Bluetooth
- Select Portronics Vader Max
- Click Connect
For macOS:
- Open System Settings → Bluetooth
- Turn Bluetooth ON
- Select Portronics Vader Max
- Click Connect
Step 4: Connection Confirmation
- Cursor movement confirms a successful connection. The mouse is ready to use.
6. Quick Switching Between 2 Devices
There are two ways to connect the mouse and computer:
The First Method:
- Find the "Bluetooth logo" — if there's no Bluetooth logo, check the Second Method.
- Look for the "Bluetooth logo" in the bottom right corner of your computer, press right-click → "Adding a Bluetooth device"
- When "Bluetooth mouse pairing is ready" appears on the computer, select "Bluetooth mouse device" and click pairing. After a few seconds, you can use the mouse normally.
The Second Method:
- Open "My Computer" and open the "Control Panel"
- Open "Hardware and Sound," then open "Devices and Printers"
- After clicking to add "device," wait for more than ten seconds, select the VADER MAX device, click "next" and wait for a few seconds — the mouse can be used normally after the progress is completed.
Mode Switching Method (Toggle Switch)
- The 3-position toggle switch moves between: 2.4G + backlight → OFF → BT + backlight
- Use this to switch between your 2.4G-connected device and your Bluetooth-connected device.
Bluetooth Forced Pairing (Toggle Switch Method)
- In BT mode, long-press the pairing button until the blue light flashes quickly to prompt Bluetooth forced pairing.
7. DPI Adjustment
- The DPI button allows you to adjust the sensitivity of the mouse's cursor speed.
- Press the DPI button (located below the scroll wheel) to cycle through 3 different speeds: 1000 → 1600 → 2400 (default).
- The buttons located on the left side of the mouse allow you to go forward or backward while web browsing.
8. Backlight Control
A. Auto Backlight Sleep
- Stop moving/using the mouse for 1 second to start a one-minute countdown.
- After a full minute of inactivity, the backlight will turn off automatically to save power.
- Move the mouse to wake it up and turn the backlight back on.
B. Manual On/Off Toggle
- Press and hold the Middle button + Back button simultaneously for 3 seconds to manually turn the colorful RGB lights ON or OFF.
9. Charging Instructions
- This wireless mouse is rechargeable via its Type-C port. Use only the high-quality USB to Type-C cable provided in the box, connected to a computer or power bank.
- Please note: For first-time use, charge the mouse for 3 hours before using it.
- Working can be done simultaneously while charging.
10. Receiver Pairing & Reset
Importance Notice: The receiver and the mouse are one-to-one matched. The USB receiver is paired well when leaving the factory — plug and play according to the 2.4G wireless method, without the need for further pairing.
Re-pairing is only needed when receivers are mixed together (i.e., same model receivers mixed between two or more units).
To reset the receiver, follow these steps:
- Charge the mouse for 2–3 hours (make sure it has enough power).
- Switch to the 2.4G position.
- Press Left + Middle + Right keys together until the red LED is on.
- Plug in the receiver — paired.
If the pairing is successful, the mouse can be used normally. However, if pairing fails within 20 seconds, the mouse exits pairing mode and the LED goes out.
Tip: Long-press Left + Right + Middle key, then plug in the receiver, paired.
11. Additional Information
- Auto-sleep/power-saving: The unit will enter auto-sleep mode during prolonged inactivity. Press any key or the scroll wheel to re-activate it.
- Surface compatibility: The optical mouse may not work smoothly on some surfaces, such as smooth or reflective surfaces.
12. Troubleshooting Guide
If the mouse does not work, try the following:
- Check if the mouse is low on battery — if so, charge it first (you can work simultaneously while it charges)
- Check that the receiver is plugged into the PC's USB port; if it's not working, try connecting to a different USB port
If the mouse is slow or unresponsive:
- Increase the distance between the mouse and any other wireless devices
- Certain metal surfaces may interfere with the transmission between the mouse and the receiver, which can delay the response time
13. Care & Maintenance
- Keep the device away from dust and moisture
- Avoid dropping or applying pressure
- Clean using a soft, dry cloth
- Turn OFF when not in use
14. Important Notes & Warranty
- Compatible with laptops and desktops; suitable for gaming, office work, and design usage
Warranty Note: Any damage caused by physical impact, water/liquid, fire, etc. caused by the customer or nature shall not be covered under warranty. Only product design, feature, and functionality-related faults can be considered. During the warranty period, this product is only eligible for replacement and not eligible for repair, as per the brand's discretion.
15. Support
Need Help?
- Visit: support.portronics.com
Was this article helpful?
That’s Great!
Thank you for your feedback
Sorry! We couldn't be helpful
Thank you for your feedback
Feedback sent
We appreciate your effort and will try to fix the article