TABLE OF CONTENTS
- Product Overview
- Quick Reference
- What's in the Box
- Parts & Controls
- Connecting Freedom 4E to Power
- Wireless Charging
- Setting the Time
- Switching Between Celsius and Fahrenheit
- Setting the Date
- Setting and Activating the Dual Alarms
- Display Modes
- Adjusting Display Brightness
- Turning the Digital Display ON or OFF
- Charging Compatibility
- Care & Safety
- Troubleshooting
- Still stuck?
Product Overview
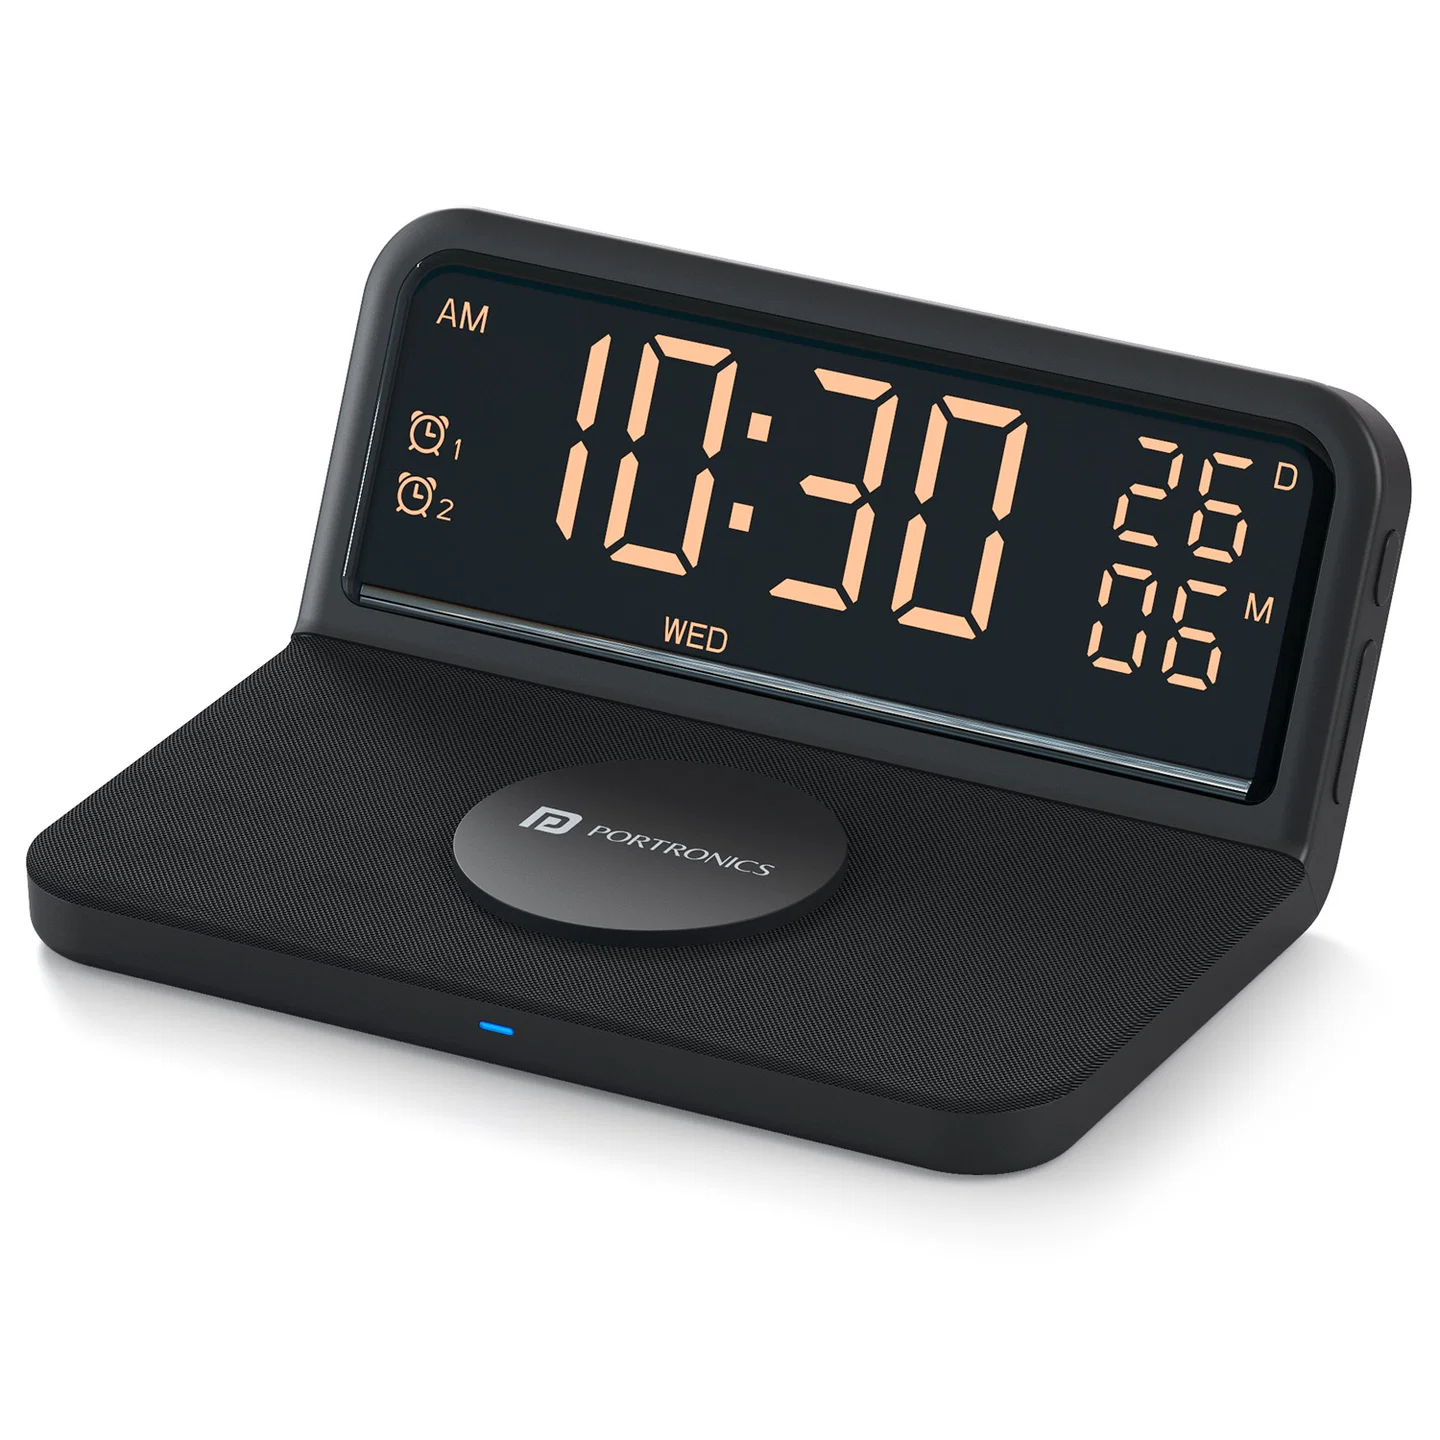
The Portronics Freedom 4E (POR 3197) is a Qi-compatible wireless charging pad with a digital alarm clock. It supports wireless charging up to 15W and combines a bedside clock, dual alarms, date and temperature display, three display modes and adjustable screen brightness.
The charging surface has a soft fabric finish. The unit is powered through a USB Type-C input.
Quick Reference
| Feature | Details |
|---|---|
| Product | Portronics Freedom 4E |
| Product Code | POR 3197 |
| Colour | Black |
| Product Type | 15W Wireless Charger with Digital Alarm Clock |
| Wireless Charging Standard | Qi compatible |
| Wireless Output | 5W / 7.5W / 10W / 15W |
| Input | 5V/3A or 9V/3A |
| Transmission Distance | 1–8mm |
| Conversion Efficiency | 75% or higher |
| Charging Port | USB Type-C |
| Display Modes | 3 |
| Alarms | Dual alarm |
| Display Brightness | Strong, Medium, Weak and Off |
| Material | ABS + Fabric |
| Dimensions | 155 × 129 × 71mm |
| Weight | 310.6g |
| Included Cable | 1m USB-C to USB-C cable |
| Warranty | 12 months |
Wireless output depends on the Qi-enabled device and its supported charging rate. The charger does not deliver 15W to every device automatically.
What's in the Box
| Item | Quantity |
|---|---|
| Freedom 4E Wireless Charger | 1 |
| USB-C to USB-C Charging Cable (1m) | 1 |
Parts & Controls
| Part / Control | Function |
|---|---|
| Wireless Charging Pad | Charges compatible Qi-enabled devices |
| Display | Shows time, temperature, date and alarm indicators |
| Power Button | Short-press to turn the digital display ON or OFF |
| M Button | Opens and confirms clock, date and alarm settings |
| + Button | Adjusts settings, cycles display modes and changes temperature units |
| − Button | Adjusts settings and cycles display brightness |
| Type-C Input | Connects the charging cable |
| Indicator Light | Shows charging / operating indication |
Connecting Freedom 4E to Power
- Connect the supplied USB-C to USB-C cable to the Type-C input on the charger.
- Connect the other end to a compatible USB power adapter.
- Use an input rated 5V/3A or 9V/3A.
- Connect the adapter to a suitable power outlet.
- The digital display can then be operated using the Power, M, + and − buttons.
For the best charging performance, use a suitable adapter and cable that meet the stated input requirements.
Wireless Charging
- Confirm that the phone or other device supports Qi wireless charging.
- Connect Freedom 4E to power.
- Place the device centrally on the wireless charging pad.
- Adjust its position until the device begins charging.
- Check the phone or device for its charging indication.
The specified transmission distance is 1–8mm. Wireless output options are 5W, 7.5W, 10W and 15W, depending on the connected device.
Wireless Charging Tips
- Align the phone properly on the charging pad.
- Remove thick, metal or magnetic cases that are more than 5mm thick.
- Use only compatible Qi-enabled devices.
- Avoid using the phone while it is charging to reduce heat build-up.
- Remove the device from the charging pad once fully charged.
- Do not leave the charger unattended during charging.
Setting the Time
- Press and hold the M Button for 2 seconds to enter the 12/24-hour format selection.
- Use the + or − buttons to choose the required format.
- Press M to confirm and proceed to the hour and minute settings.
- Adjust the time using the setting controls.
- Press M again to exit after the time has been set.
Switching Between Celsius and Fahrenheit
- Make sure the display is in time display mode.
- Press and hold the + Button.
- The temperature display switches between Celsius (°C) and Fahrenheit (°F).
Setting the Date
- In time display mode, press M once to show the date.
- Press and hold M to enter the year, month and day settings.
- Use + or − to adjust each value.
- Confirm the settings using M.
Setting and Activating the Dual Alarms
Freedom 4E supports two alarms: Alarm 1 and Alarm 2.
- In time display mode, press M once to show the date.
- Press M again to access the alarm settings.
- Use + or −to activate or deactivate Alarm 1 and Alarm 2.
- ONA1: Alarm 1 ON.
- --A1: Alarm 1 OFF.
- ONA2: Alarm 2 ON.
- --A2: Alarm 2 OFF.
- In alarm mode, press and hold M to set the alarm time.
- Use + or − to adjust the alarm hours and minutes.
- Confirm the settings using M.
Alarm and Snooze Behaviour
- The alarm rings for up to 60 seconds.
- It then snoozes for 5 minutes.
- The alarm can repeat up to 5 times.
- During ringing, the product instructions indicate that +, − or M can be pressed. They do not specify a separate action for each button.
Display Modes
In time display mode, press + to cycle through the three display modes.
| Display Mode | What It Shows |
|---|---|
| DP-1 | Alternates between time / temperature and date. Time / temperature shows for 10 seconds and date for 2 seconds. |
| DP-2 | Shows only time and temperature. |
| DP-3 | Shows only the date (year / month / day). |
Press M to confirm and exit the display-mode setting.
Adjusting Display Brightness
- Make sure the display is in time display mode.
- Press − to cycle through the brightness settings.
- The four settings are:
- Strong
- Medium
- Weak
- Off
Choose a brightness level that is comfortable for the room.
Turning the Digital Display ON or OFF
- Short-press the Power Button to turn the digital display ON.
- Short-press it again to turn the digital display OFF.
- After 5 seconds of inactivity, the screen returns to the time display.
Charging Compatibility
Freedom 4E supports Qi-compatible wireless charging devices. The available charging output is selected according to the device's wireless charging capability.
| Wireless Output | Availability |
|---|---|
| 5W | Supported |
| 7.5W | Supported |
| 10W | Supported |
| 15W | Supported |
A device that supports a lower charging rate will not necessarily charge at 15W.
Care & Safety
- Keep the charger away from water and moisture.
- Turn off power before cleaning.
- Recommended operating temperature: 1°C to 45°C.
- Use only with compatible Qi-enabled devices to help prevent overheating.
- Align the phone properly on the wireless charging pad.
- Remove thick, metal or magnetic cases over 5mm for optimal charging.
- Avoid using the phone while charging to prevent heat build-up.
- Remove the device from the charging pad once fully charged.
- Do not leave the product unattended during charging.
- Clean the surface only when power is off.
- Children aged 8 and above may use the device only under appropriate supervision or instruction. Children should not play with the product or clean it without supervision.
Troubleshooting
| Issue | Possible Cause | Recommended Action |
|---|---|---|
| Phone does not charge wirelessly | Phone is not Qi compatible or is misaligned | Confirm Qi support and reposition the phone |
| Charging is slow | Adapter, case or device charging limit | Use the specified input, remove thick / metal cases and check device capability |
| Display does not turn ON | Power connection or display is switched OFF | Check the Type-C input and short-press Power |
| Time format is incorrect | 12/24-hour format not selected | Hold M for 2 seconds and select the required format |
| Temperature unit is incorrect | °C / °F setting needs changing | Long-press + in time display mode |
| Alarm does not ring | Alarm is disabled | Check ONA1 / ONA2 status |
| Display mode does not change | Incorrect button sequence | Press + in time display mode and use M to confirm |
| Display is too bright or dim | Brightness setting is unsuitable | Press − in time display mode to cycle brightness |
Still stuck?
If the issue persists after performing all troubleshooting steps, please raise a support request.
Our support team will assist you further.
Support
- Visit: www.portronics.com
- Support Portal: support.portronics.com
Was this article helpful?
That’s Great!
Thank you for your feedback
Sorry! We couldn't be helpful
Thank you for your feedback
Feedback sent
We appreciate your effort and will try to fix the article