TABLE OF CONTENTS
- 1. Introduction
- 2. Package Contents
- 3. Tune Prime Works With
- 4. Product Description
- 5. LED Indications & A/C Button
- 6. Inserting the SIM / Micro SD Card
- 7. Setting Up — Step by Step
- 8. Usage
- 9. Connecting to the Internet
- 10. Home Screen Interface Overview
- 11. Display & Assistive Touch Settings
- 12. Mobile Pairing — Android Auto / CarPlay (SpeedPlay)
- 13. Tune Prime Reset
- 14. Still Facing Issues?
1. Introduction
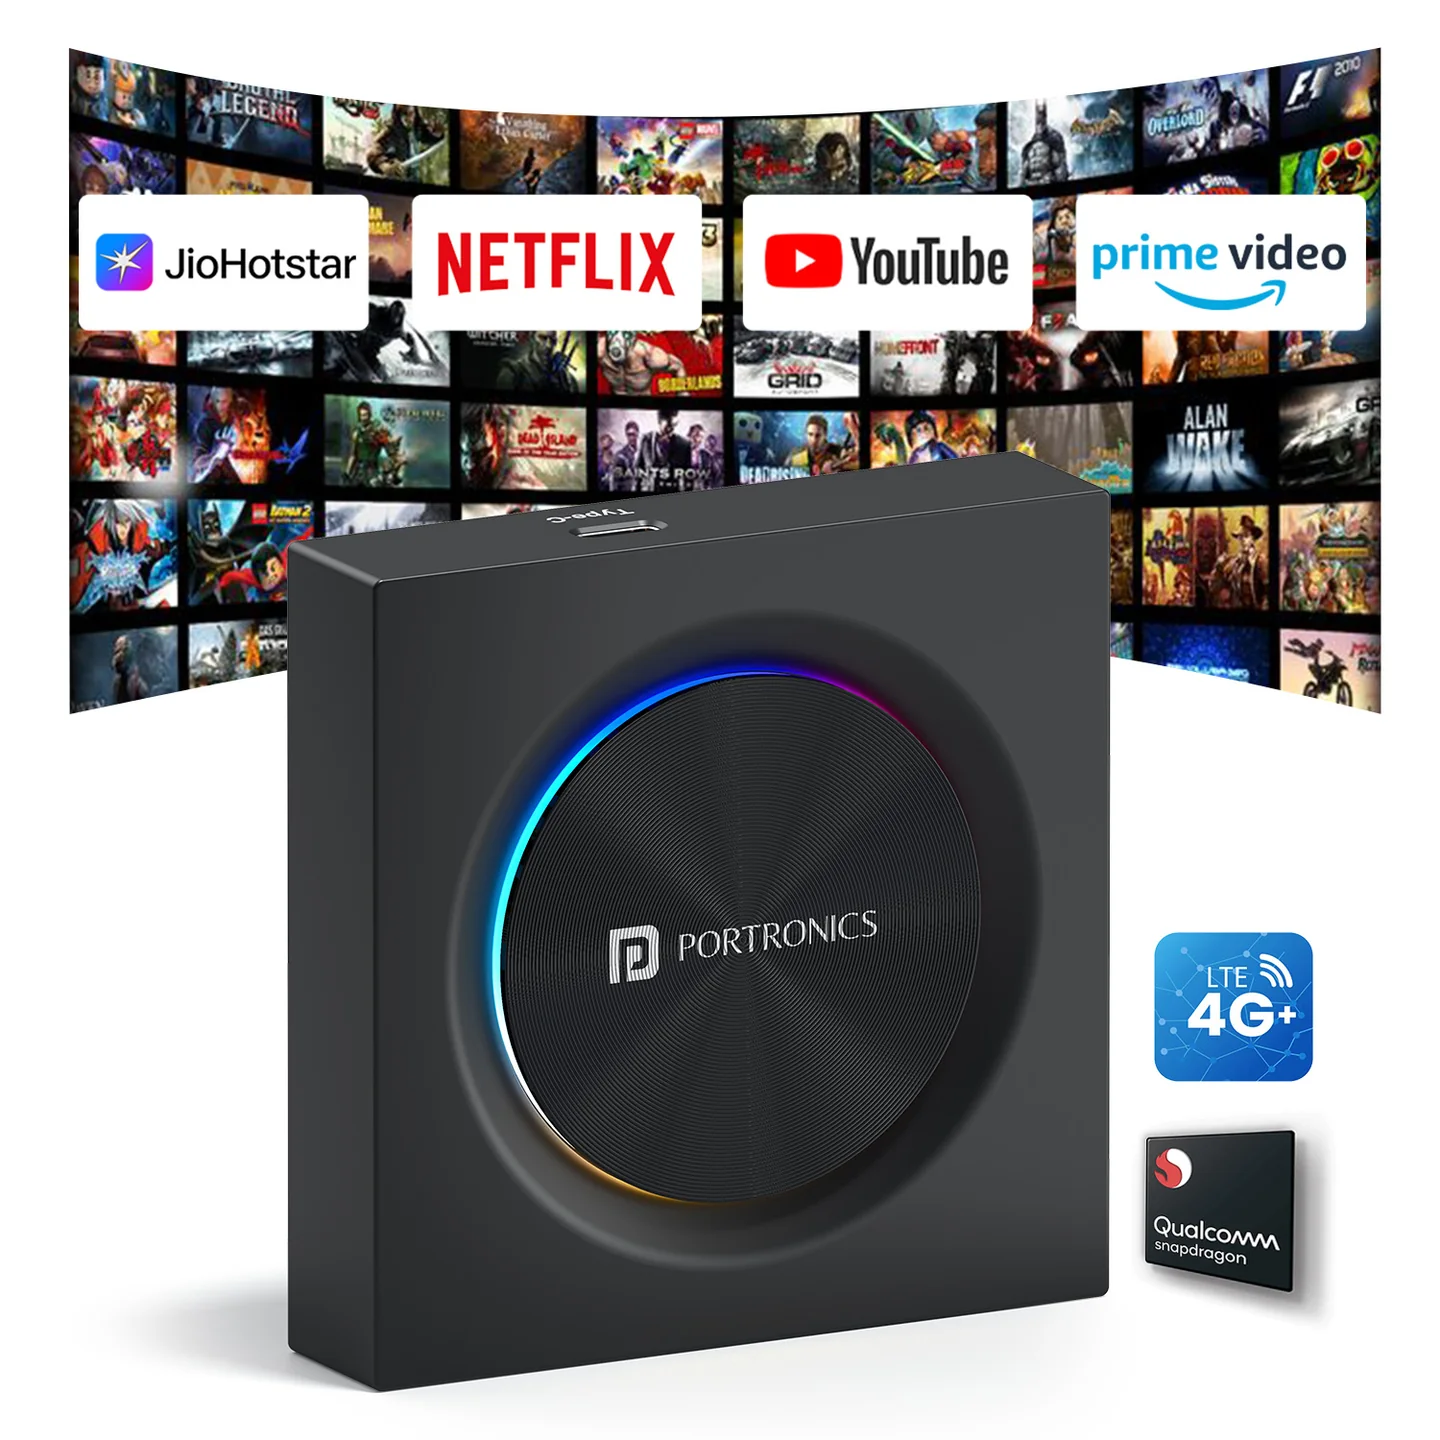
Thank you for choosing Portronics Tune Prime. Tune Prime plugs into your car's original display and adds wired Android Auto and CarPlay support, so you can run navigation, calls, and media through your car's own screen — while your phone connects to Tune Prime wirelessly via Bluetooth.
2. Package Contents
- Portronics Tune Prime
- USB-A to Type C Cable
- Type C to Female USB-A Converter
- Extra Power Source Cable
- User Manual
3. Tune Prime Works With
- Cars that support wired Android Auto/CarPlay.
- The car must have an original display.
- Mobiles with Android 12 or higher, and iOS 15 or higher.
Note: Does not support third-party software/display.
To check if your car supports wired connectivity: connect your mobile device to the car's USB port using a data cable. If a prompt/information appears on the car's display, your car supports wired connectivity. If you're unsure, contact your car manufacturer for confirmation.
Note: Do not connect the mobile Bluetooth to the car's stereo/display.
4. Product Description
| Port / Control | Function |
|---|---|
| Type-C Port | Connects Tune Prime to your car's USB data port for power and data transmission |
| Micro SD Card Slot | Insert a micro SD card to store and play videos, music, or other media offline |
| SIM Card Slot | Insert a nano SIM card to enable internet access without using your phone's hotspot |
| A/C Button | Switches the display between CarPlay and Android Auto |
5. LED Indications & A/C Button
| LED | Status |
|---|---|
| Green blinking | CarPlay pairing mode |
| Green stable | CarPlay mode |
| Blue blinking | Android Auto pairing mode |
| Blue stable | Android Auto mode |
Using the A/C Button:
- Switches the display between CarPlay and Android Auto.
- To switch from CarPlay to Android Auto: using a SIM ejector or pin, long-press the A/C button for 2–3 seconds and release. The indicator flashes blue and becomes stable once paired.
- Repeat the same action to switch back to CarPlay.
6. Inserting the SIM / Micro SD Card
- Insert the SIM and memory card in the same direction as marked on the device, with the copper plate facing upwards.
- Input is 5V/1A. Do not plug the device into a charging port.
- Do not operate or adjust the device while driving — stop the vehicle safely first.
- Don't drop the device or expose it to extreme heat or water.
7. Setting Up — Step by Step
- Start the car and reset the display: Settings → System → Factory Reset/Default.
- Plug Tune Prime into the USB-A/USB-C data port of your car using the provided USB-A to Type-C cable, or the Type-C converter.
- The device automatically starts in CarPlay mode. If your display doesn't support CarPlay, switch it to Android Auto and wait 2–3 minutes.
8. Usage
Type-C converter: the converter should be connected to the car's data port, as shown in the manual. Do not connect it directly to the Tune Prime device.
Extra power source cable: connect this cable from Tune Prime to a separate charging (power-only) port in the car, in addition to the data port connection. This supplies extra power on cars where the data port alone doesn't provide enough current.
9. Connecting to the Internet
On your mobile:
- Turn on mobile data.
- Turn on Personal Hotspot and allow others to join.
On the car display:
- Go to Settings → Wi-Fi/Internet.
- Turn on Wi-Fi and select your phone's hotspot from the list.
- Enter the password and connect.
10. Home Screen Interface Overview
After a successful connection, the Tune Prime home screen appears on your car's display, giving quick access to system settings, apps, media, and smart driving information — including at-a-glance widgets for weather, speed, and time.
| Area | Function |
|---|---|
| Settings | Opens the Settings menu — connectivity, display, language, application info, and navigation preferences |
| Wi-Fi | Connects to a Wi-Fi network or manages internet settings — required for OTT apps, Maps, and other online apps |
| Shortcut Menu | Quick switching between shortcut functions while keeping the main screen visible |
| Apps | Opens the application menu — access installed apps like YouTube, Chrome, Maps, Media Player, and other supported apps |
| Custom Shortcut Functions | Add and customize frequently used apps or functions for faster access |
11. Display & Assistive Touch Settings
Display Size: Settings → More → Display → Display Size & Text → reduce your display size if OTT apps (e.g. JioHotstar) show a blank screen.
Assistive Touch: a floating button that acts as a shortcut for quick access. Turn it on/off from Display Settings. The Assistive Touch bar includes:
- Home
- Back
- App switch / Close apps
- Google Voice Assistant
- Split screen operation
- Clear cache
- Return to OEM interface
12. Mobile Pairing — Android Auto / CarPlay (SpeedPlay)
- Once Tune Prime is configured with your display, open SpeedPlay from the home screen.
- The SpeedPlay app screen (on your car's display) displays a Bluetooth name to pair with.
- Turn on Bluetooth on your mobile, look for "Portronics Tune Prime," and pair it to connect your mobile.
Note: if you use Tune Prime without a SIM card and pair your mobile via SpeedPlay, YouTube and other OTT platforms won't work at the same time as Android Auto/CarPlay. If you use it with a SIM card inserted, the applications will perform normally.
13. Tune Prime Reset
There are two options to reset your Portronics Tune Prime:
- Option 1: Long-press the A/C button for 8–10 seconds.
- Option 2: Settings → More → System → Reset option → Erase all data.
14. Still Facing Issues?
If the issue persists after performing all troubleshooting steps, please raise a support request.
Our support team will assist you further.
Support
- Visit: www.portronics.com
- Support Portal: support.portronics.com
Was this article helpful?
That’s Great!
Thank you for your feedback
Sorry! We couldn't be helpful
Thank you for your feedback
Feedback sent
We appreciate your effort and will try to fix the article